This morning I sat down in Miss Frugal’s bedroom and realised just how much ‘stuff’ she had and how little space she had to store it all!
So while Mr Frugal was snoring away in bed, I was on the iPad trying to find the answer to our problems!
By the time he woke up, I was all sorted and ready to get on with it! I found some great shelves in Ikea but didn’t fancy the hour’s drive each way to get them so I ended up getting two cheap cube-style units from Argos to stick on top of each other next to her desk. We also bought some cheap but pretty white storage boxes from Morrisons for £1.50 each.
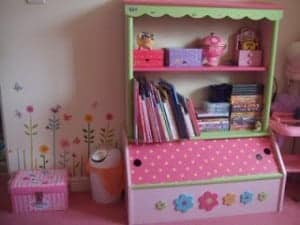
I was in that much of a hurry that I forgot to take a ‘before’ photo but I’ve found this photo from a few years ago which shows the unit we had in there. The only difference in what it was like until we got started is that where there’s a doll’s highchair in the side of the picture, we’d added a desk. Although it was piled that high with pens, pencils and notepads there wasn’t enough space for any actual work to take place!
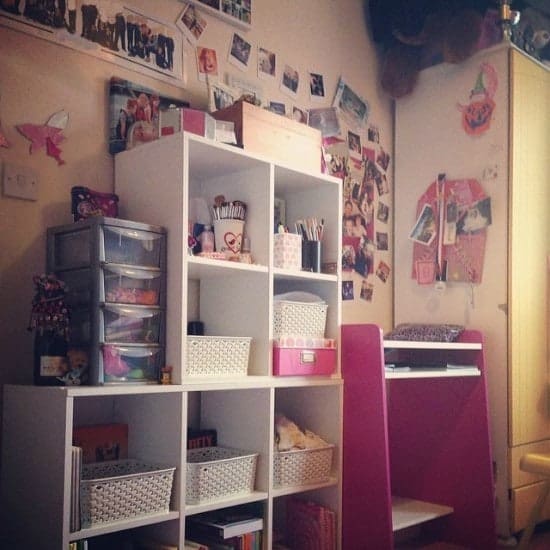
This is what it look’s like tonight:
I think it look’s so much better and gives her so much more storage – you can even see the surface of the desk now!
She loves photos as much as I do so we’ve made her a bit of a photo wall which includes lots of photos of her and her friends and a few of some of her favourite places that we’ve been to. The photos are a mix of ones that I’ve printed off on our home printer and ones that I’ve had printed from Instagram. There’s lots of companies that do this for you but I use Polargram who charge £9 for 48 pictures (I think).
(Just in case you were wondering, some photos may look a bit odd in the picture as I’ve tried to edit out all the faces of her friends – she doesn’t actually know lots of headless children ;-))
I’m really pleased with how it turned out and the fact that it was so cheap to do.
Now which room’s next on my list?
