I know, I’ve gone a bit meal planning mental this week but I promise this is the last post on the subject (for at least the rest of the week anyway).
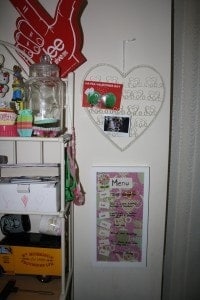
Usually, I have our week’s meals written on a scrap of paper, stuck on the front of the fridge if I’m feeling particularly organised, somewhere at the bottom of my handbag if I’m not! This led to us not sticking to the plan on lots of a few times as we couldn’t remember what we were supposed to be eating so as part of my New Years resolution to be more organised, I decided that from now on we’re going to have the meal plan where everyone can see it – on the kitchen wall.
It took me all of about ten minutes to make and seeing as it turned out OK-ish, I’m going to show you what I did (along with the things I wish I’d done) so you can make your very own version. I’ve even included the labels that I made all pretty and nice but then couldn’t print off as my printer was out of ink – AGAIN….
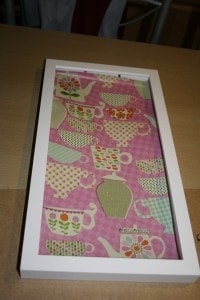
First of all, cut a piece of pretty paper to the same size as the old picture frame you’re going to use for your wall planner. I bought mine from Paperchase because I loved the design but now I think it’s a little too busy for this so I may be making a second version of this when I find the ‘perfect’ paper.
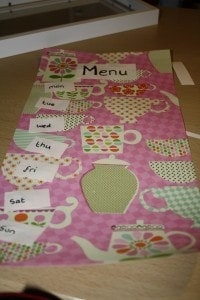
Taking the paper back out of the frame, glue labels on for the title of your menu – I imaginatively called ours ‘Menu’ for this version – and for the days of the week. Mine are far from impressive due to the printer ran out of ink, half way through printing them. Another reason why you can expect to see version two sooner rather than later.
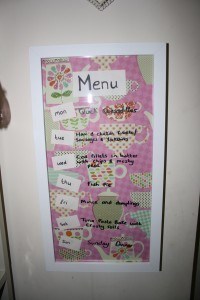
When you’ve done glued on your labels put the paper back in the frame.
Using a dry wipe marker, write your meals on your new fancy planner. At the end of the week, just give it a wipe and you’re ready to go again with the next weeks meals. I bought my dry wipe markers from Wilkinsons and they were about 75p for 4 of them.
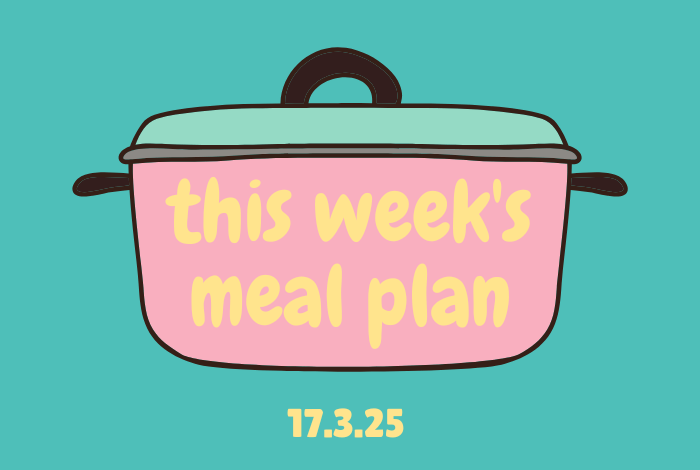
And because I’m so nice, here’s the labels I was in the process of printing out in case you decide to make your own version:











 Logging you in...
 Loading IntenseDebate Comments...
Elaine · 692 weeks ago
Cass@frugalfamily · 691 weeks ago
sarah · 692 weeks ago
Cass@frugalfamily · 691 weeks ago
Dmarie · 692 weeks ago
Cass@frugalfamily · 691 weeks ago
jane · 692 weeks ago
Cass@frugalfamily · 691 weeks ago
Traycu · 692 weeks ago
x x
http://pleasemayi.blogspot.com
Cass@frugalfamily · 691 weeks ago
I hope you had fun making it if you managed to get around to it x x
Romily · 692 weeks ago
Cass@frugalfamily · 691 weeks ago
Good to have you hear, I hope you pop back every now and again
xx
Melksham Mum · 692 weeks ago
Cass@frugalfamily · 691 weeks ago
@theGlitterazzi · 692 weeks ago
I really need to knuckle down with the meal planning this year as our food bill is spiralling out of control!
If you don't mind, may I ask what font that is? I love it too,
Cass@frugalfamily · 691 weeks ago
The font is You Are Loved and I got it using www.picnik.com - my favourite site at the minute. I'm sure it's one of the free ones aswell x
traiders11 1p · 692 weeks ago
Cass@frugalfamily · 691 weeks ago
ryan Pippin · 691 weeks ago
Cass@frugalfamily · 691 weeks ago
Ruthiej · 674 weeks ago
Rosie-m · 661 weeks ago
supo1 · 640 weeks ago