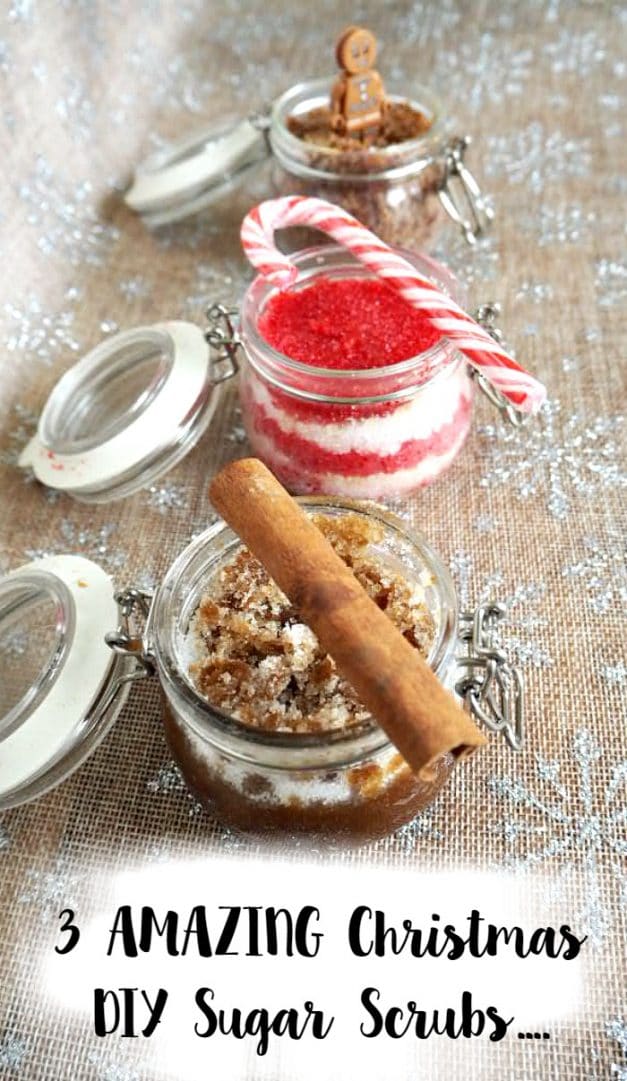
Every Christmas, my most popular post (other than my 5 minute Nutella Fudge) is my Christmas DIY Sugar Scrubs which so many of you loved. A lovely lady tagged me on Instagram earlier on after making the gingerbread sugar scrub which reminded me that it’s never too early to share a Christmas DIY – after all, I’ve seen the Coca Cola Christmas van so it must be Christmas, right?
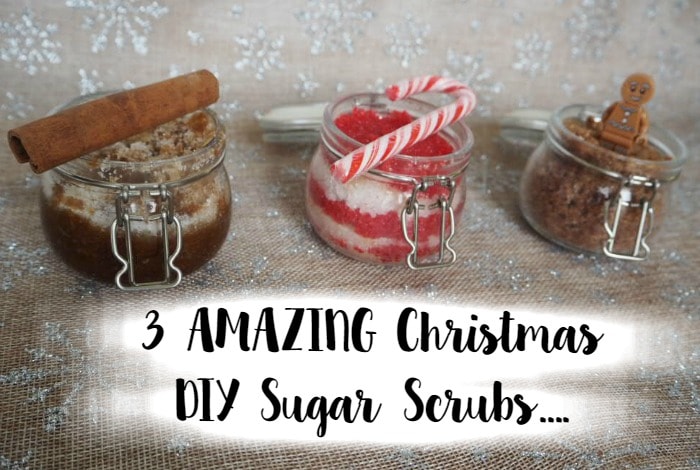
It’s no secret that Miss Frugal loves a good DIY or that she loves her beauty products so you probably won’t be surprised to hear that at least once a week, she makes herself a DIY sugar scrub using some sugar, coconut oil and whatever else she fancies adding in.
She’s brilliant at it and she has a foolproof method that means that she never makes more than she needs for the one bath. Although to be fair, she could make more and keep it as it keeps for a month or so usually but she prefers the fun of making a new one each week.
For our Christmas DIY sugar scrubs, we (notice how I say we when I just take the photos and enjoy the finished scrub) like to use cups rather than weighing out the ingredients and we always go with a ratio of about 1 of cup sugar to between 1/2 and 3/4 of a cup of coconut oil (in it’s melted form).
Because she often makes one a week, we don’t use a full cup of sugar when we make ours up but the ratios of sugar to oil are still the same. Miss Frugal has a small container that she uses and she basically three quarter fills in with sugar and then pours that amount of sugar into a bowl to work with. When it’s ready, she puts it back into her jar knowing that it’s going to be just the right amount for what she needs.
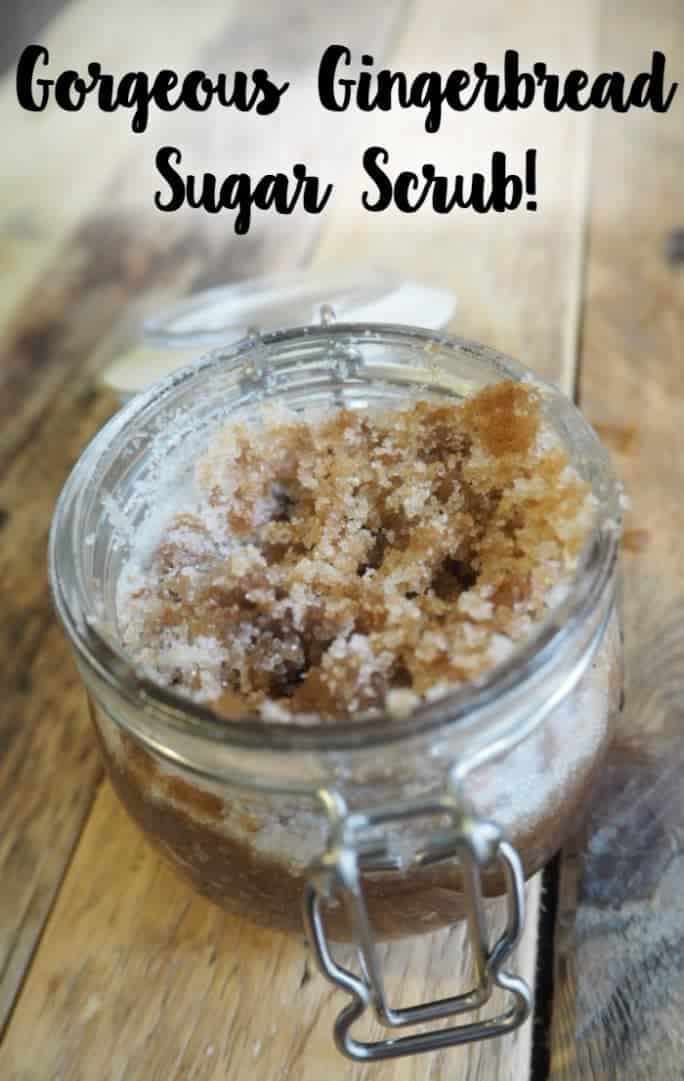
Gorgeous Gingerbread DIY Sugar Scrub
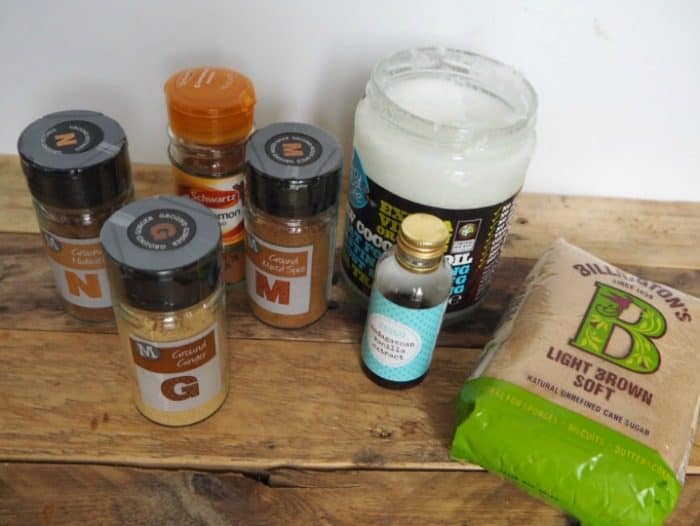
1/4 cup white sugar
3/4 cup brown sugar
1/2 to 3/4 cup melted coconut oil
1/2 teaspoon nutmeg
1/2 teaspoon allspice
1 teaspoon cinnamon
1 teaspoon ground ginger
1 capful vanilla essence
- Mix the sugar and the oil to the consistency you want – the less oil you add the more textured your scrub will be.
- Add in the rest of the ingredients and give it a quick stir.
- Pop into your container and you’re ready to go.
- You can put any leftover oil back in the jar.
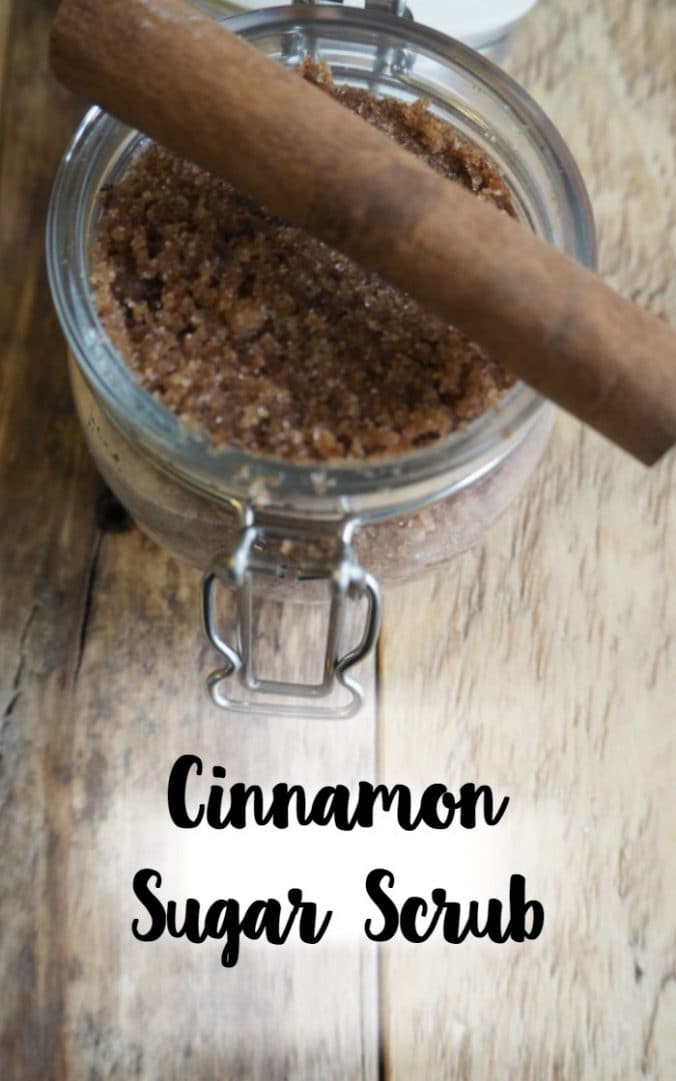
Cinnamon DIY Sugar Scrub
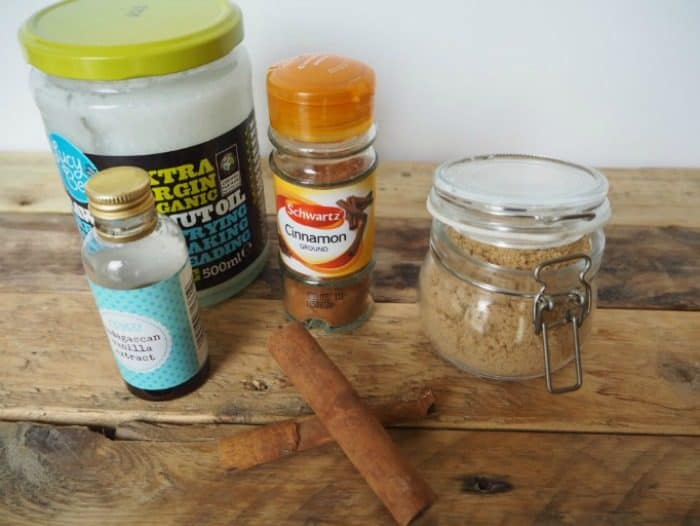
1/4 cup white sugar
3/4 cup brown sugar
1/2 to 3/4 cup melted coconut oil
2 teaspoons cinnamon
1 capful vanilla essence
- Mix the sugar and the oil to the consistency you want – the less oil you add the more textured your scrub will be.
- Add in the cinnamon and vanilla and mix together.
- Spoon it into the container and it’s done.
- You can put any leftover oil back in the jar.
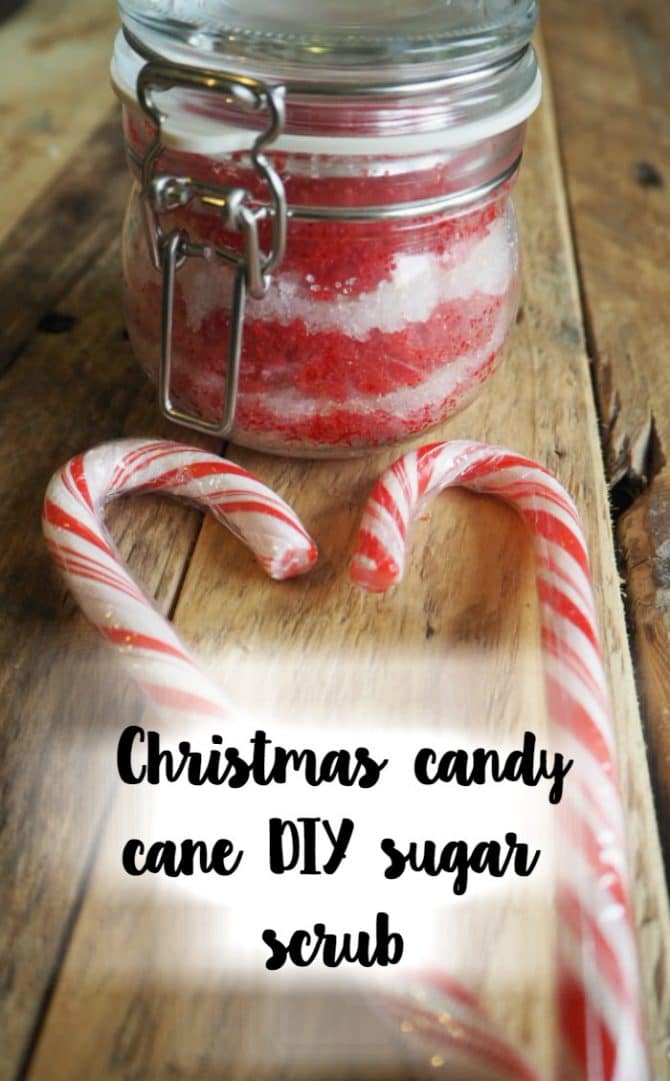
Candy Cane DIY Sugar Scrub

1 cup sugar
1/2 to 3/4 cup melted coconut oil
15 drops peppermint essential oil
1 capful red food colouring
This is my favourite of the three but a little bit faffy.
- As with the other scrubs, you need to mix the sugar and the oil to the consistency you want your DIY sugar scrub to be.
- Add in the peppermint essential oil – feel free to add more or less depending on your preference.
- Next, divide the sugar mix into two bowls. Add the red food colouring into one and give it a good mix.
- Now carefully later the red and white sugar mixes into your container so it looks stripey.
- There you go, a candy cane body scrub.
And in case you’re wondering – the red food colouring is used in a small quantity so I’ve never had an issue with it staining my skin. I did worry a little bit the first time I used it but I’ve tested it a few times now as we’ve made this lots now and I’ve never had a problem. Give it a go on a small patch of skin before you use it for the first time though just to be on the safe side.
As always, please read this post before using essential oils.
Don’t miss out on future posts like this – receive updates directly to your inbox by email by adding your email address here and hitting subscribe. You can also follow me on Twitter or BlogLovin and I’d love to see you over on my Facebook page and on Instagram. If you’re interested, you can find out more about me here and while I’ve got your attention, if you’re wondering why some of my posts lately are a little bit less frugal then have a read of this post.
Do your future self a favour – Pin this post for later:




 Logging you in...
 Loading IntenseDebate Comments...

asmallerlifelivingsimpler 16p · 438 weeks ago
louisejedwards 62p · 438 weeks ago
screaminginsuberbia 70p · 438 weeks ago
Beth · 438 weeks ago
ericaprice139 75p · 438 weeks ago
pigeonpairandme 45p · 438 weeks ago
fibitee 34p · 437 weeks ago
oana79 55p · 437 weeks ago
Kayla · 384 weeks ago
Shelley · 336 weeks ago
white nail polish · 310 weeks ago
getting over it · 74 weeks ago
fnaf · 31 weeks ago
stickman hook · 31 weeks ago
redactle · 6 weeks ago