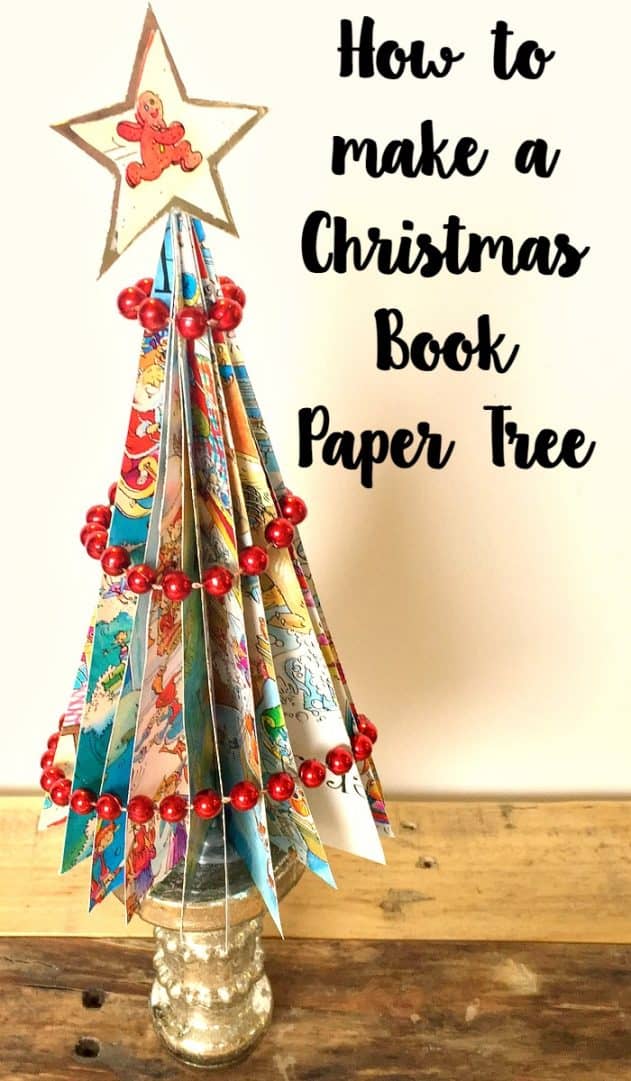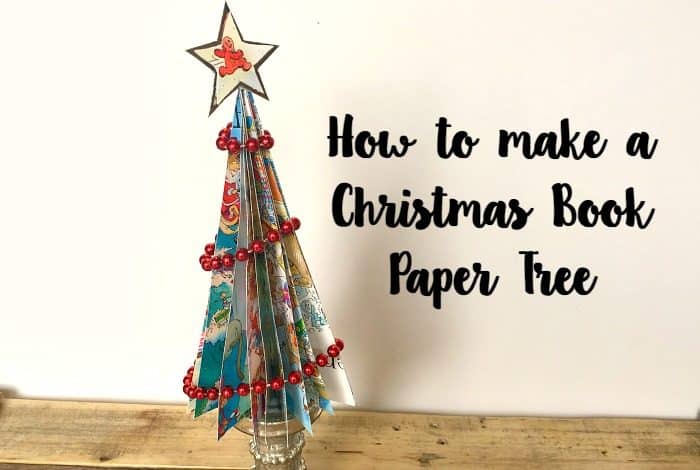
Every since the kids were born we’ve added to our Christmas book collection and every year, we’ve looked forward to getting the Christmas decorations down from the loft as soon as it gets to December so we could get the Christmas books out.
Over the last few years, the excitement over the Christmas books as dwindled somewhat for the kids and for the last two or three years they’ve only picked them up to read briefly with my gorgeous little godson when he’s popped in to see us. We had a long overdue sort out before Christmas last year though and although we kept a couple of books for toddler visits and a couple of books that were more keepsakes than Christmas books, we ended up taking most of them to our local charity shop for other children to enjoy them as much as we had over the years.
One book that we couldn’t part with was the one we’d had most fun with over the years, it was an Usborne book kind of like ‘Where’s Wally’ but with Christmas scenes. The pages were all so bright and colourful and filled with Christmas images that we decided to make something with the book so it was always out on display at Christmas time and the only thing we could think of to make was a Christmas book paper tree.
It turned out beautifully so I thought I’d share it with you here today, almost a year after making it, so you can make your own Christmas book paper tree out of your favourite Christmas book this year (obviously only if you’ve finished reading it 😉 ).
How to make your own Christmas Book Paper Tree
It’s so easy to make a Christmas book paper tree – all you need are some scissors, a pencil, a ruler, a piece of card cut into a triangle shape to be your template, a stapler and obviously, your Christmas book.
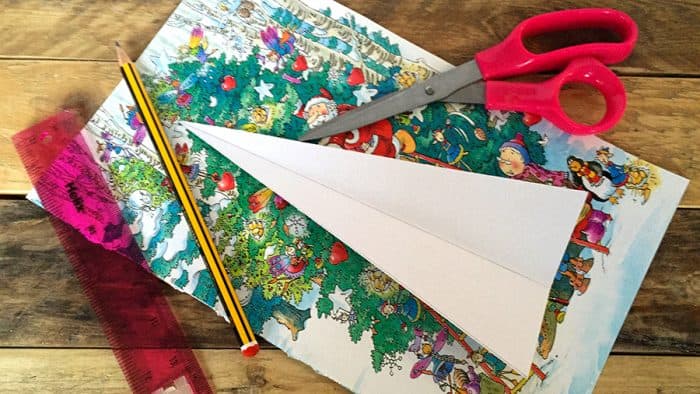
Using your card template, cut out 6 identical triangle shapes from your chosen book. I’d recommend checking your template before you do though to make sure that your stapler will reach the middle of it from the top to almost the bottom as this is how we’ll be fixing the tree together shortly.
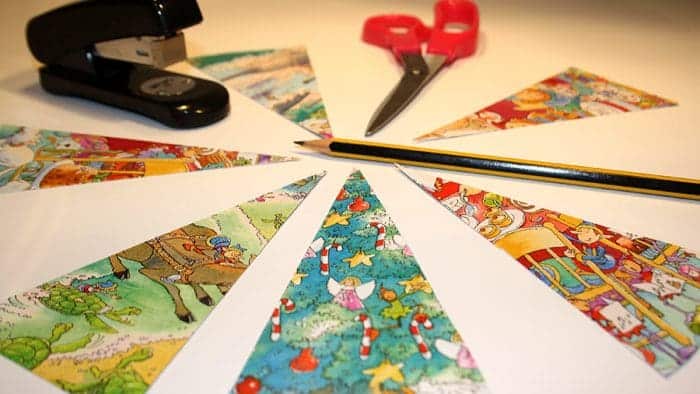
Using the scissors and the ruler, lightly score each triangle down the centre and fold them all in half.
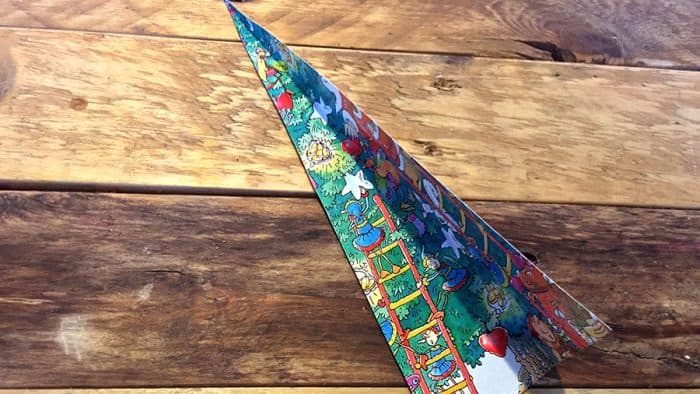
Lay them all flat again on top of each other and staple down the centre line 3 or 4 times.

Now stand your tree up and faff repeatedly with your paper tree until the pages are all spread equally around in a circle. I found it helped here to put a small blob of blu tac at the bottom to hold everything in place and also to help the tree stand straight when it’s on display.
I cut out a star from the same book and added some glitzy beading from the pound shop and I think our Christmas book paper tree turned out brilliantly if I do say so myself.

Don’t miss out on future posts like this – receive updates directly to your inbox by email by adding your email address to the box on the top right of this page and hitting subscribe. You can also find me on BlogLovin, Yummly and Networked Blogs and I’d love to see you over on my Facebook page and on Instagram.
