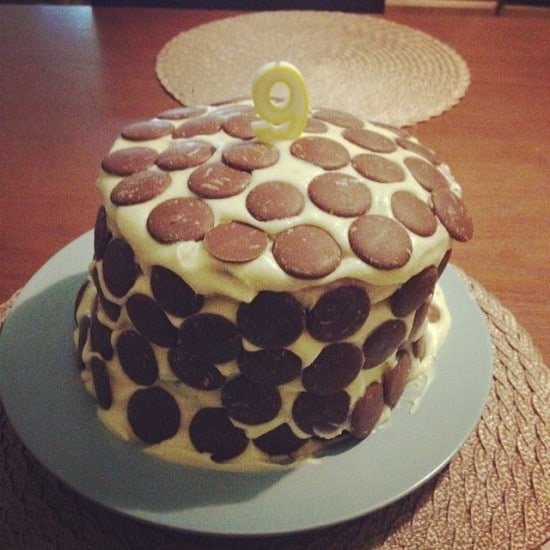
First of all, I apologise for the lack of photos of the making of this cake – Miss Frugal and I made this last Friday night for Master Frugal’s birthday and we had absolutely no faith that it was going to be anything worth blogging about so we didn’t take the usual million and one photos of every stage of the process 😉
It did work though (if you ignore the leaning tower of Pisa effect) so I thought I’d share it with you anyway, however, I will say up front that this isn’t a particularly frugal cake to make as it involves large quantities of the ingredients and the different food colourings add up if you don’t already have them in. It is a show stopper though and who wants to save money on a Birthday cake anyway?
Ingredients for the cake:
450g butter / margarine
450g sugar
9 eggs
2 capfuls of vanilla essence
a splash of milk
450g self raising flour
1/2 teaspoon of baking powder
5 different colours of food colouring – I find the gel colourings to be brighter and love the Dr Oetker ones but any would be OK to use.
Ingredients for the decoration:
Butter / margarine
Icing sugar
I used chocolate buttons to hide the messy icing decorate
Pre heat the oven to around 200 c
Top Tip: Weigh your mixing bowl without any ingredients in before you start!
- Cream the butter and sugar together in a LARGE mixing bowl.
- Add the eggs, vanilla and milk and beat the mixture until it’s well combined.
- Fold in the flour and the baking powder.
- Now weigh your full mixing bowl and take away the weight of the empty mixing bowl to find out how much your cake mix actually weighs. Divide that by five and then separate the mix into five portions.
- Colour each portion a different colour.
- Grease your baking tray/s (we love the silicone ones) and pour in one colour per baking tray. We only had two trays the same size so had to cook ours in batches.
- Bake for 12 -16 minutes although at least one of ours took a bit longer so just keep checking them until they’re cooked through.
- Allow to cook completely and then using a sharp knife, make sure they’re all completely flat.
- Next make your butter cream – we don’t have specific measurements for this to be honest as we just added three or four large spoonfuls of butter, a splash of milk and a couple of capfuls of vanilla essence to the blender and kept adding icing sugar until the butter cream was the right consistency to ice the cake. It doesn’t want to be too runny as it won’t stick but equally not too stiff as that makes it hard to work with.
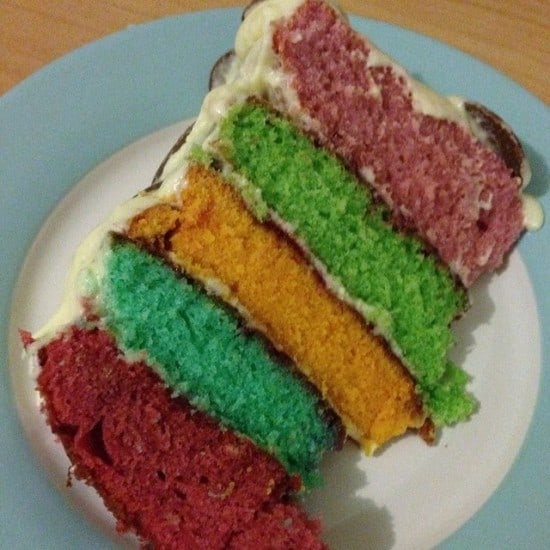
- Work our what order you want the colours to go in your cake for the best effect.
- Put your cake together one layer at a time. I spread the top of once cake with a thin layer of jam and then the bottom of the next layer with some butter cream and them put them together so in between each later there’s jam and cream.
- Splodge the rest of your icing on the cake covering the top and sides.
- Decorate with anything you like – I prefer giant buttons as they cover all the little didgy bits up!
- Serve.
Discover more from The Diary of a Frugal Family
Subscribe to get the latest posts sent to your email.
