I’ve been after some marble coasters for ages now but I really don’t want to pay the hefty price tag that comes with all of the sets that I’ve seen so far! So, rather than splash out, I decided to have a go at making my own DIY version….
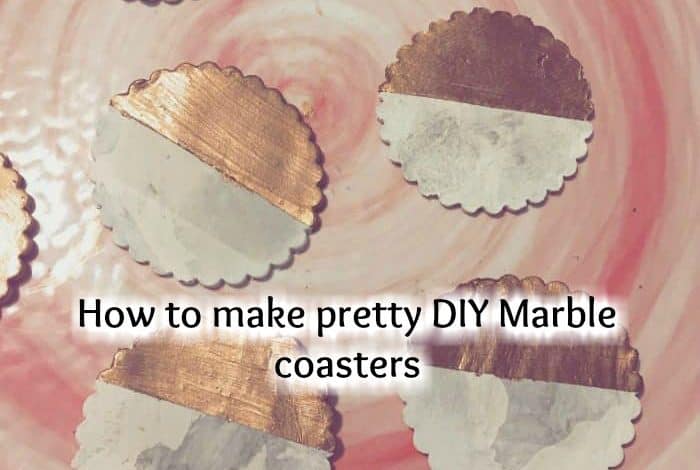
I bought a pack of air drying clay for £6 on Amazon to make these with and as well as making 6 of my cute little DIY marble coasters, there was enough left over to do three other projects that I’ll share with you over the next couple of months too. Today though, I’m going to show you how I made my DIY marble coasters which I love!
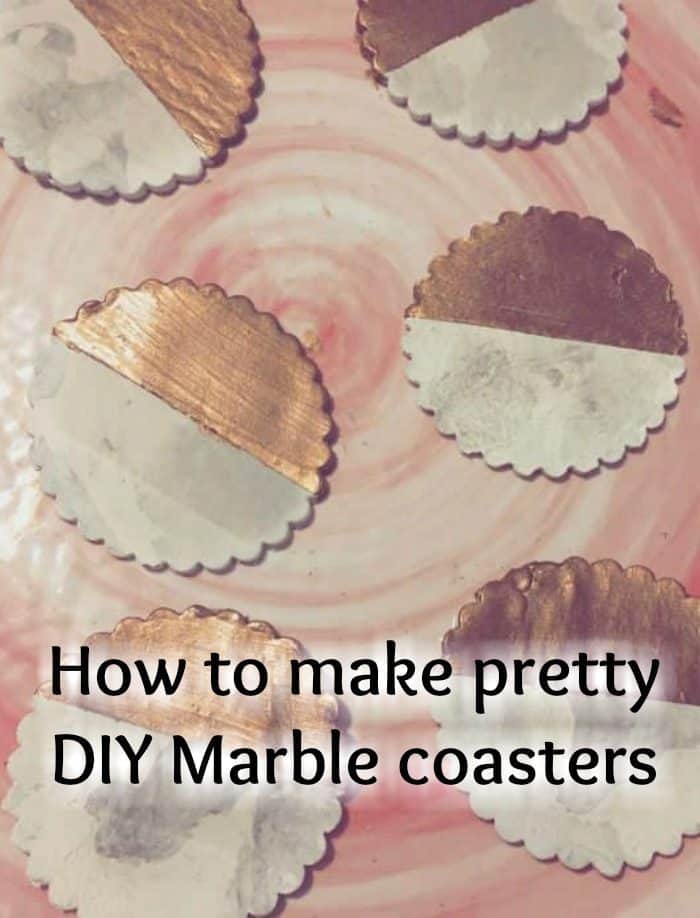
How to make pretty DIY Marble coasters
There are a few different methods to make these little coasters – one involves buying a pack of the black clay and marbling the two colours together but I decided to just go with the one pack of clay and used plain black food colouring to ‘dye’ it. I’ll be honest here though, when I say I dyed it, I mean that I squidged the food dye and a little of the clay around in my hand for a few minutes so it was a squidgy grey mess because the air clay doesn’t seem to be keen on taking on the colour of the food colouring.
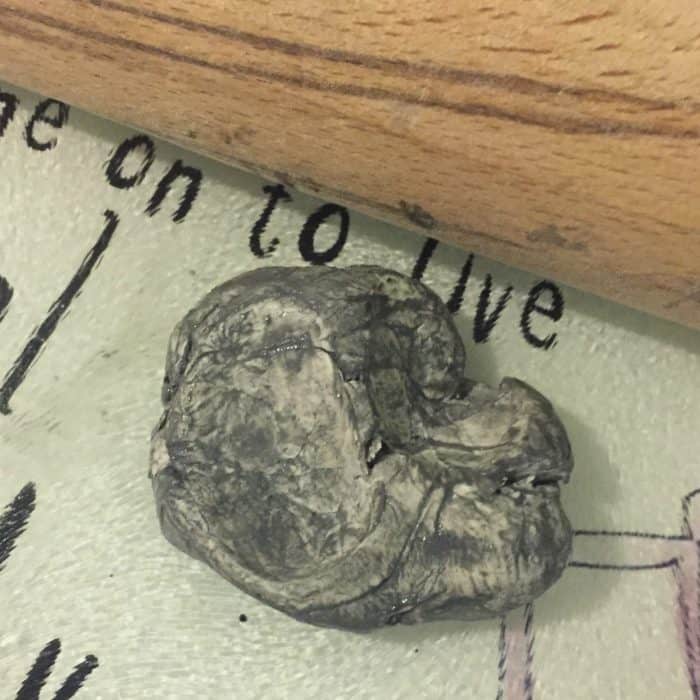
Next, I softened a larger amount of the clay in my hands (after cleaning them of the black/grey mess) and flattened that down onto my slightly floured chopping board. I used my fingers to push in a few little wells into which I stuffed a few blobs of the grey mess!
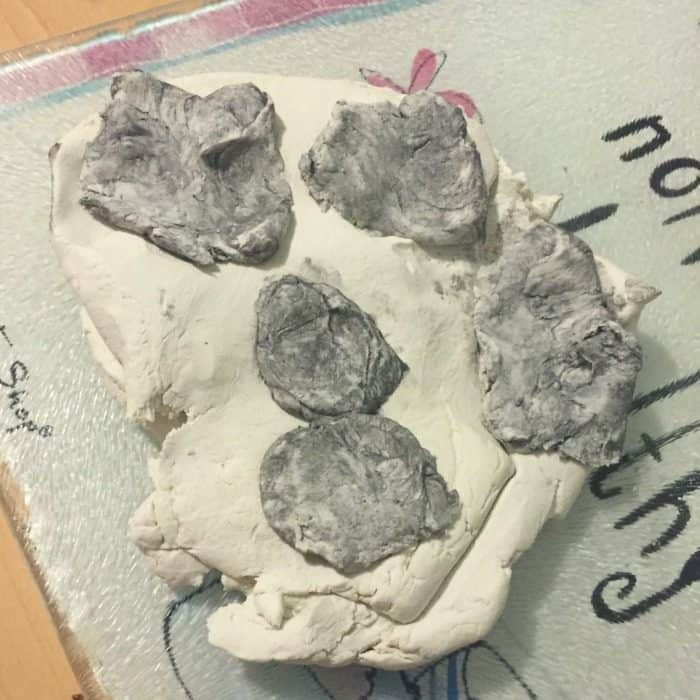
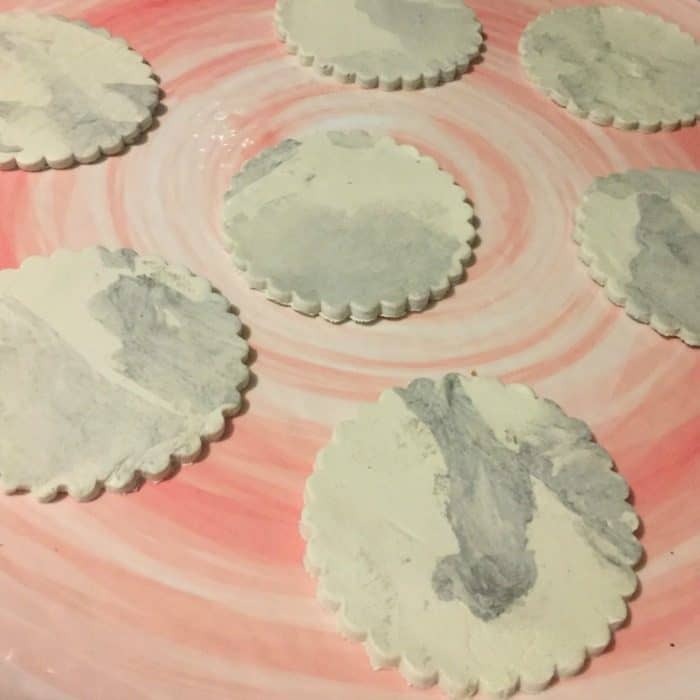
I rolled it out a little bit using my rolling pin and then just played with it a bit until it looked like it had a marble effect – I folded some bits over, used my finger to drag some of the clay around and generally just squished it around until I was happy! Then I rolled it out more until it was at a thickness of about half a centimetre.
I then used a large cookie cutter to cut out the shapes of my coasters.
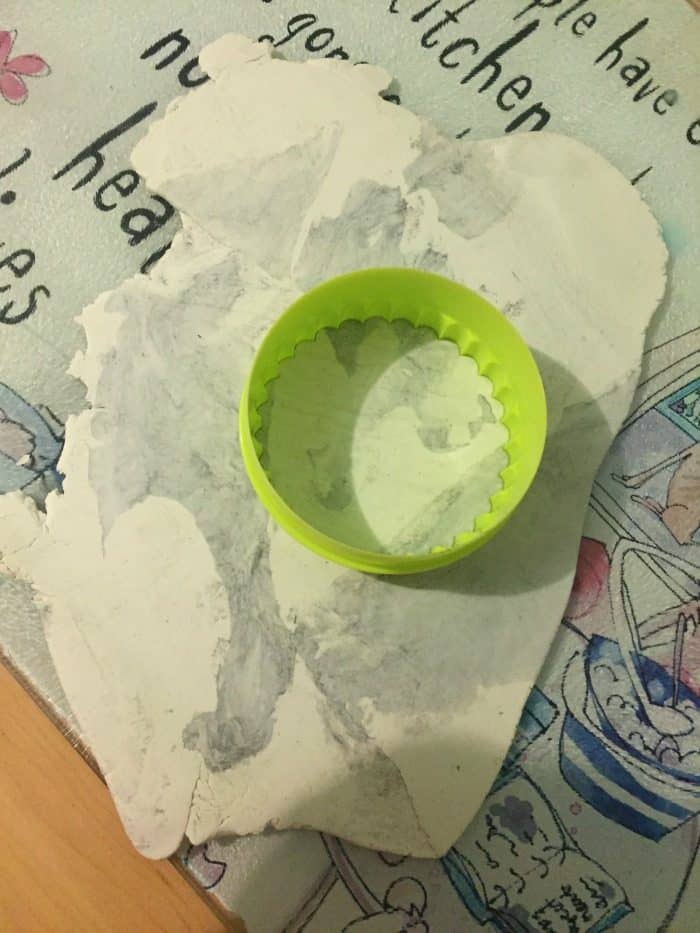
I chose the prettiest areas to cut from rather than just starting at the edge to try and get as many as I could out of the one piece of clay. Once I had no pretty areas left, I rearranged the already rolled out clay into what I thought would give a pretty pattern again and rolled it out again – keep it flat rather than balling it up to do this and the more you mess with it, the less the marble effect will be. I just laid the flat scraps down, overlapping them slightly and rolled out again. I hope that makes sense – as we all know, I’m not the best crafter!
Then I just laid my shapes down on a flat surface and left them to dry for 24 hours.
Once they were dry, I used some duck tape to mark out a halfway line and then painted one half with an antique rose gold colour paint.
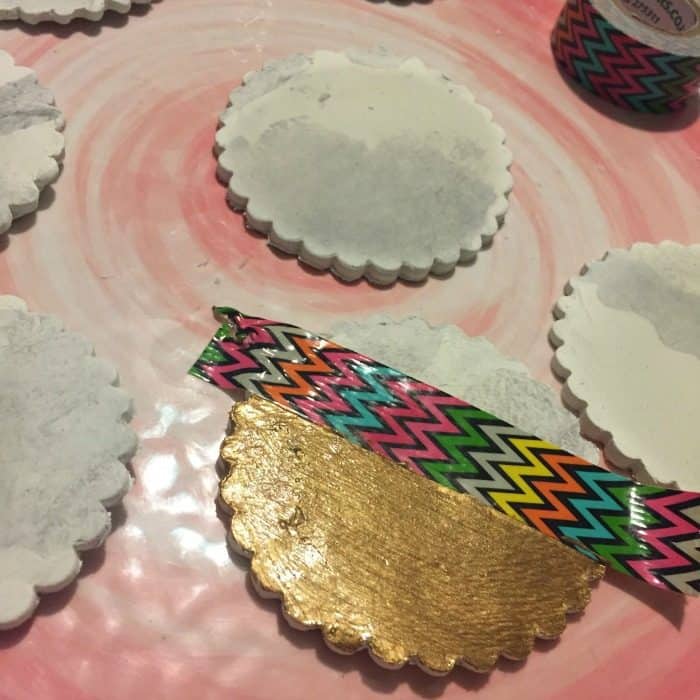
When I’d done them all, I let them dry for about 10-15 minutes and carefully peeled back the tape….
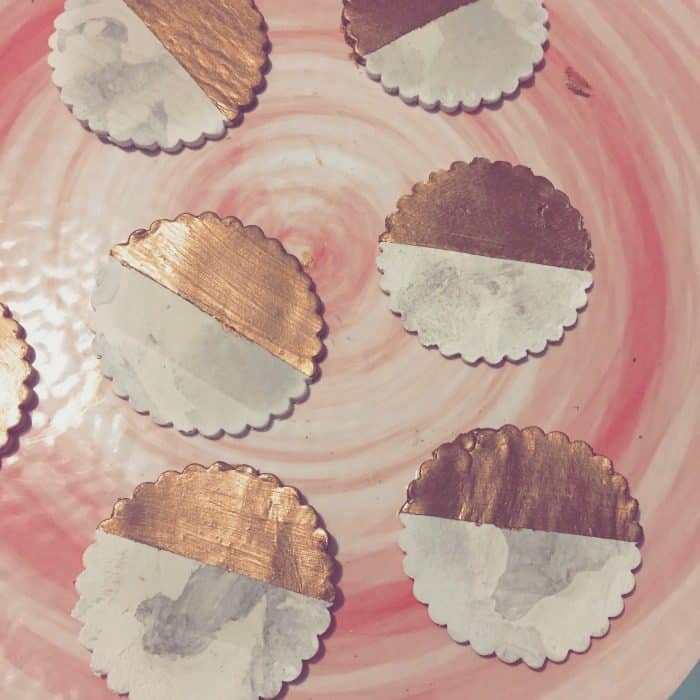
We’re planning to have a go using nail varnish and tiles shortly so stay tuned!
Don’t miss out on future posts like this – receive updates directly to your inbox by email by adding your email address here and hitting subscribe. You can also follow me on Twitter, BlogLovin or Networked Blogs and I’d love to see you over on my Facebook page and on Instagram






 Logging you in...
 Loading IntenseDebate Comments...
