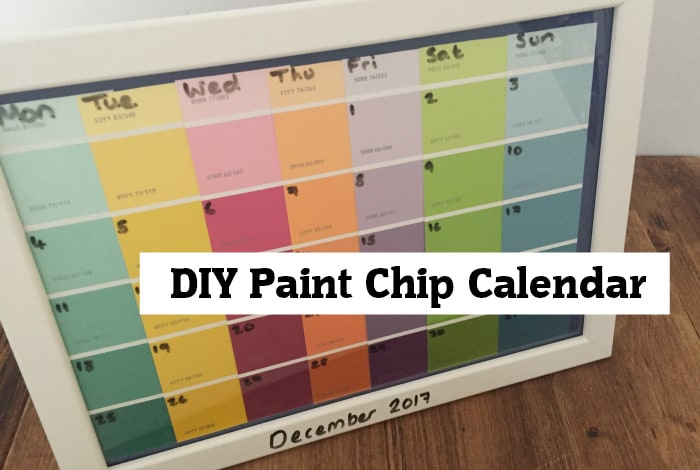
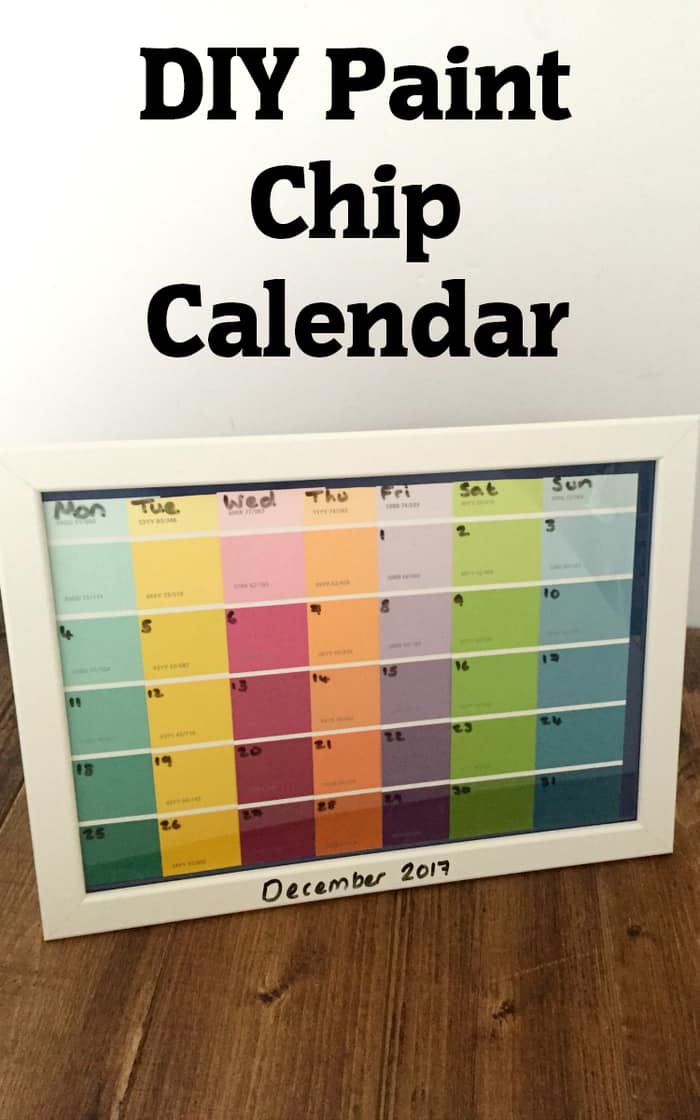
This brilliant little DIY Paint Chip calendar is just what you need to be more organised (and stylish at the same time).
When I went to the Festival of Thrift in September, I bought an amazing little book of those little paint sample cards – which I now know are called paint chips. I had no idea what I was going to do with it and I walked away from it twice but I ended up going back and paying £3 for it because I just loved all the amazing colours and knew there would be so much that I could make with the colourful samples.
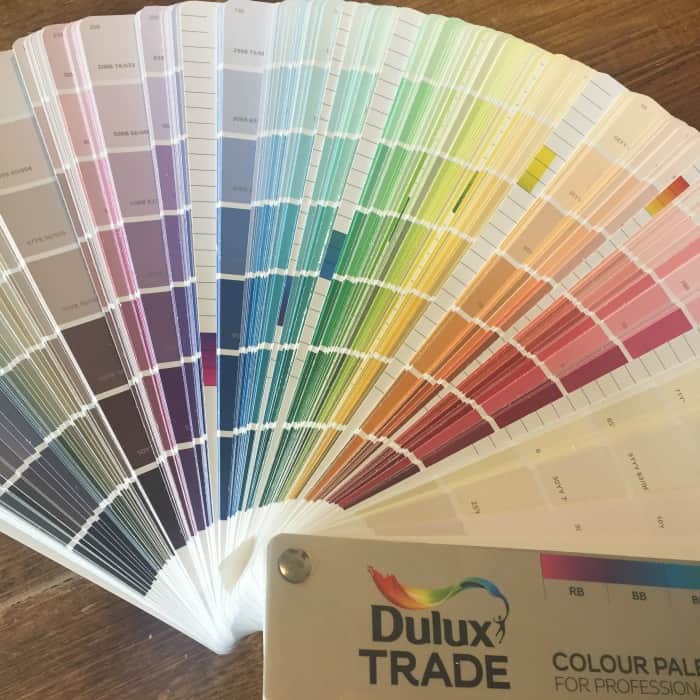
See, how could I possibly not buy that!
The first thing I wanted to make with some of the samples was a DIY paint chip calendar which I thought I’d share with you because I love how it turned out and even if you don’t have your own cool paint chip book like me, you can still recreate it with sampled you can get from your local DIY shop!
How to make a DIY Paint chip calendar
I used a cheap A4 frame that I bought from Ikea last time I was there and 7 different strips of the paint samples.
It was super quick to make, I literally cut the paint chip strips down to leave five full colours and one partial colour at the top – you can see in the picture below that the reason I left the partial colour at the top was (a) so my strips would fit in the frame and (b) I wanted to write the days of the week on there and I only needed a little bit of space to do that.
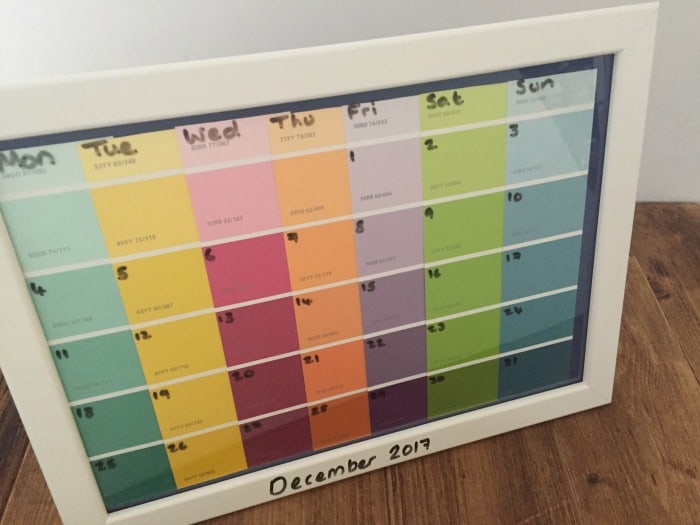
Next I just glued the paint strips to a sheet of A4 card as you can see in the above photo.
I did have to overlap mine a little bit though as they’re wider than some of the paint chip samples you get in the shops – all I’ll say here is that you really should make sure you practice your layout before you get the glue out!
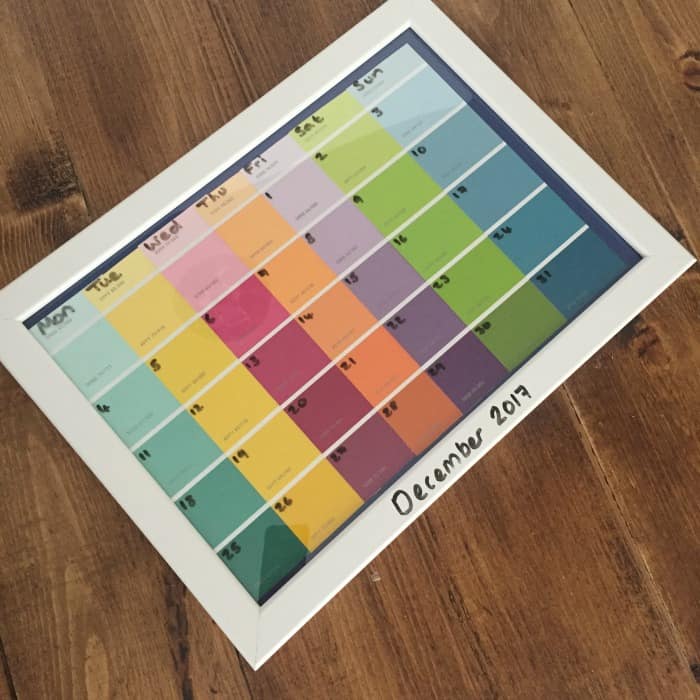
When the glue dried, I popped the card into the frame and used a dry wipe marker to write on the days of the month and the month itself on the frame itself. I think it looks fab and as long as I don’t lost the dry-wipe marker as I more than likely will, I can just wipe of the month and the dates at the end of December and start again for January!
I love it!
I used quite bright colours for mine but you could make yours match your colour scheme or go for more subtle colours – you really can make it as colourful as you want to make it.
Don’t miss out on future posts like this – receive updates directly to your inbox by email by adding your email address here and hitting subscribe. You can also follow me on Twitter, BlogLovin or Networked Blogs and I’d love to see you over on my Facebook page and on Instagram





 Logging you in...
 Loading IntenseDebate Comments...

Melanie · 383 weeks ago