The link for the muslin squares further down is an affiliate link – just putting it out there so you know. You pay the same price but I’ll get a few pennies too.
How to dye fabrics with food.
In my kitchen I have a little box for all of my favourite photo styling props – not that I’ve had chance to play much lately with my photography as the light has been so terrible over the Winter. I was going through it the other day to see what I’d collected and I definitely noticed a lack of colourful fabrics which always look great to add a little bit of extra dimension to a photo.
I had a look on eBay for some small squares of fabric that I could use but there wasn’t really any bargains and I didn’t want to pay much to be honest as I generally don’t share many of my photos – I take them mostly for fun and to practice and improve my photography skills.
So I decided to go old style and dye some fabric myself using things I either already had in the house or that I could buy from the shop cheaply.
The fabric I used was smallish squares of muslin which you can buy really cheaply – I think mine was less than £3 for three squares from Amazon.
Which fabrics can you dye?
I’m not an expert by any means but my research leads me to believe that natural fabrics take the dye better than others – muslins, linen, cotton and silk supposedly work best. I’d always recommend testing the dye on the fabric you’re intending to use beforehand.
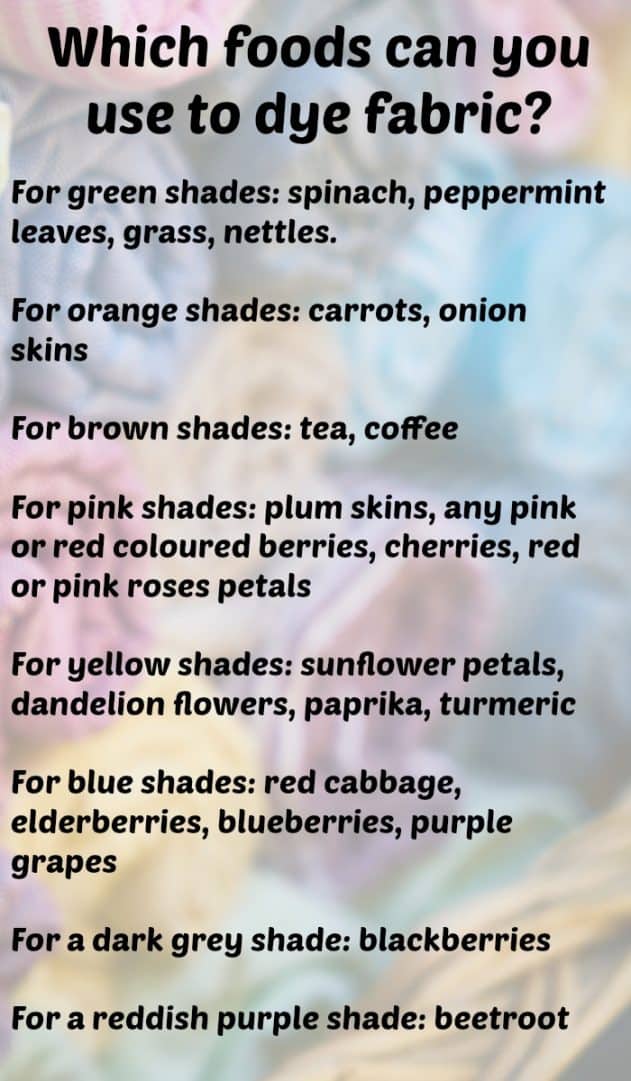
Which foods can you use to dye fabric naturally?
These are just a few of the ideas that I’ve gathered:
Prepare your fabric
If you’re dying your fabric with berries then you need to prepare your fabric with a salt mixture but anything else you can prepare with a vinegar mixture.
The salt mix is 75g salt mixed with about 500ml cold water.
The vinegar is about 60ml white vinegar mixed with 250ml cold water (the simple way to do this is 1 part vinegar and 4 parts water)
You can obviously used more or less depending on the size of the item you’re dying but you basically just need to soak your fabric in whichever mix you’re using for an hour before you add your fabric to the dye you’re making. Give it a quick rinse in cold water right before you use it and your dye should hold.
Making the dye
Once you’ve chosen what you’re going to use to dye your fabric you can prepare the dye:
- Start by adding your main ingredient to a pan and covering it with enough water to dye your fabric. Don’t forget that the dye could stain some pans and utensils. Remember the dye could stain some pots and spoons so try and use ones that won’t absorb the dye.
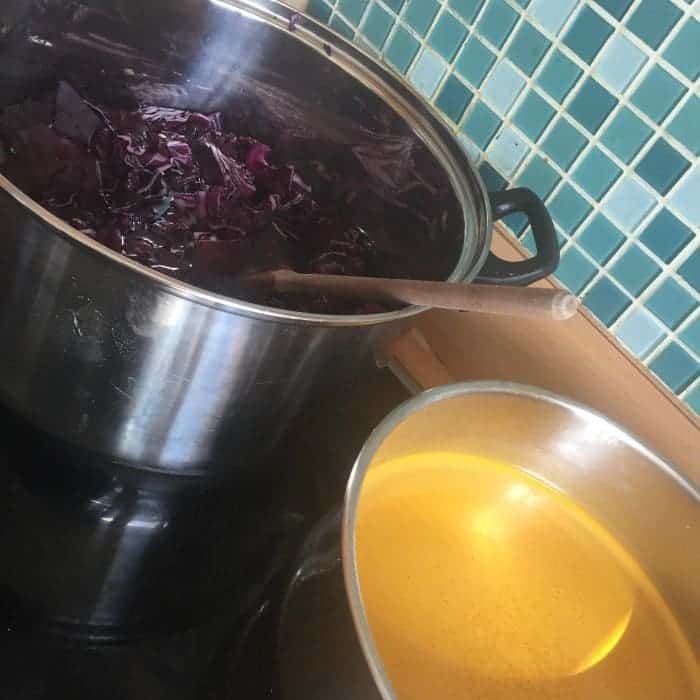
- Bring the pan to the boil and simmer the liquid very gently for about an hour – you don’t want it all to evaporate away like one of my batches did.
- Next you need to strain out the food from your pan and return the liquid to the pot – hopefully it will have a nice strong colour by now.
- Pop your fabric into the pan and slowly let the liquid boil again.
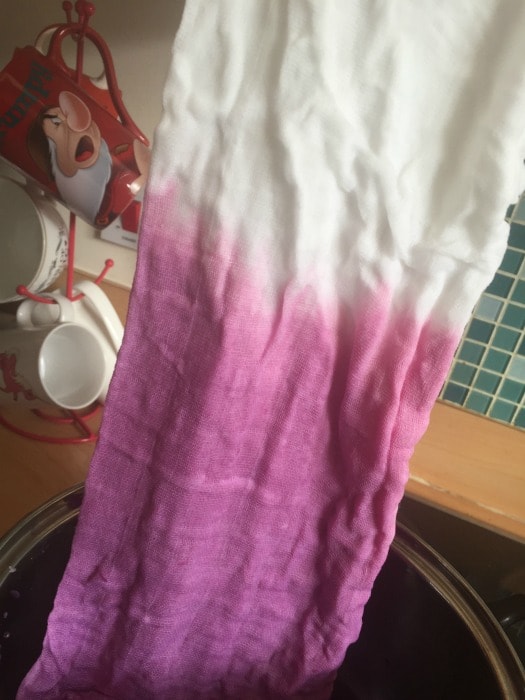
- Let the material and liquid simmer away on a low heat for an hour or so remembering to give it a quick stir every now and again to make sure the fabric dyes evenly.
- An hour should be long enough to dye your fabric but you can leave it for longer if you want a darker shade. I usually take mine off the heat after an hour but leave the fabric in the pan until the water has cooled. When you’re checking your shade, remember that the finished colour will be quite a bit lighter when the fabric dries.
- The final stage, when you’ve achieved the colour you want is to take the fabric out and wash it out in cold water. Keep rinsing it until the water runs clear as you’re washing it.
- Then you just need to dry as you normally would, all of my colours paled quite a bit when I dried them on the line outside which is good as I wanted paler colours.
There are a few exceptions to the above process – things like tea and coffee for example wouldn’t need to be simmered for an hour as the colour takes to the water very easily with them. The same with dried turmeric and paprika.
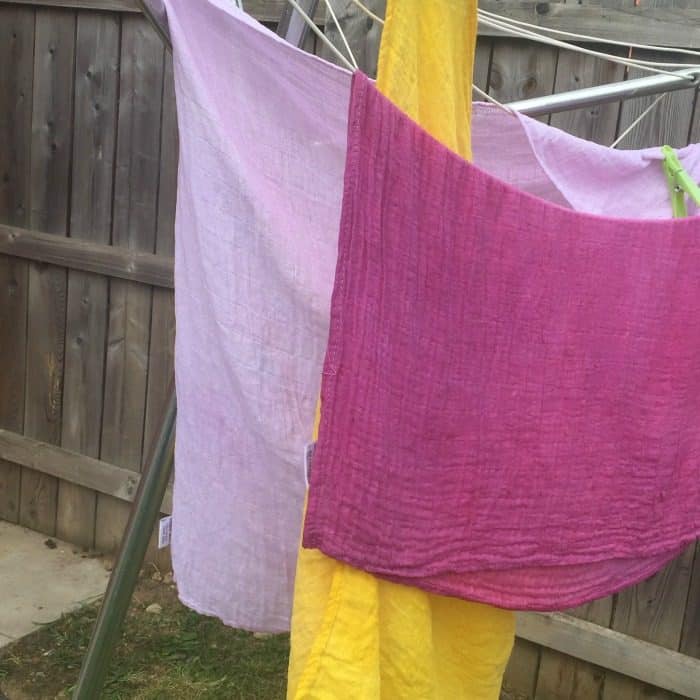
I used red cabbage for the first of my muslin squares but I cut down the period that the fabric was boiling in the liquid as I wanted a pale colour with this and I think it looks brilliant. Red cabbage is supposed to give a bit of a blue tinge but it didn’t for me – maybe if you leave it in for longer than I did?
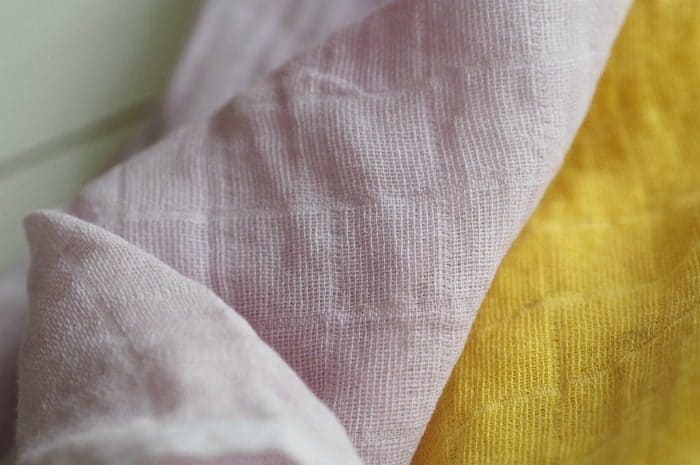
Next I used some dried turmeric which I boiled in some water for a few minutes before adding the fabric to the pan, this resulted in the most amazing sunshine yellow….
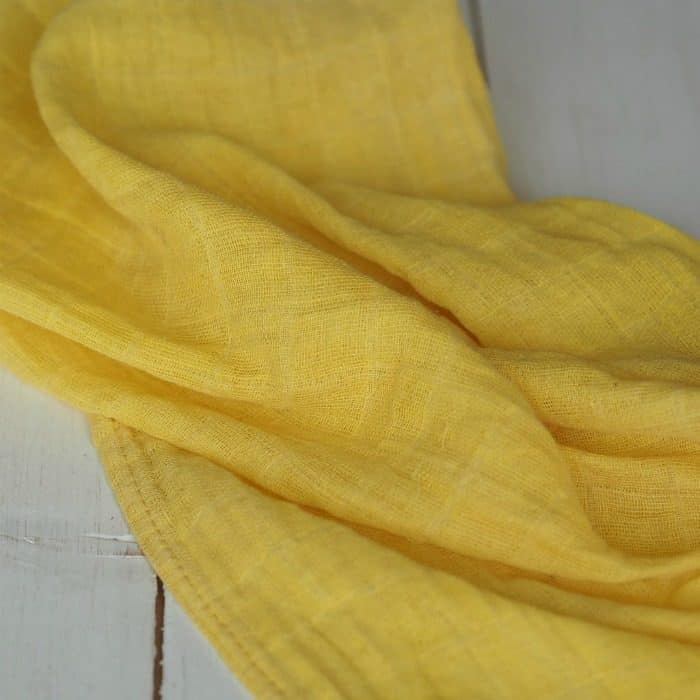
For my final piece of fabric I used a mixture of grass and frozen spinach to make a kind of green colour – I don’t have a photo as the colour reminded me of baby poo and what little colour there was disappeared completely when I rinsed it under the cold water for the last step. I went back to the drawing board though and had another go using some blackberries which gave me a really vibrant pink, although it’s dried to a much more sedate colour now….
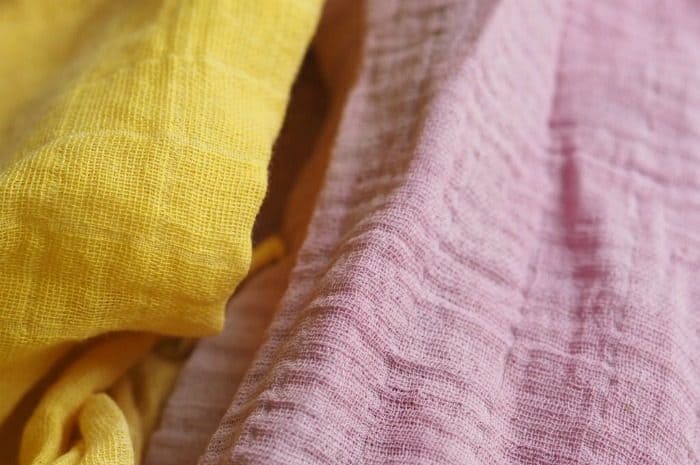
The red cabbage dye and the blackberry dye do look quite similar now and I really did want a green shade so I may possibly try again with the paler of the two pinks although I do love them both and I think they’ll look great in photos.
I haven’t tried washing the fabric yet but I think if ever I need to then it would need to be a gentle hand wash although the vinegar solution that I used should really help the colours hold fast. I’ll update this post when I do wash them though.
Don’t miss out on future posts like this – receive updates directly to your inbox by email by adding your email address here and hitting subscribe. You can also follow me on Twitter, BlogLovin or Networked Blogs and I’d love to see you over on my Facebook page and on Instagram.

Discover more from The Diary of a Frugal Family
Subscribe to get the latest posts sent to your email.


