Do you have clothes that need a bit of love – missing buttons, bobbly fabric, holey knitwear… Me Too! That’s why today’s post is all about how to rescue old clothes!
I love a good pre-loved bargain when it comes to clothes but every now and again, I get a bargain home and find a little flaw that I missed in the shop in my excitement to grab a deal. I do usually give them a good check but I inevitably do miss things every now and again and finding a flaw on an item when I get home hurts me! 😂
And it’s not just my pre-loved bargains that sometimes need a bit of TLC, I have things in my own wardrobe that have seen better days for one reason or another.
Lately, I’ve been putting anything that needs a bit of attention in a pile at the bottom of the wardrobe with the vague plan to spend some time on them all and write a post of how I had a rescue old clothes afternoon.
Sunday afternoon was that day and this is that post so sit back and I’ll tell you my tips on how to rescue old clothes and show you some of my own attepts!
How to deal with Missing Buttons
I have a long skirt which has lost a button! It’s the second button from the top so my three possible solutions for a missing button are…
- Check the washing instructions label inside the skirt as there’s often a spare button attached to that.
- Because the button is in such an obvious place, it needs to match the others so I can’t just find a similar one to pop in the space of my missing one (well, I could but I don’t want to as it would look too obvious) so I could just buy a set of eight new buttons to replace the whole set. If that’s what you’re doing then measure the size of the ones you have and pop into your local sewing shop and buy a set. They’re cheap enough to buy but if you prefer you could even pop into a charity shop and look for something with buttons that you can upcycle.
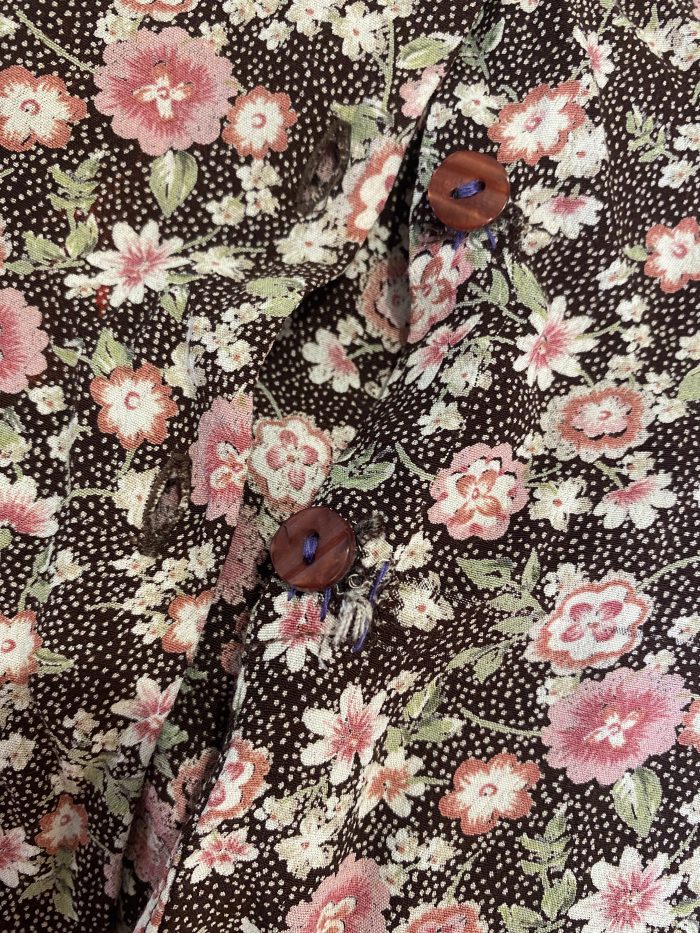
- Check to see if there’s a button elsewhere on the item that you can move. That’s what I ended up doing with this skirt – I moved the button from the bottom of the skirt up to replace the missing button which solved my missing button problem and just gave me a little more of a split at the bottom which I like too.
It does look like it’s already had a repair job or two though judging by the fact that the stitching cotton for the buttons in no way matches the rest of the skirt!
As an aside, does anyone remember their Mam or Nana having a button box? My Mam had one which had buttons in there for every occasion and it’s actually one of Miss Frugal’s strongest memories of playing with her before she died. We even have a picture that we made from some of the buttons in there which we made years ago now together and it still hangs in my hallway where I see it every day.
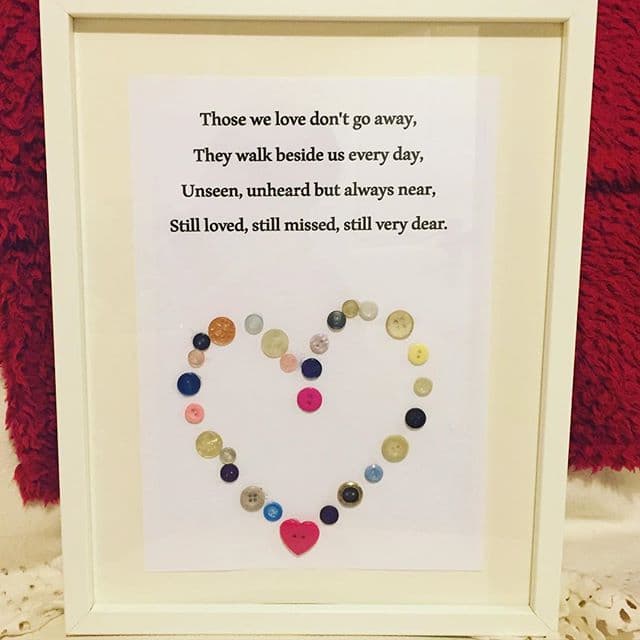
Sorry, I know that had nothing to do with how to rescue old clothes. Back to it now…
How to get rid of Bobbly fabric
I finally invested in one of those bobble remover machine things and it’s changed my life.*
I have a couple of things that are a little bobbly around the underarm and chest area and I had heard that using a razor to gently shave over the area that was bobbly would fix it. To be fair, it really does work for small areas but when something is super bobbly or it’s spread over a larger area then it just doesn’t work well so I invested in a little gadget. It cost me around £10 and was well worth it judging by how well it’s worked so far.
* OK – changed my life might be a slight exaggeration but it’s definitely a game-changer. (Aff link – this is the one I have)
How to fix holes in your clothes
Obviously if it’s just a damaged or ripped seam that’s made a hole in your clothes then that’s easy to fix with a quick stitch job but elsewhere on the item isn’t such an easy fix.
Some things are an easy-ish fix as you can use an iron on patch which is a super cheap and even better, a super easy option with so many to choose from. I was in Hobbycraft the other day and they had loads for around the £2 mark. I wish I’d taken a photo of them but you can see what I mean if you pop on to their website…

Amazon have some great deals too with one kit of 32 iron on patches at £7.99 and there’s so much variety in that pack that you;ll be spoilt for choice and maybe using some where there isn’t even a hole.
I have a super pretty jumper that I bought for £1.49 from the charity shop that has some loose stitches which shows as a small hole from the outside. I bought it anyway as this is the view from the inside of the top…
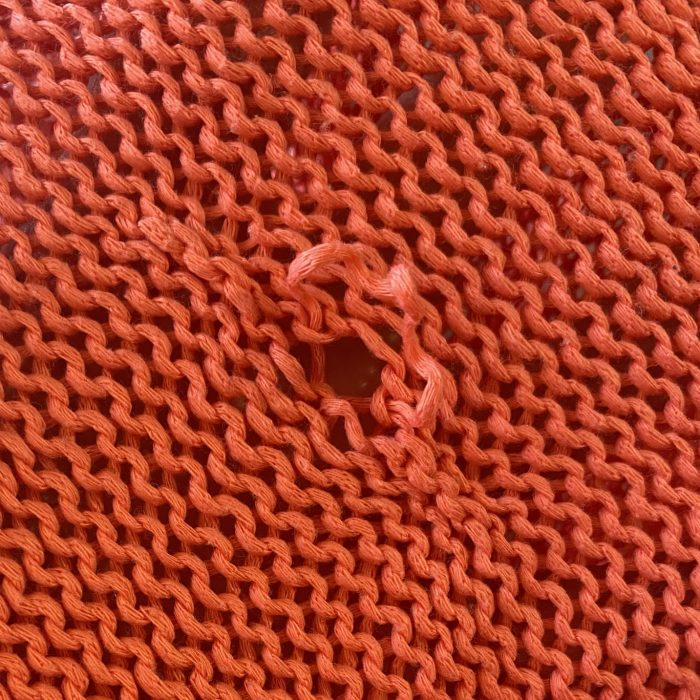
The wool is there so my plan is to use a small amount of clear thread and pull the wool back through to close the hole up and then just secure with a few stitches. It should work enough to close the hole up and be almost unnoticable in the grand scheme of things.
How to deal with something that’s the wrong length
I bought a skirt from Vinted a little while ago and it was a bit of an odd length on me. I’m not the tallest person in the world anyway so when something is meant to be knee-length on someone of average height falls a couple of inches below the knee on me and that’s just not a length that flatters me at all so I thought I’d just pop it back on Vinted.
I went to list it and realised that someone had already had a play about with the length as it was a raw edge at the bottom and on closer inspection, it was actually slightly wonky. This is the photo from when I bought it off Vinted – I really should have noticed. 😂
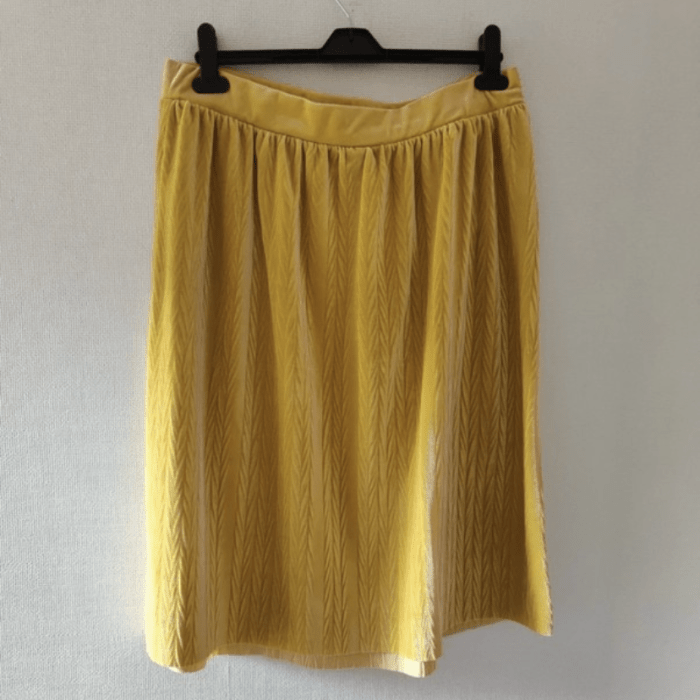
It’s a lovely thick material so I’m going to have a go at shortening it a bit more just by going at it with a pair of scissors I think – I just need to figure out how to get a straight line.
Usually, I’d use Wonder web to hem anything that’s a bit too long and I always have a stack in because most things are on the long side for me!
I also have a solution for if something is too short… I am quite conscious of my tummy when I dress so I like a longer length top to cover it up a little bit and often I buy a jumper that is just slightly too short for me to be comfortable with so I’ve just ordered one of these (aff link) fake little undershirts.

Which goes under a jumper and looks like a fake shirt so covers the bits I want to cover up and means that I’ll be more comfortable in my shorter jumpers. Not bad for a fiver!
How to deal with marked clothes
Anyone who reads my weekly five frugal things posts will already know about this one but I bought a dress a while ago that I loved until I noticed a few small white bleach type marks on the fabric at the front.
(please ignore the state of the mirror, I was trying this dress on ready for a night out and had just put some dry shampoo on my hair and it looks like I got it all over the mirror)
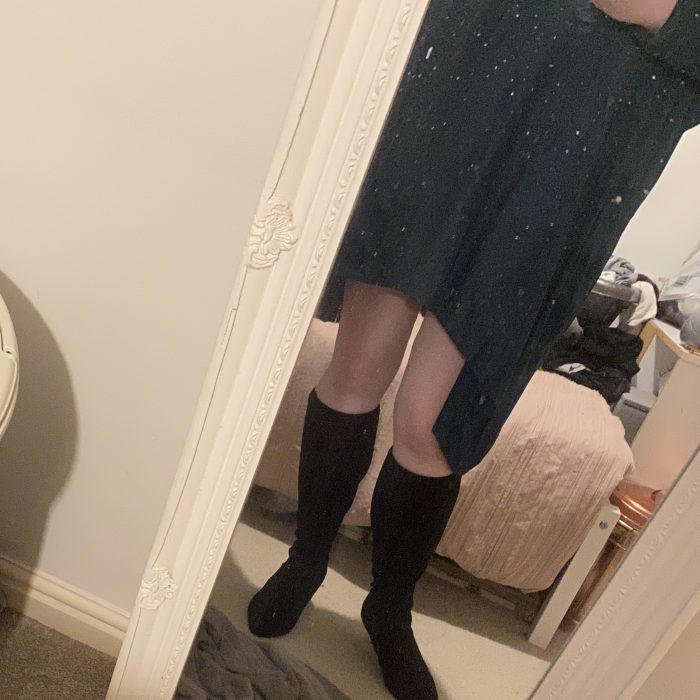
After a failed try to cover the stains with a green marker pen, I managed to find a dye that was a super close match for the fabric of the dress so I was able to dye it to practically the same colour and now you can’t see the marks.
Dye isn’t just a great to rescue old clothes though, it’s cheap enough and easy enough to just quickly give something a makeover even when there’s nothing wrong with it! Just have fun with it!
I use the Dylon sachets which are enough to dye one item usually and they come in so many colours that you’ll be spoilt for choice. I got mine from Hobbycraft but they’re a similar cost on Amazon if that works out easier for you. (Aff link – Dylon dye sachets)
So now you know how to rescue old clothes – what do you have in your wardrobe that needs a bit of love to bring it back to life?
Don’t miss out on future posts like this – receive updates directly to your inbox by email by adding your email address here and hitting subscribe. You can also follow me on Twitter or BlogLovin and I’d love to see you over on my Facebook page and on Instagram. If you’re interested, you can find out more about me here and while I’ve got your attention, if you’re wondering why some of my posts lately are a little bit less frugal then have a read of this post. 😉
Do your future self a favour – Pin ‘Five ways to rescue old clothes’ post for later:
