This year we decided to make a Christmassy Gingerbread House, largely because Miss Frugal saw a beautiful one in the school raffle and misguidedly thought that we could make one that looked just as good! It didn’t work out quite as planned but it looks presentable so I thought I’d share how to make one with you so you can make your very own….
To make the Gingerbread you need:
350g plain flour
175g brown sugar
100g butter
1 egg
5 tablespoons of golden syrup
1 teaspoon bicarbonate of soda
2 teaspoons of ginger (we used more because we love the smell of the ginger)
Add the flour, the butter and the bicarbonate of soda to a large mixing bowl.
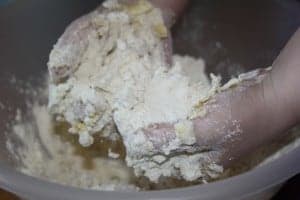
Get your hands in there and rub the butter into the flour until the mixture looks like breadcrumbs.
Next, add the rest of the ingredients and knead until everything is combined and you have an easy to work with ball of dough. Wrap your dough in cling film and chill in the fridge for at least two hours, removing it about 10 minutes before you’ll be working with it.
On a floured surface roll out your dough until it is about the thickness of 2 £1 coins.
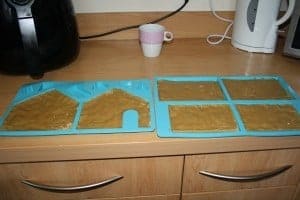
Now you need to make the shapes that will eventually become your house, I have a gingerbread house mould but it would be just as easy to print out this template and cut out the shapes you need.
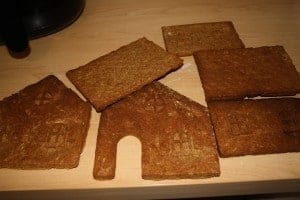
Once your shapes are ready to go, bake them in a preheated oven at about 180 c for about 10-15 minutes. Try not to forget about them while they’re in the oven or yours may turn out like mine did looking slightly crisp around the edges 🙂
When your house is completely cool, you can move on to making the icing that’s going to hold everything together.
To make the Icing you need:
300g icing sugar (possibly more)
2 egg whites
We used an electric whisker to whisk the icing sugar and the egg whites until they are at the soft peak stage, this is the one bit I didn’t let Miss Frugal help with – no idea when she’ll be old enough to be allowed to use that – probably about 21! You may need to add some extra icing sugar to get the icing thick enough – I had to add a few spoons more but then again, I used large eggs.
Now for the hard bit – sticking it together and managing to make it stay standing!
We started by piping the icing on to the bottom of one of the end pieces and then sticking it on to the large plate I was using as the base. We used two small vases to put on either side of it to anchor it in place and then attached one of the sides and the other end. I wouldn’t have been able to manage without my vases as Miss Frugal’s hands weren’t steady enough to hold the walls in place, you could use tins or anything to anchor your walls. The icing sets quite quick and really does hold it together so the trick is to use as much icing as you can on the edges of every piece.
After the walls have been standing for an hour or so (we were impatient and only waited 20 minutes) you can attach the roof pieces, again using lots of icing. As I couldn’t figure out a way to anchor these while the icing set, we did one piece at a time and took it in turns to hold the piece in place – my turn obviously lasting way longer than Miss Frugals!
After the roof has set, you’re ready to get decorating….
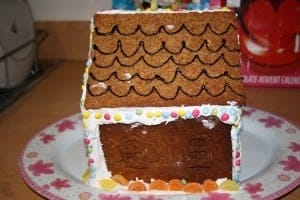
Here’s the end result:
It’s definitely not as perfect as the one we saw but we had lots of fun making it and Miss Frugal has already had half the world in the house to show off ‘her’ creation to them….
Seeing as it’s Christmas and we baked, I’m going to enter our little house in Becky’s Big Christmas Bake Off over at English Mum and also seeing as it’s Christmas and baking a GingerBread House is our newest family tradition, I’m also going to ask the lovely Ella over at Notes from Home to include it in her Christmas Traditions Friday Club carnival. See you there….
Updated: I’m so pleased that after all her effort, Miss Frugal won one of the children’s prizes in the Big Christmas Bake Off – Thanks Becky and thanks English Grandma 😉
