I started this blog to record our family memories and I’m a huge fan of sharing our favourite family moments on Instagram so it’s probably not really a surprise that both of my children have a memory scrapbook that I started for them when they were babies.
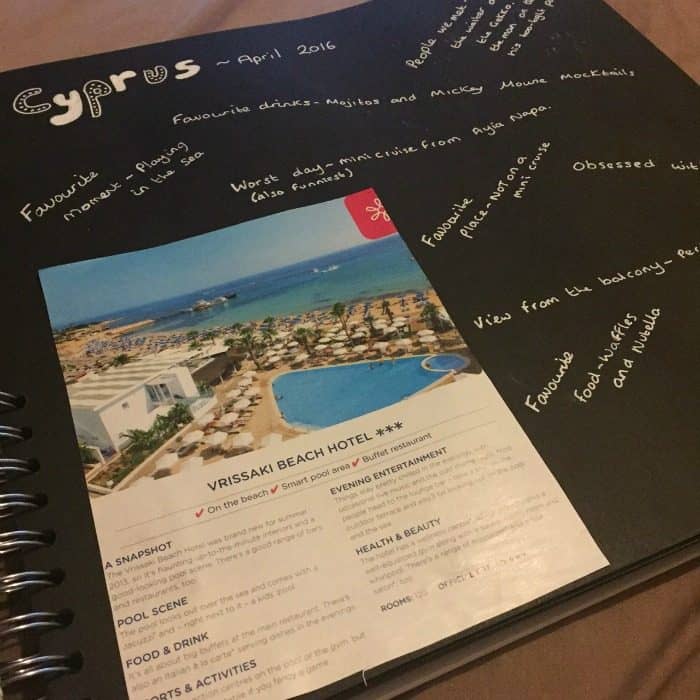
They love looking back at their scrapbooks and as soon as they were old enough, they took over adding in their own memories and now Miss Frugal even has her own travel scrapbook too.
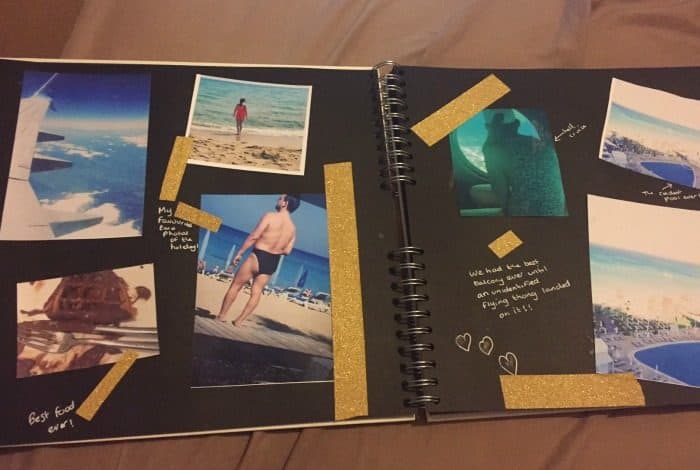
Scrapbooking is such a fun and creative way to help us remember the past! The book itself doesn’t have to be just photographs, as ticket stubs and even some small mementoes can be included. Your kids might not understand the significance of a scrapbook right now, but they will in the future.
For today, it can be just a fun, little DIY art project that takes up a morning or afternoon, plus, it gets them away from tablets, computers, and TVs for a while! If your kids really love it, they could go on to make a travel journal afterwards like mine have!
Scrapbooking should ideally be an on-going process, as anything can be added at any time, but setting up the memory scrapbook is easy and enjoyable. Here are a few tips to get you started.
Picking up the materials
You can buy blank scrapbooks online or in any craft shop in your local area. It’s best to pick a large binder, perhaps 12” x 12”, so that you can fit around four photos on each page. Scissors and glue are definitely necessary, as is some Washi tape, pens, pencils, and some coloured card stock. You don’t need to spend a fortune but a few bits to help make it look more fun really helps.
Arrange and glue photos
Photographs will make up the bulk of scrapbooks, so if you haven’t got many printed, then head down to your local Boots and print off a big batch from your phone or SD card out of your camera. We often neglect real photos these days, simply storing them on our memory cards, so it’s nice to see them actually printed out. You could get a few copies of some, in case you want them elsewhere than your scrapbook. Arrange as many as you can on each page and have them at funny angles if you want! Glue down the photos and later place some strips of Washi tape over the corners, in case the glue doesn’t hold so well over time.
Embellish!
After the photos, add some ticket stubs from trips to the zoo or the cinema, if you still have them. If something is small and flat enough to be included, then throw it into the scrapbook! For the white spaces around the photos, you could cut out some shapes from the coloured card stock – easy things like stars, triangles, squares, circles, etc. It just adds a bit of flair and fun to the blank pages. Include some fun stickers that you either have lying around or bought for the occasion… what kid doesn’t love to put stickers on something?
Don’t forget to keep adding
Over the months and years, try to add some more photos and ticket stubs so that you can get into the routine of scrapbooking. Later down the line, you and your kids may well even consider the idea to print books using something like print24, as this is where you can get really fancy with the layout and own a professionally made piece of your family history.
Describe the photo
Finally, write something about the photograph, like where it was taken and what was the event. Add a funny story if you can remember it! It might be best to write it in pencil first, and later go over the text with a special black marker pen or silver pen. Be as descriptive as you can, so future generations have some background info as to what’s happening in the photo. And that should be it! Finishing the scrapbook will take a few hours, and you’ll have a gorgeous memory book to always look back on.
Don’t miss out on future posts like this – receive updates directly to your inbox by email by adding your email address here and hitting subscribe. You can also follow me on Twitter, BlogLovin or Networked Blogs and I’d love to see you over on my Facebook page and on Instagram. You can find out more about me here. This is a collaborative post.


