A while ago now, I shared my first attempt at making soap with you. My lovely Honey and Oatmeal Soap was so lovely that I decided to have a go at making a coconut soap because as the weather gets warmer, coconut is definitely one of my favourite scents.

I always thought that making your own soap was quite a long process and I’m petty sure that the traditional way involves something that requires gloves and a facemask which put me off having a go myself so I’ve never looked into it too much. But then I discovered something called ‘Melt and Pour Soap Base‘ which is amazing and is basically just as it sounds – you melt it and then you pour it (adding some extra ingredients in between of course).
I bought my soap moulds for under £2.00 from Amazon because I wanted traditional soap shaped moulds for my adventures in soap making. Any silicone moulds would do though and actually when I get around to sharing more soap-making posts, you’ll see that I have some pretty flowery shaped moulds that I’ve used too.
How to make homemade Coconut Soap
Soap Base Mix – mine was about £3.50 for 500g and that made 6 bars of soap but I only made two coconut ones so I just melted about a third of this for this.
5 tablespoons of desiccated coconut (this is per two bars of soap)
15 drops of coconut essential oil
- I found the best way of deciding how many cubes to melt for each bar of soap was to pop them in the mould itself. I only melted enough for two soap bars at a time.
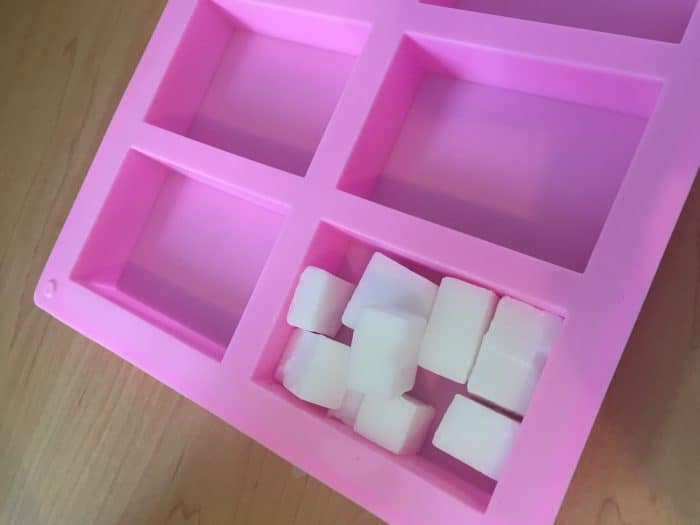
- I melted my soap in the microwave in a glass jug rather than the bowl over a glass bowl method because I do love a good shortcut. I checked it every 30 seconds for about two to two and a half minutes.
- Once the melt and pour soap base was fully melted, I added in the desiccated coconut and the coconut essential oil and gave it a good mix.
- Finally, I poured the soap mix into the moulds and then left it to set for a couple of hours.
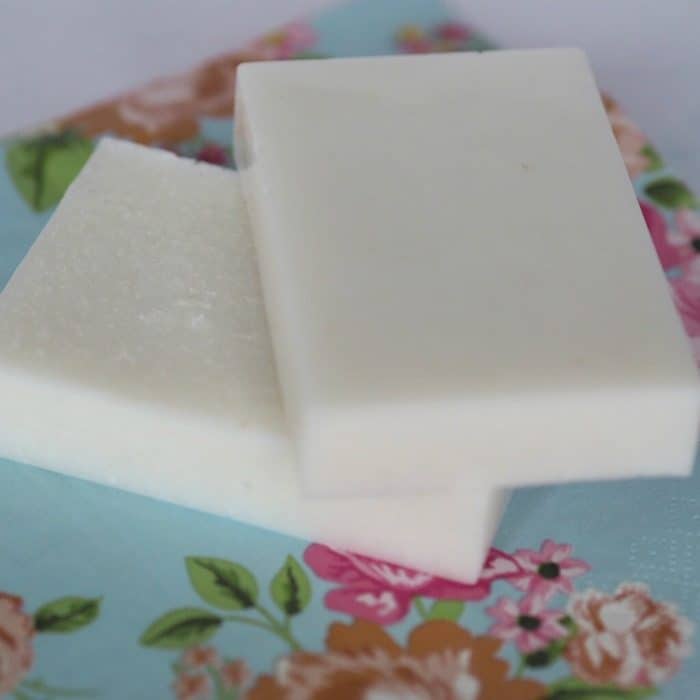
One unexpected bonus with this coconut soap is that the desiccated coconut mostly sank to the bottom leaving one super smooth side to the soap and one rough side which could almost be used an exfoliator. I’m not sure if you can see what I mean from the photo below – just after I set up to take the photo a giant cloud settled above my house which made it quite hard to get a great photo!
If you like homemade products then do have a look at my other little projects.
Don’t miss out on future posts like this – receive updates directly to your inbox by email by adding your email address here and hitting subscribe. You can also follow me on Twitter, BlogLovin or Networked Blogs and I’d love to see you over on my Facebook page and on Instagram


