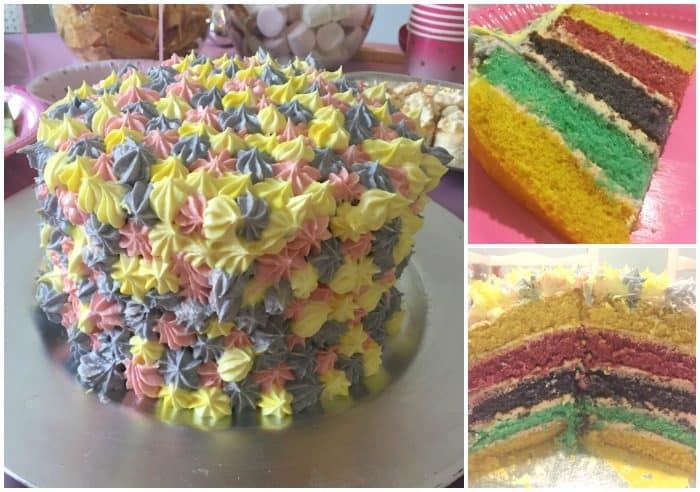
I definitely wasn’t blessed with many baking skills so all I’ll say about the homemade rainbow layer Birthday cake is that if I can make it, you certainly can!
(This post may contain affiliate links – I’m just putting it out there so you know. You pay the exactly the same price but I’ll get a few pennies too)
I blame Pinterest for making me want to be one of those Mum’s who whips out a beautifully decorated cake at a Birthday party filled with teenagers who probably would have been just as happy with a shop bought Colin the caterpillar cake! There I was innocently browsing through for an idea on how to upcycle a little table that’s made it’s way into my possession when I ‘accidentally’ clicked on a pin of a beautiful rainbow layer Birthday cake which was clearly way above my baking pay grade (remember this ‘homemade’ cake I made?). The recipe was pretty complicated as far as cake recipes go so I clicked on the X button and went back to table upcycling.
But the idea of making a rainbow layer Birthday cake was in my head by that point so I decided to give it a go using a much more simplified recipe – a scaled up version of my Nan’s old faithful sponge cake recipe.
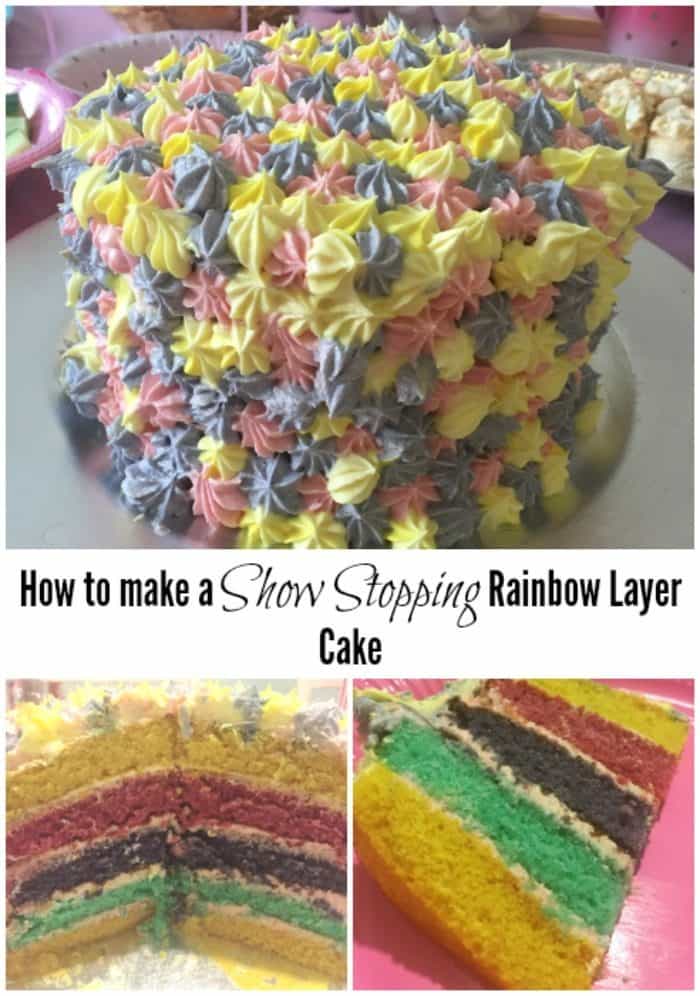
How to make show-stopping rainbow layer Birthday cake
300g softened butter or margarine
300g sugar
6 eggs
300g self raising flour
2 capfuls vanilla essence
5 different coloured food colourings
For the icing sugar, I had a lot left over from what I made and I used some from an earlier recipe to sandwich the layers together so you’re on your own for this one. 
**Tip 1 – Make sure the green food colouring you buy is actually green and not yellow. The one’s I bought from Morrisons both looked exactly the same when they came out. In the photo the top layer is green and the bottom is yellow (or the other way around) but they look identical don’t they?**
**Tip 2 – I always add baking powder to my sponges but I left it out this time as I wanted the layers to be reasonably flat.**
Pre heat your oven to around 190 c
- As you would with a usual sponge cake recipe, cream the sugar and butter together, beat in the eggs and the vanilla essence and then fold in the flour.
- Next you need to divide your mix into five equal portions so you can add the colour, 250g per portion is a good guide for this.
- Add a few drops of colour to the first portion of cake batter one and mix it in until the colours evenly spread through the mix. Add more colour if you need to, I added a fair amount as I was going for vibrant colours.
- When you’re happy with the first one, do the same to each of your portions using a different colour.
- Next you need to prepare the tins which is essential if you want to guarantee the cakes come out in one piece. I bought a set of five tins from Morrisons for £5 for this (similar to this set here ) because I didn’t have any suitable baking tins thanks to my husband cleverly putting our old oven outside for the scrap metal man to take away after the fire incident with ALL of our baking trays in it. You could just use a baking tin you already have and repeat the process five times to save money although the tins did make the baking process so much quicker that they were worth the money. I cut out some baking paper in the shape of the tray and popped that in the base of each tray before I added the mix.
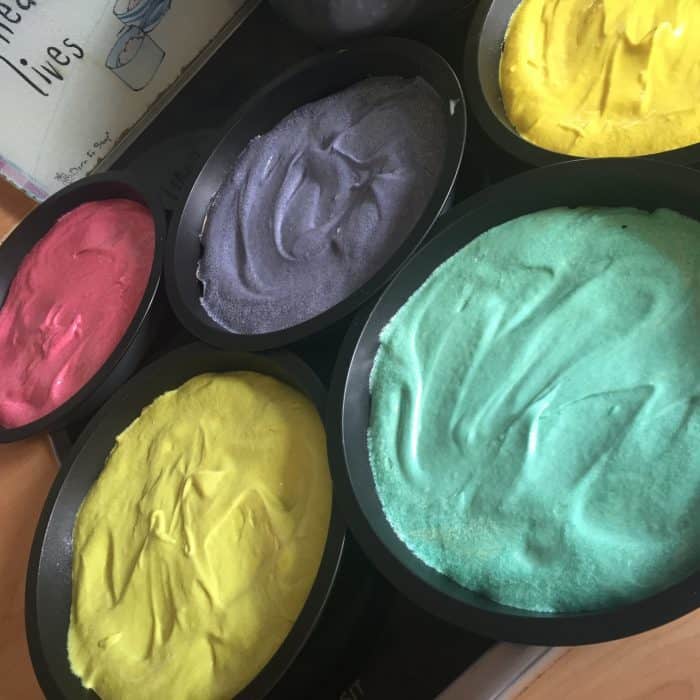
- Next you can just pop them all in the oven for around 10 minutes and bake them until they pass the skewer test. I kept a close eye on them though as they’re quite shallow and could burn very easily.
- Once all the layers are cooked, leave them to cool completely before beginning construction.
- If I were you, I’d choose the plate you’re planning to serve the cake on and build it up on there rather than try and transfer it afterwards. The one I chose is actually a charger plate from the pound shop which I picked up in their Christmas section – cheaper than a cake board and re-usable too.
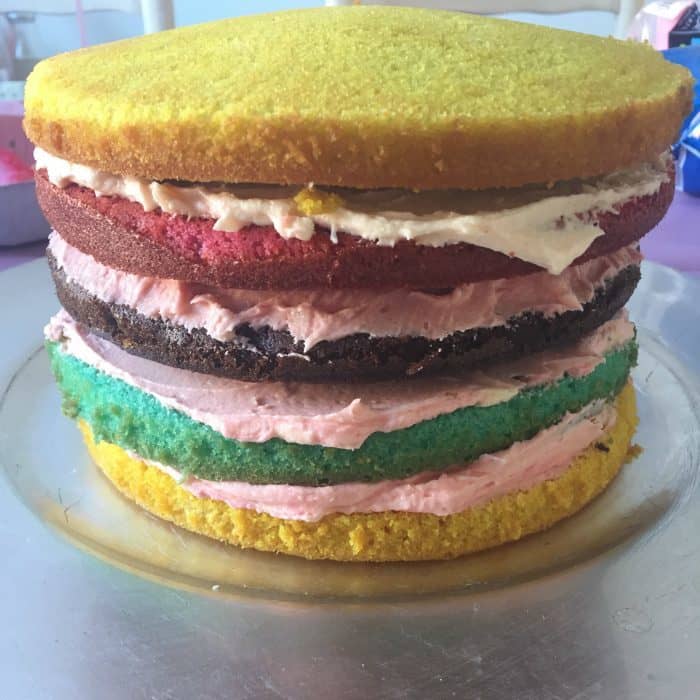
- I sandwiched the layers together very roughly using some leftover icing from the hombre cupcakes I’d made earlier than day and some icing that I whipped up to ice this cake with. You might have be better to add some more icing around the edges to fill the gaps a little bit better in as that makes icing it a bit easier but basically, as long as it’s standing up straight and looks even at this point then you’re all good.
- Next, make your butter icing by combining the butter and icing sugar until it was smooth and then if you want to ice your cake like I did, split it into 3 portions.
- Add a couple of drops of different coloured food colourings to each portion and mix them until the colour is evenly spread through the icing.
- Now comes the fun part, using a star shaped piping nozzle (like this one) and, if you’re anything like me, some disposable icing bags (like these but mine are from Asda I think), you can use one colour at a time to piple little stars all around the cake. I just did random stars dotted about in the first two colours and then filled the gaps with stars with the last colour. I started with the pink, then the blue and then the yellow and I think you can see from the picture that there’s more yellow because that was the last colour so I used it to fill all the gaps in. I’d finish with your favourite colour if I were you as that will be the predominant colour in the icing.
- When you’re finished icing, pop the cake in the fridge as the icing will need to arden up a bit.
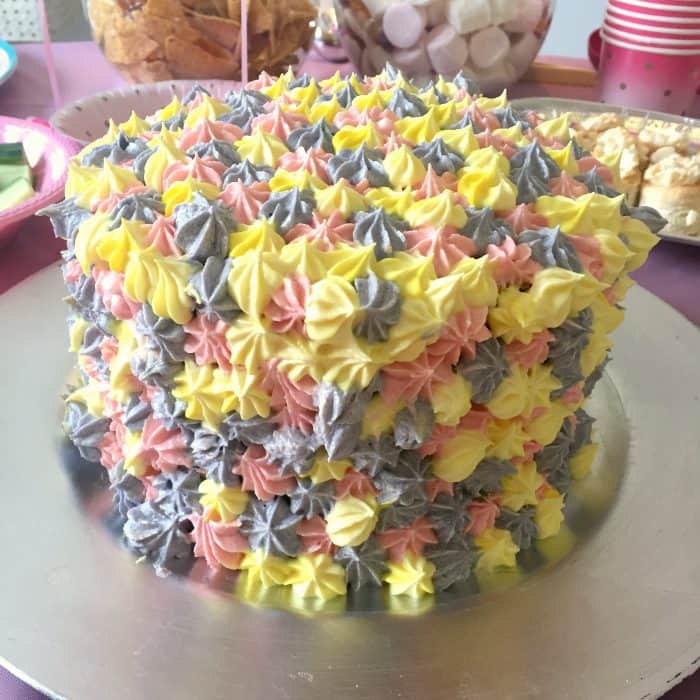
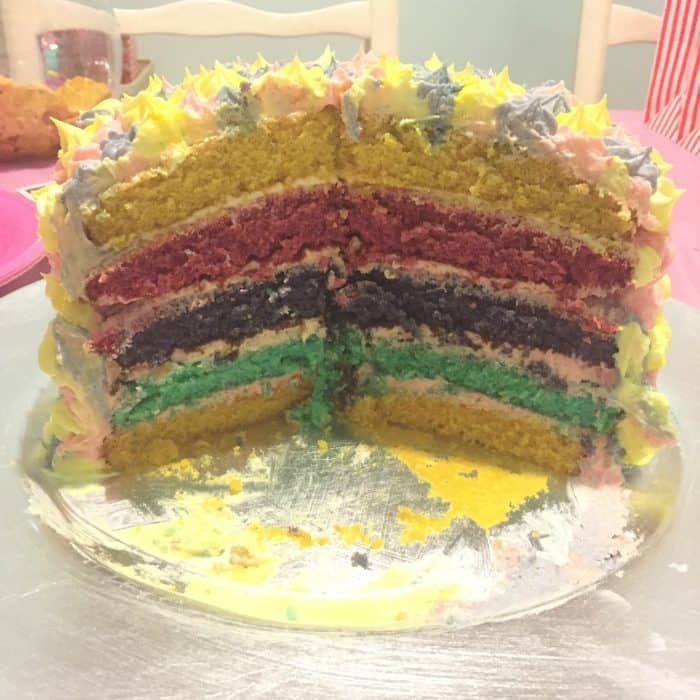
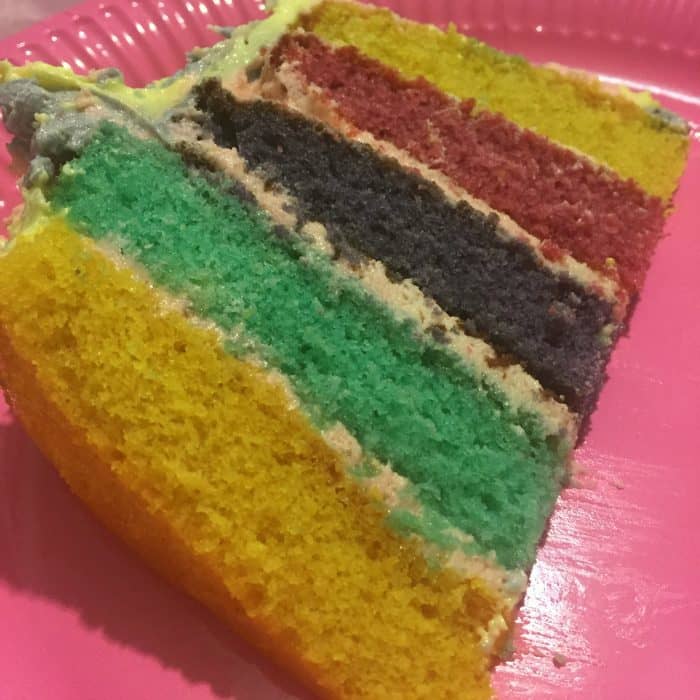
My version of a rainbow layer Birthday cake tasted amazing, was easy to make, looked brilliant and was just what Miss Frugal wanted! Result!
If you liked this recipe for rainbow layer Birthday cake you can save it to your own recipe box if you use Yummly – just click on the YUM icon at the bottom of this post.
Don’t miss out on future posts like this – receive updates directly to your inbox by email by adding your email address here and hitting subscribe. You can also follow me on Twitter, BlogLovin or Networked Blogs and I’d love to see you over on my Facebook page and on Instagram.




 Logging you in...
 Loading IntenseDebate Comments...
Health Care Program · 345 weeks ago
Boat & fun Phuket · 312 weeks ago