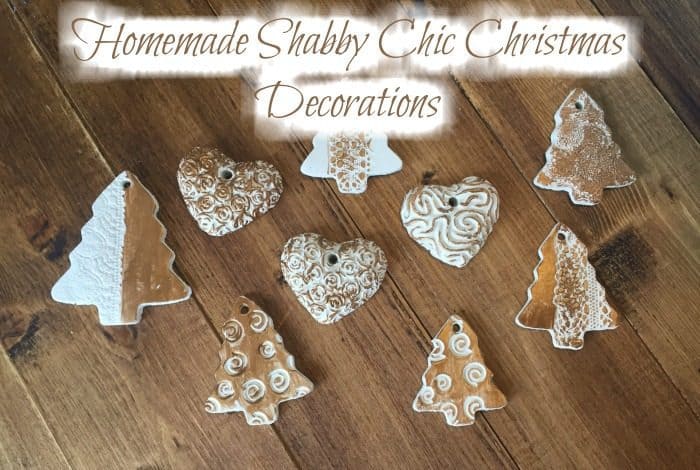
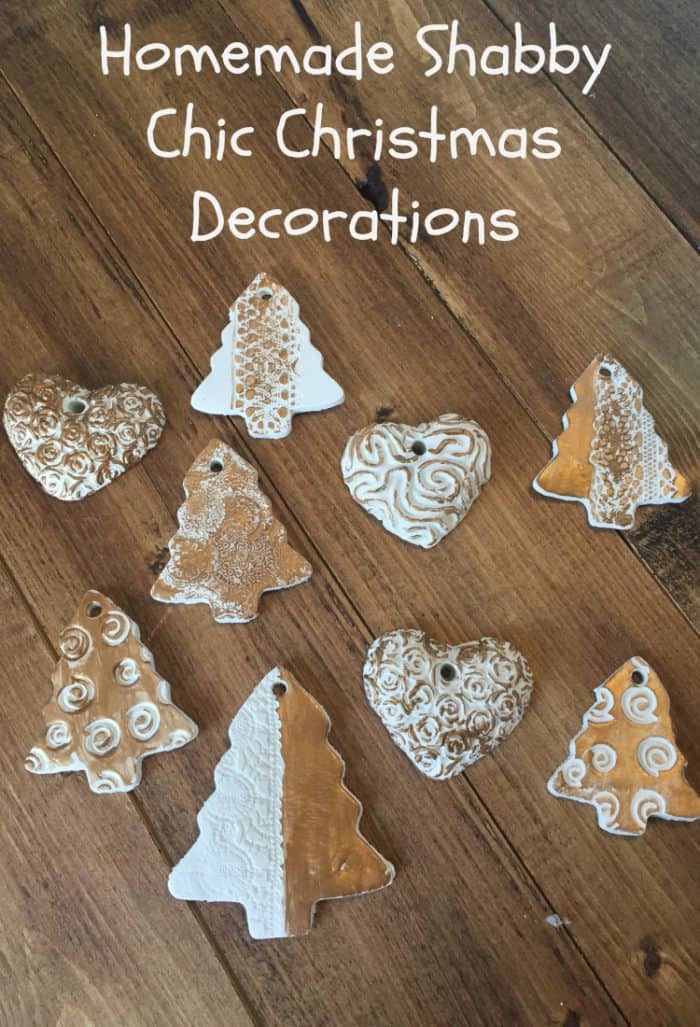
I know, I know, it’s only just November but I couldn’t wait to share our homemade shabby chic Christmas decorations with you!
I’m quite fussy when it comes to what goes on my Christmas tree but these cute little shabby chic Christmas decorations will definitely be taking centre stage as I love them – they’re much more me than the shiny glittery traditional style baubles that you normally see. The kids are all about the glitter so our main tree is quite traditional with lots of sparkle and big traditional decorations but I love these cute little shabby chic Christmas decorations that much that I think I’m going to buy a cheap little 3ft tree to go in the kitchen and fill it with this sort of style decoration – lots of which will probably be homemade, so watch this space.
These little decorations were a bit of an afterthought as we had some clay left over from the pack we bought from Amazon for a couple of projects a while ago but they’re actually my favourite of all four projects that we got out of the one pack of clay!
They were so easy to make and the fact that they’re meant to be shabby chic style means that they don’t have to be perfect – Miss Frugal did these for me and she’s not known for her attention to detail so this style is perfect for kids to make!
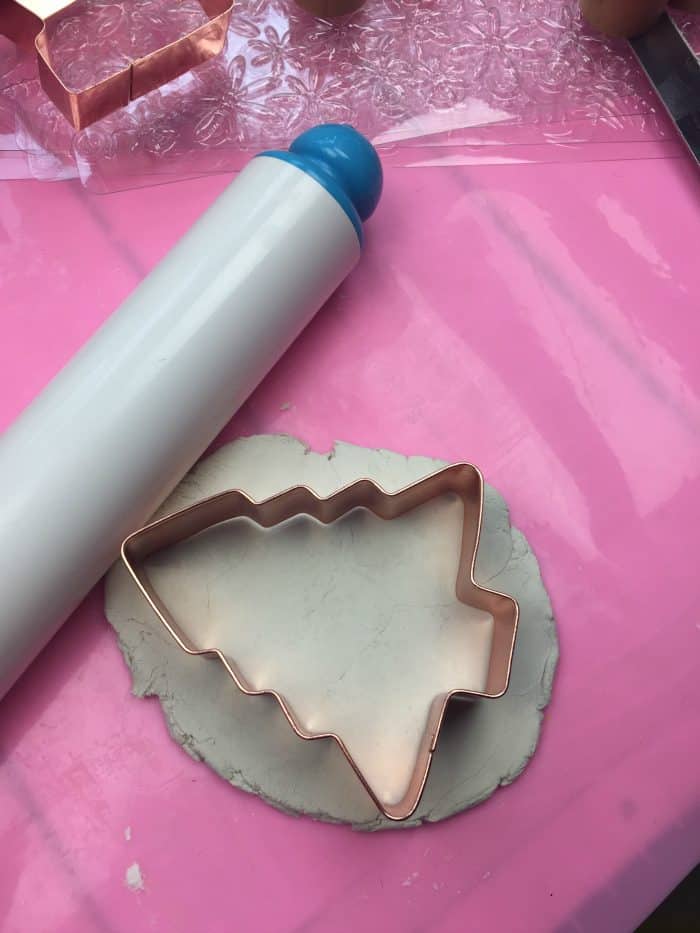
First of all, she warmed the clay up a bit in her hands and then rolled it out a flat as she could manage, they’re not totally even but that adds to the shabby chic-ness (is that even a word?) and the next stop kind of hides a lot of imperfections.
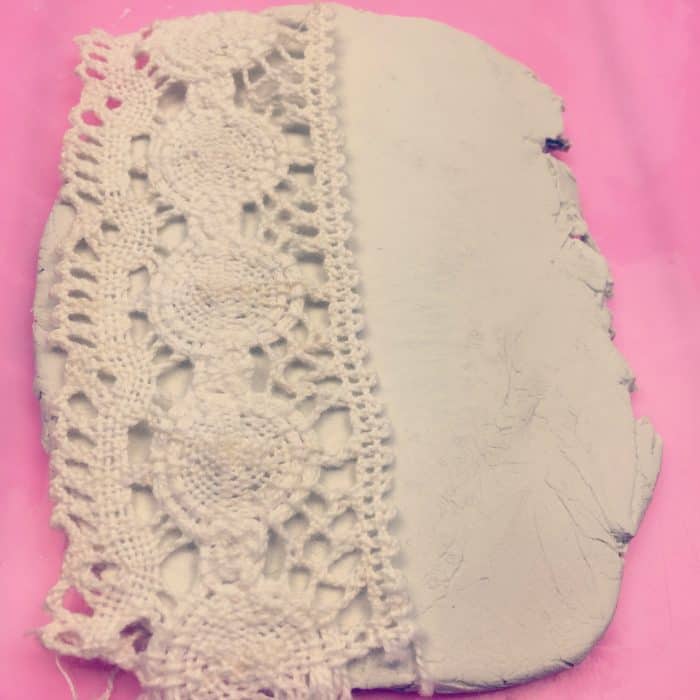
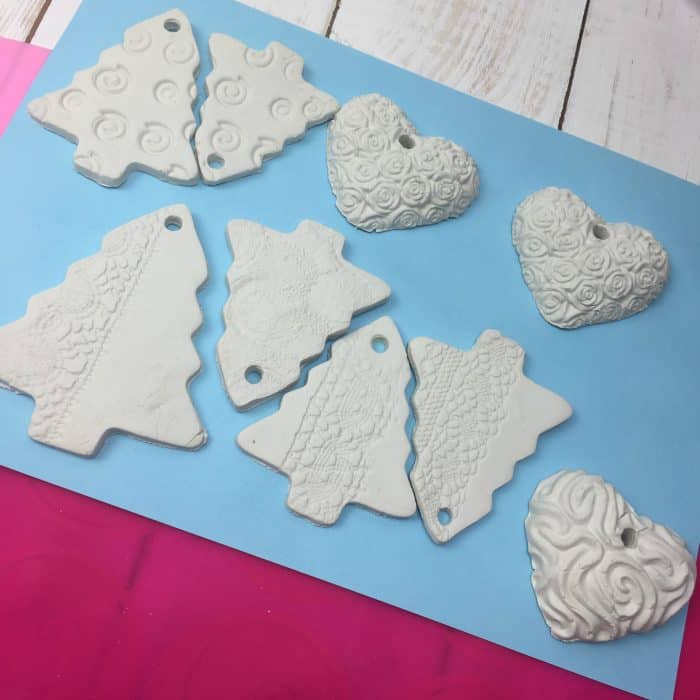
Next up, she pressed in some scraps of lace into the clay (luckily we were having a girly crafty afternoon at Jen’s who has the most well-stocked craft room ever) and used the rolling pin to gently press it down so the pattern of the lace was clearly imprinted onto the lace.
Once the lace was peeled off, the pattern of it was left on the clay! The first one she made went a bit wrong as she cut the shape out first and then pressed the lace in which meant that the shape of the decoration was distorted a little bit. Luckily with clay, you can literally just ball it back up again and start again.
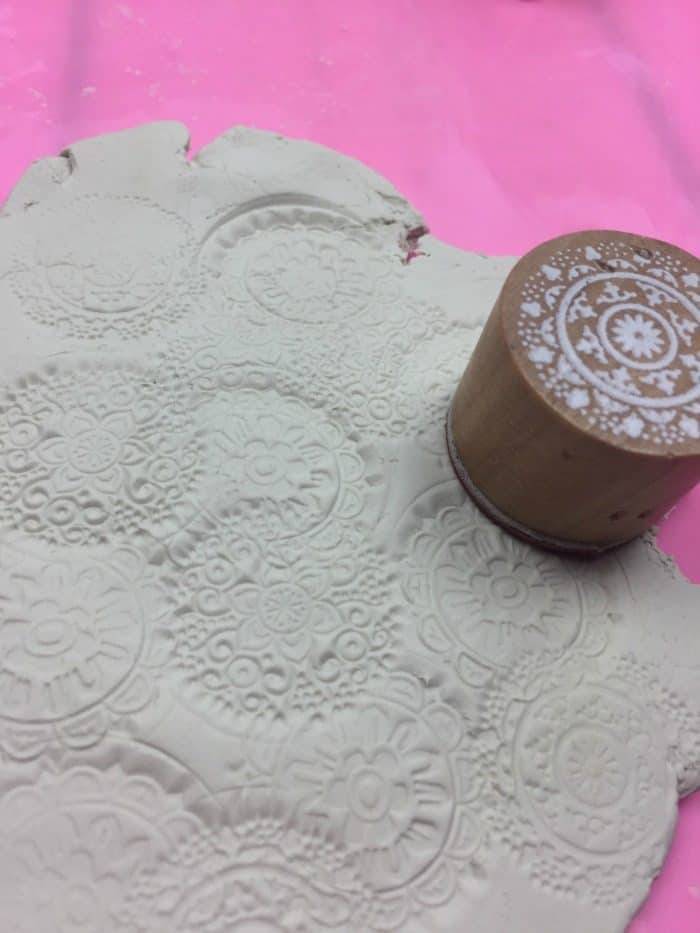
Once she’d made a few with lace, she got bored of that and wanted to try something a bit different so Jen whipped out some cool little stamps that could be gently pushed into the clay randomly leaving a really pretty pattern.
The final style that she made was using a Fimo mould that Jen gave her – this is basically just a plastic mould that you push your clay into and then peel it out again once you’ve pushed it into as tight as possible. These are my favourite of all the ornaments she made!
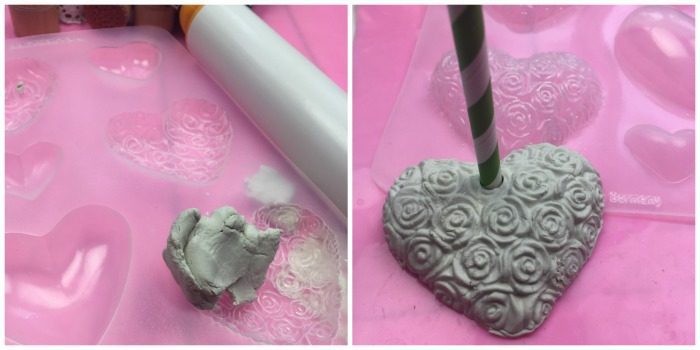
This is the fimo mould that we used but there are some cheaper options over on Amazon too that are made for cake decorating but look like they would work for this.
Once she was done, she just laid them all out on a piece of card and left them to dry overnight although she did keep going and having a poke to see if they were ready to paint as she was dying to add some of the copper paint that we had to them to glitz them up a bit.
Oh, don’t forget to pop a straw through the top so you can thread some twine or ribbon through them after they’re dry. We almost forgot.
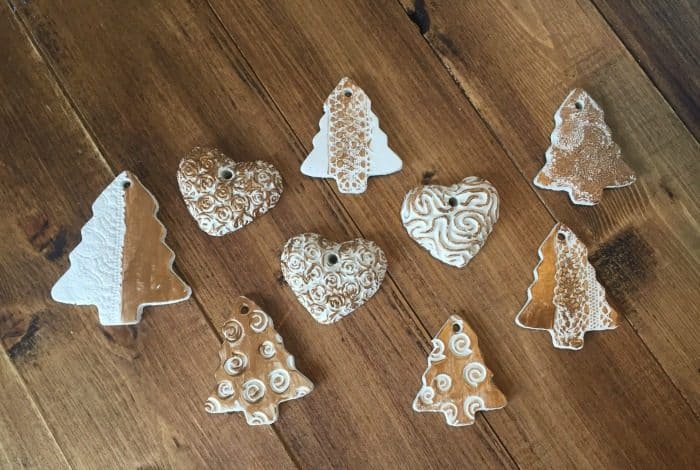
The next morning (because she couldn’t possibly wait any longer) she used a microfibre cloth to dip in the gold paint we have and gently rub over the top of the decorations. She had very little paint on the cloth as we really just wanted to highlight the patterns rather than paint the ornaments if you see what I mean.
I’m linking our cute little shabby chic Christmas decorations up with Jen’s kid made Christmas decoration link-up, do pop over throughout the month as there’ll be a different one added every day throughout November.
Don’t miss out on future posts like this – receive updates directly to your inbox by email by adding your email address here and hitting subscribe. You can also follow me on Twitter, BlogLovin or Networked Blogs and I’d love to see you over on my Facebook page and on Instagram







 Logging you in...
 Loading IntenseDebate Comments...

screaminginsuberbia 70p · 390 weeks ago
sebsmummy 24p · 389 weeks ago
columbus day funny · 341 weeks ago