When I did a Google search for how to dry rose petals, I got all sorts of complicated instructions that felt like a bit too much faff for what I wanted. I tried a couple of methods with no success as you’ll see below but in the end I mastered it – by using the microwave of all things!
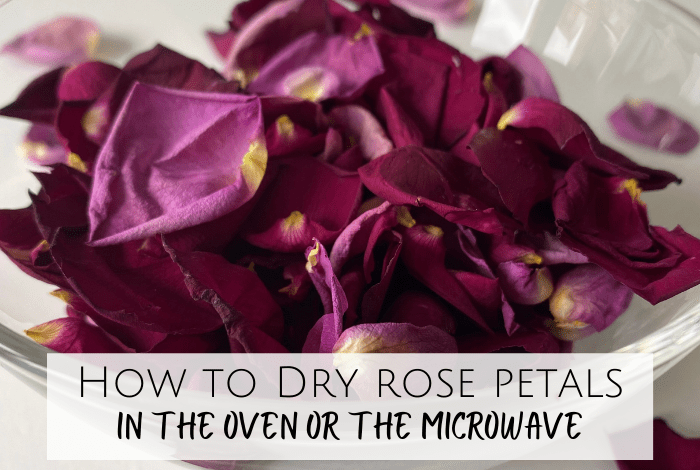
Anyone who regularly reads my weekly five frugal things posts will know that I love a good bunch of reduced flowers from the supermarket to brighten up my kitchen snd regularly manage to find some bargains at the end of the day in our local supermarkets.
All flowers are lovely but I must admit that I’m not a huge fan of roses or lilies so I generally tend to leave them in the bargain bucket when I see them. Last week though, I found this fancy-looking bouquet reduced from £8 to £1.50 so I thought I’d give it a go and use the roses in it for a little experiment that I’ve had at the back of my mind for a while.

When I got it home, I realised that the bouquet was more leaf and foliage than flowers really but it looked pretty enough and although it started to look a bit droopy on day four, I managed to keep them going until day six by removing dead bits and rearranging the perkier flowers to the front on a morning!
For a while now, I’ve been thinking about buying a bunch of roses to have a go at being super thrifty by drying the rose petals out and doing something super crafty with them so this little bargain bunch which had about five roses in it was a brilliant opportunity to have a go at it on a small scale.
I Googled ‘How to dry rose petals’ and set out to make some pretty little dried rose petals with such high hopes for this little act of thriftiness and as I was laying out the petals onto my baking tray, I was already planning in my head what I was going to use the dried rose petals for.
I mean… How hard could it be to dry out some rose petals, right?
How to dry rose petals – the oven method
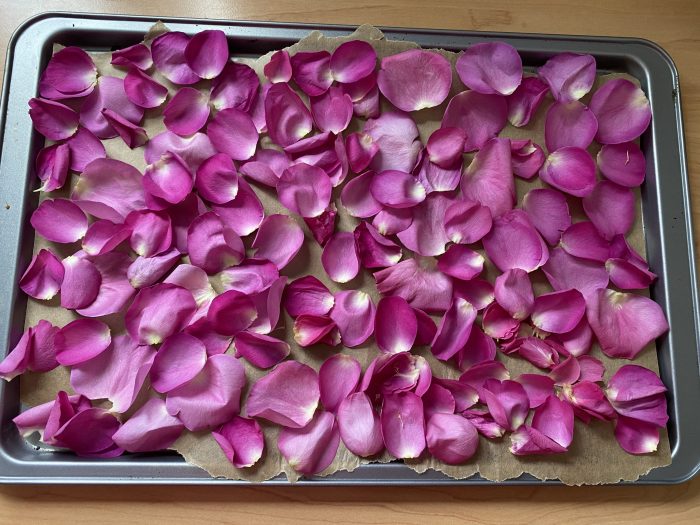
There’s lots of different methods for drying out rose petals apparently but the ‘how to dry rose petals’ Google search seemed to indicate that the oven method was the easiest and I read via the magic of Pinterest how successful this method had been for so many people. I turned my oven up to 200 c and popped in the tray of petals, making sure I set the alarm on the oven for 6 minutes which was a full four minutes less than the instructions told me as I didn’t want them to burn and then sat back to wait for my beautiful dried rose petals to be ready.
After about five minutes, I could smell something not very pleasant so I went to investigate and this is what I found…
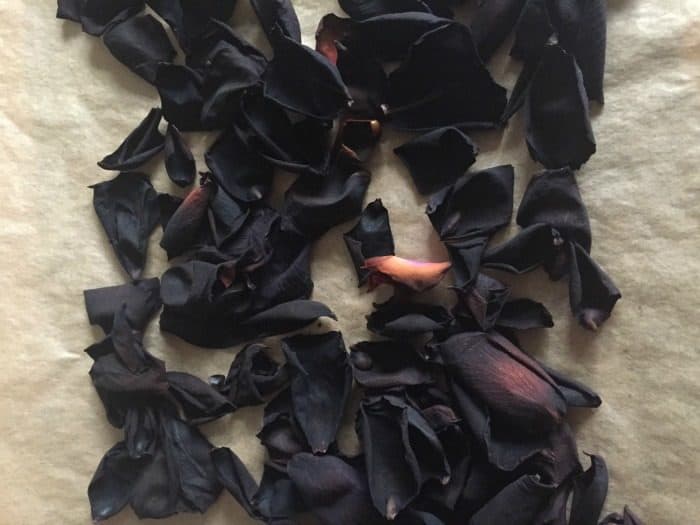
Clearly, I picked the wrong tutorial to follow as they were burnt to a crisp in half the time they should have taken. But I wasn’t going to be deterred so I waited until I found another bunch of bargain flowers and tried again. Here’s attempt two…

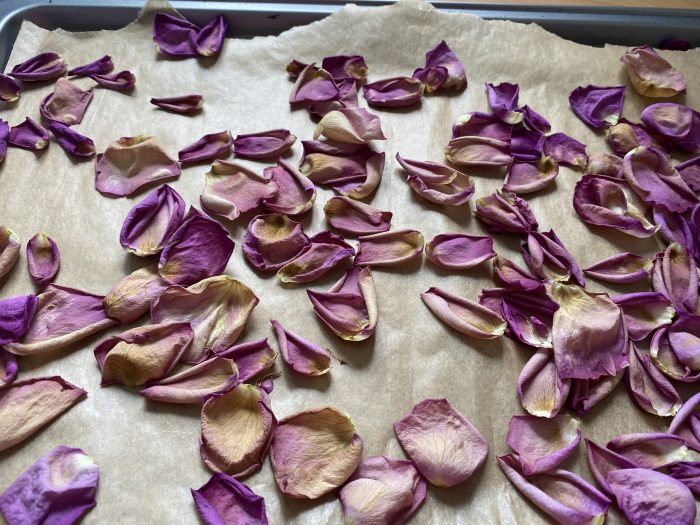
With the oven set to 100 c, I got a much better result! I set the timer initially for 10 minutes but stayed close after my first attempt and actually got some dried rose petals that I could use in crafts and DIYs. Some of the petals did lose a lot of their colour though so I had to get rid of about half of them.
Top Tip: Do NOT use the fan function as you may find your rose petals get blown all over the place which takes longer than you’d think to clean up.
How to dry rose petals – the microwave method
I decided to have a go at trying to dry some of the rose petals out in the microwave to see if that was a better way of doing it.
I only did one rose at first because I didn’t want to waste yet more roses if this went the same way as the oven method!
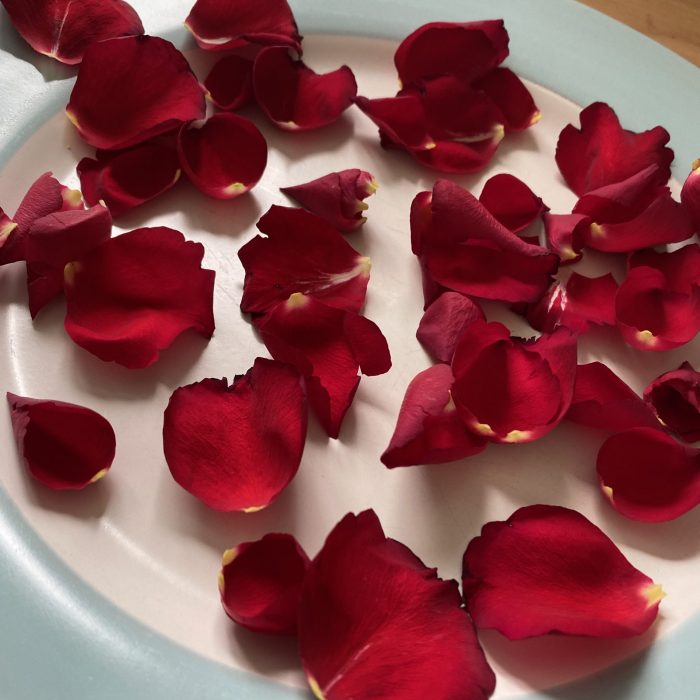
That’s a lot of petals for just one rose isn’t it?
I popped the plate in the microwave and did three 30 second blasts to start with and after that, I did smaller 10-15 seconds bursts checking the petals each time. It’s very difficult to say how long your rose petals will take to dry out using this method as it depends on the wattage of your microwave, how many petals you have and what stage your petals are already at. An older rose will have less moisture in the petals so will take less time to dry out whereas a fresher rose will take longer.
Basically, you can just keep blasting it until there is no moisture left in your petals at all and when you get to that stage, you’re done.
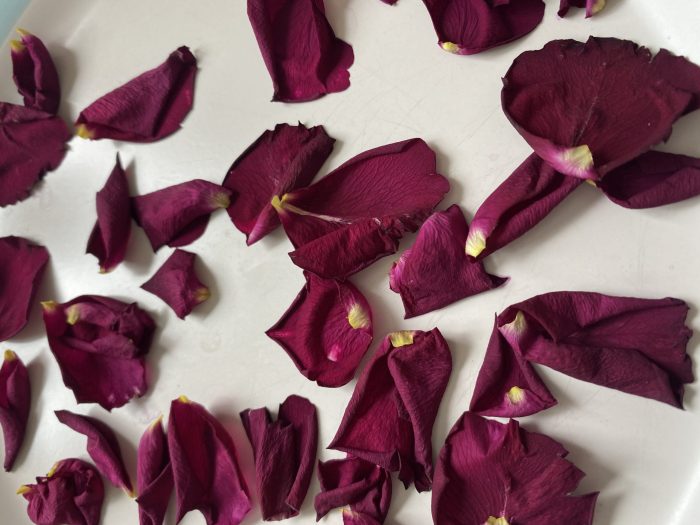
These petals are perfectly crisp, smell amazing and still look pretty so I’m going to class the microwave method as a success! None of them went brown in the slightest and they not only held their colour but as the microwave took out the moisture from the petals, it darkened the pink into a beautiful deeper shade which is perfect for what I have in mind!
I put them all into a bowl until I’m ready to use them and you can see the difference between the oven-dried petals and the ones that were done in the microwave if you look closely – the oven ones are much less vibrant in colour.
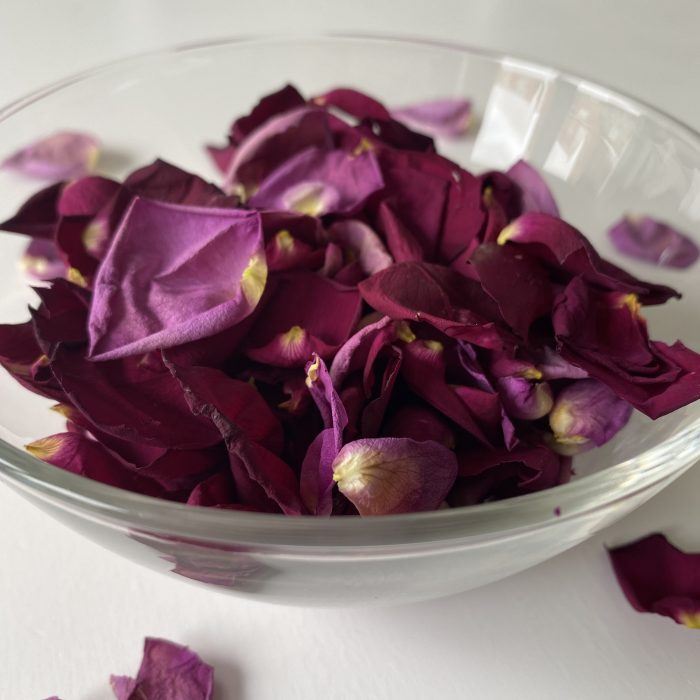
And if you’re wondering what on earth you would do with a stash of dried rose petals then stay tuned because I have a huge list of things to share with you next week.
Don’t miss out on future posts like this – receive updates directly to your inbox by email by adding your email address here and hitting subscribe. You can also follow me on Twitter, BlogLovin or Networked Blogs and I’d love to see you over on my Facebook page and on Instagram.
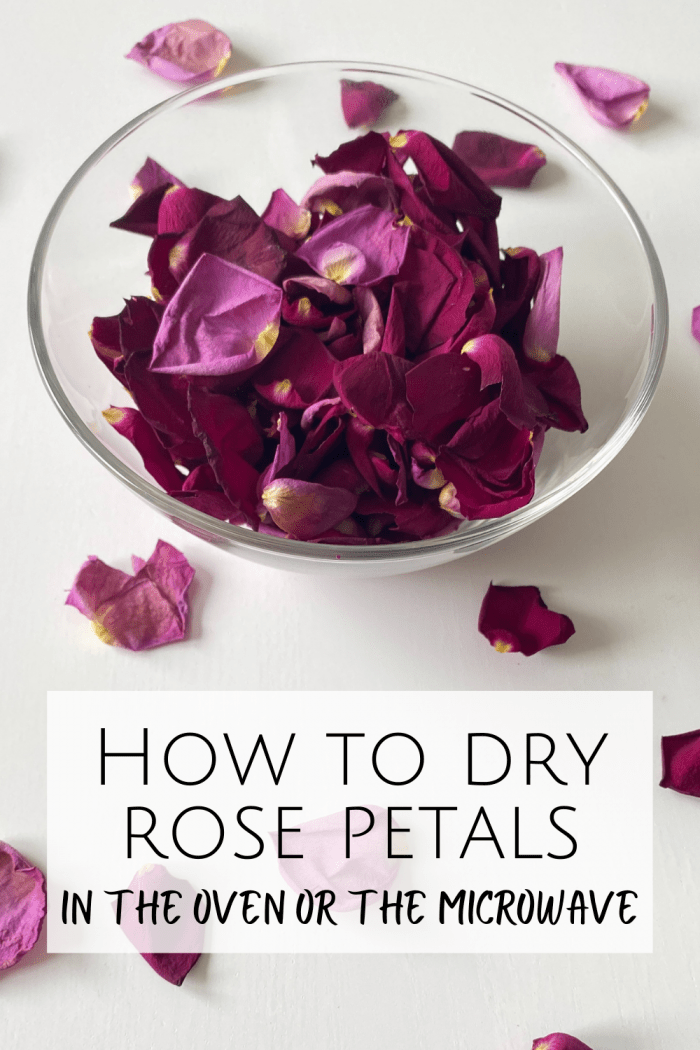
Why not Pin ‘How to dry rose petals’ for later:


 Logging you in...
 Loading IntenseDebate Comments...

shellbe 51p · 420 weeks ago
nessjibberjabberuk 35p · 420 weeks ago
karaguppy 53p · 420 weeks ago
craftsonsea 40p · 420 weeks ago
Sonia · 420 weeks ago
Florist Online · 370 weeks ago
Fran · 354 weeks ago