If you need to know how to fix a scratch on your car without spending a fortune or taking it to a garage then read on as I’m about to wow you with my newfound scratch-fixing skills.
First up, I’ll hold my hands up and say that my skills were acquired out of necessity as I had a run-in with a signpost recently and scratched the back of my car. The scratches were quite small but were deep and went right through the paint which would have led to rust at some point in the near future which nobody wants.
I don’t have many photos of the before for my own car (keep reading though as Miss Frugal’s scratches are much more dramatic) but I have this one that I sent to someone to show how deep there were…
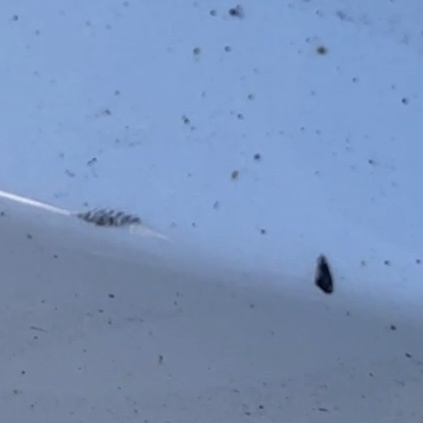
They were much too deep to be buffed away with T-Cut as I’ve always been able to do in the past so we needed to pop into a local car parts shop to get what we needed. I’ve never been in a car parts shop before if I’m honest and had no idea where there was one near me but a quick google of ‘Car Parts shop in ….’ brought up one which I must have driven past about a thousand times.
It was super easy to find the right paint colour as they had a stand in the shop for a brand called Hycote with all the different car manufacturers on there and the colours that they each do so I just went to the Audi section and found my colour. It couldn’t have been simpler. If it helps though, you can buy them on Amazon too (aff), and to make it even easier on Amazon you can even add in your car make and model and it will help you with the shades you need!
Then it was just a case of giving the pen a good old shake and painting the chip with it. I left it about ten minutes and then gave it a good rub with a microfibre cloth to rub off any excess. That filled in the scratch to the point that you can only see it if you know where you’re looking!
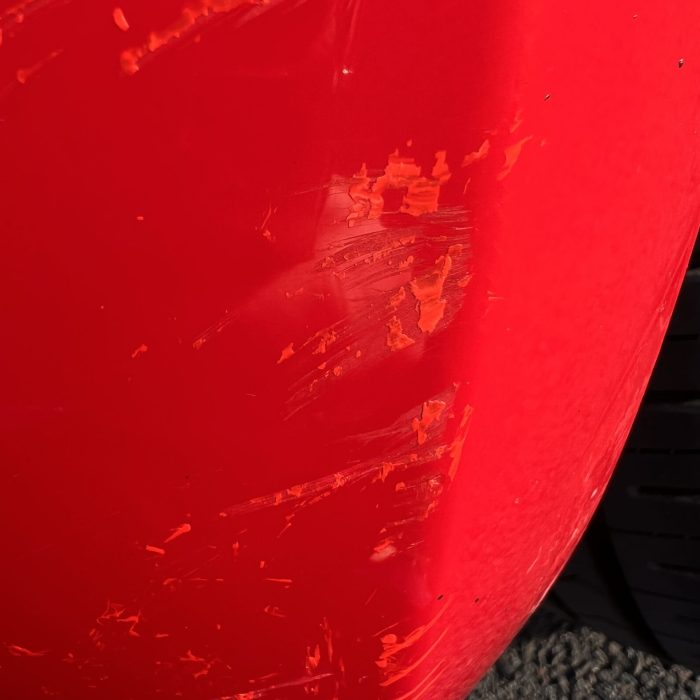
So, seeing as that looked so easy I decided to tackle Miss Frugal’s car which she scratched a couple of weeks ago when trying to get out of a tight parking spot. You can see from the photo she sent me that her scratches were just as deep as mine but were bigger and spread over a larger area.
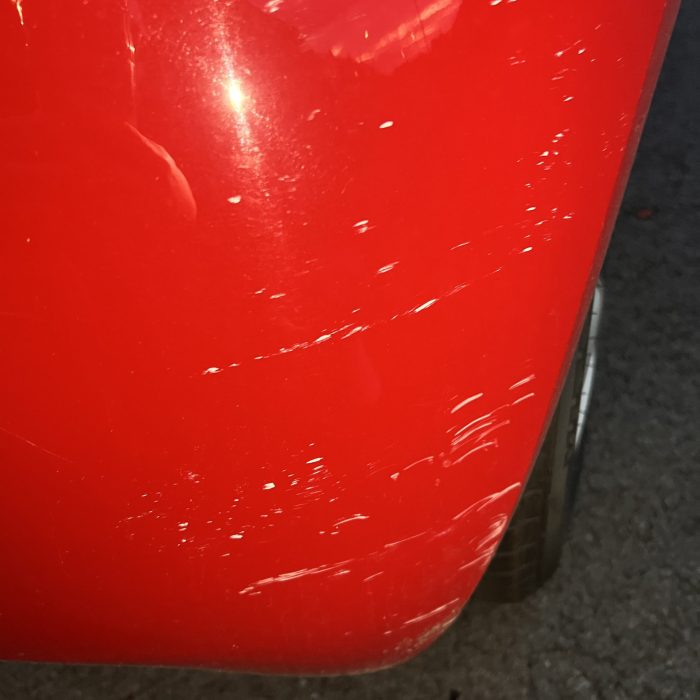
So, back to the car parts shop for a Vauxhall Red touch-up pen and then we used the pen to draw over all of the scratches you can see in the photo above. It was a lot harder than mine as there were so many scratches to cover over a much larger area but it’s essentially the same process – paint the scratch and rub the excess off after ten minutes or so.
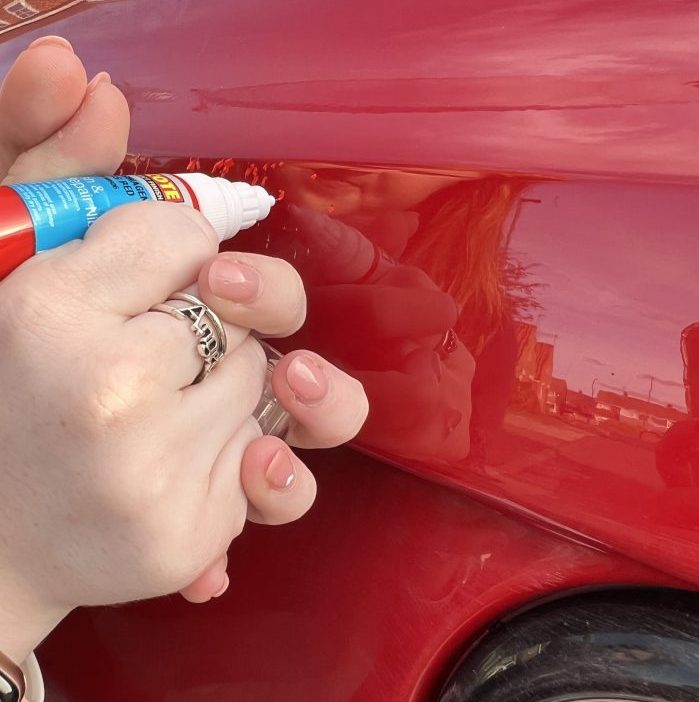
Our biggest learn here was that we should have done it in stages as we painted it all at once and by the time we went back to rub off the excess, it was much harder to do as it had dried which took so much more effort to rub it off. Honestly, my hands were hurting by the time we’d finished this one.
Once we’d gotten rid of as much of the excess paint as our hands would let us, we used a fair amount of T-Cut (aff) over the top (and when I say a fair amount, I mean a LOT) and left that on for a couple of minutes before polishing that off with a clean microfibre cloth.
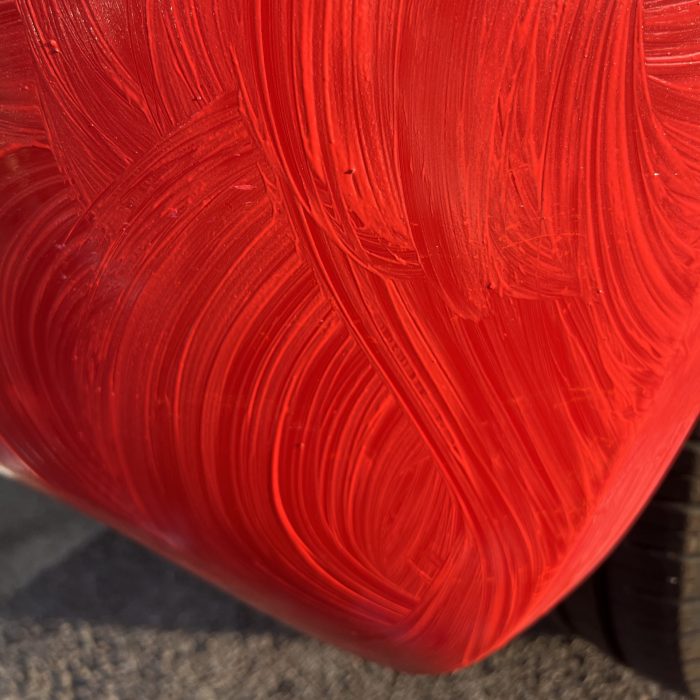
I’m not going to lie, it’s not a perfect job but it’s so much better than it was after our little repair job…
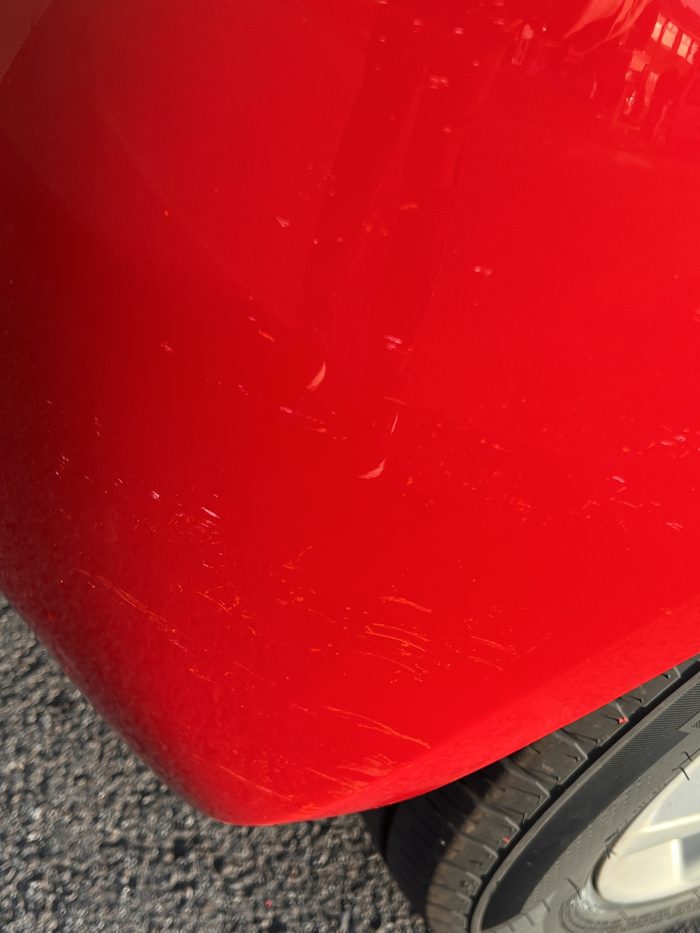
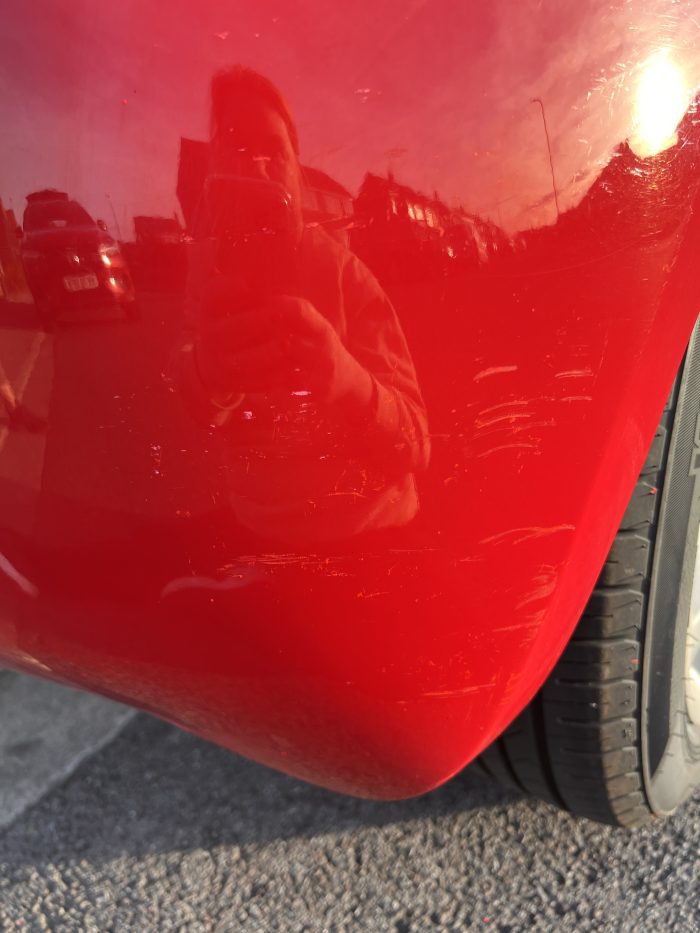
Just look at the difference we made.
Don’t miss out on future posts like this – receive updates directly to your inbox by email by adding your email address here and hitting subscribe. You can also follow me on Twitter or BlogLovin and I’d love to see you over on my Facebook page and on Instagram. If you’re interested, you can find out more about me here and while I’ve got your attention, if you’re wondering why some of my posts lately are a little bit less frugal then have a read of this post.
Do your future self a favour – Pin this post for later:


 Logging you in...
 Loading IntenseDebate Comments...

doodle cricket · 56 weeks ago
Olivia Marie · 31 weeks ago