What’s the difference between a good old fashioned fairy cake and a cupcake?
Google tells me that a cupcake originated in America and is slightly larger that the British fairy cake. Cupcakes are also usually made with a richer, thicker icing. Apparently.
I’m more of a fairy cake girl and I use my Nana’s favourite recipe – the same one that I’ve been using since I was about six when I first started baking with her. I’ve known it off by heart since before I knew my times tables at school.
But recently, my fairy cakes have been looking like a bit of a poor relation when I’ve been taking them to the school’s bakes sales. At the last school bake sale, my gorgeous fairy cakes were given the pathetic price of 20p a cake whereas the cupcakes got put front and centre of the table with a price tag of 50p each!
Then a few weeks ago, we were out shopping when we came across a cupcake stand selling the most delicious looking cakes. There were all sorts of varieties and they looked so beautiful that I was almost tempted to buy some. I even got as far as getting my purse out until I saw the price of them – they were selling for between £1.25 and £2.75 per cake!
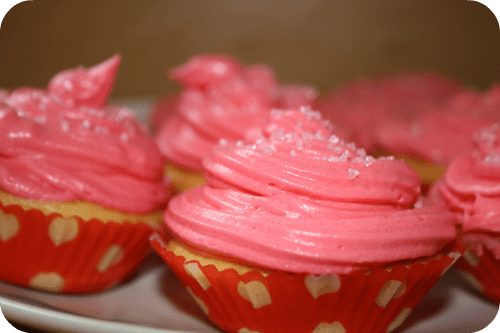
I was determined that I could make my own cupcakes – swirly icing and everything.
So I came home and set about making my own but the icing is a LOT harder than it looks to do. I’ve finally mastered it so I thought I’d share with you how I do it. I’m sure most people know how to do this already (and probably better than me) but just for those of you who don’t….
I made today’s cupcakes with my usual fairy cake mix – I’ll start being more adventurous with cupcake flavours next week! My recipe is to cream 150g sugar with 150g softened butter or margarine. I then beat in 3 eggs and a few drops of vanilla essence if I have it. Finally I fold in 150g of self raising flour and cook for around 15 minutes at 180 c.
The icing I made with 100g of softened butter and some pink food colouring along with a lot of icing sugar! I never have a set amount as I just keep adding it until the mixture is thick enough that it will hold it’s shape when it’s piped on to the cake. Once I’d made the icing, I put it in the fridge for 10 minutes before I used it.
Forgive the wonky icing on these pictures. I had to get Mr Frugal to do the icing on the demo cake as he couldn’t focus the camera (even on auto mode).
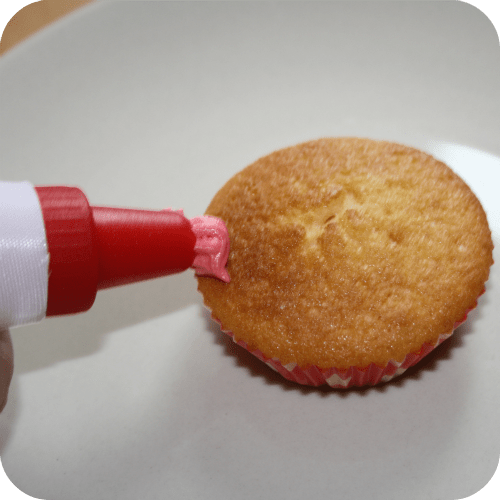
Step one – Using a piping bag fitted with a large star nozzle, start at the outside edge and make a spiral to the centre.
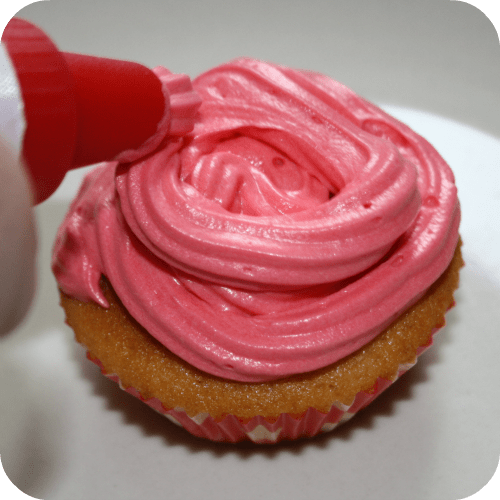
Step two – Once you’ve done the first spiral, pipe another one but this time starting a little bit further in from the edge than the first one you did.
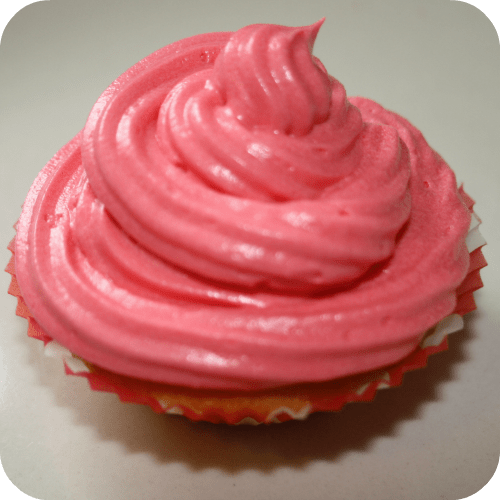
Step 3 – Do one final small spiral, again starting a little bit further in and this time just making a little peak at the top of the cake.
Step four – Add a little edible glitter or some pretty sprinkles.
Not sure I’d be able to get £2.75 for one just yet




 Logging you in...
 Loading IntenseDebate Comments...

brendaintheboro 1p · 655 weeks ago
Brenda in the oro
Cass@FrugalFamily 96p · 651 weeks ago
crazywithtwins 19p · 655 weeks ago
Cass@FrugalFamily 96p · 651 weeks ago
Lisa · 655 weeks ago
Cass@FrugalFamily 96p · 651 weeks ago
;-)
Martha · 654 weeks ago
Cass@FrugalFamily 96p · 651 weeks ago
@Jessies_Kitchen · 654 weeks ago
These look great...and a fab pink icing! Thanks for linking up to Foodie Foto Friday x
Cass@FrugalFamily 96p · 651 weeks ago
@coombemill · 654 weeks ago
Cass@FrugalFamily 96p · 651 weeks ago