Today I’m sharing a post all about how to make your own DIY Beeswax wraps!
What are Beeswax wraps?
Just in case you’re not sure what they are, Beeswax wraps are a fantastic eco-friendly replacement for cling film and foil – they’re basically a piece of cotton that’s been infused with a mix of food-grade beeswax, pine resin and jojoba oil. The wrap is mouldable, grippable and a little bit tacky which means it can be shaped around containers or food products to keep them covered.
How do Beeswax wraps work?
The combination of beeswax, pine resin and jojoba oil is what makes these little wraps so brilliant. The beeswax has water-resistant properties which is essential when using it with food, the beeswax and jojoba oil both have great anti-bacterial properties and the pine resin gives the cotton the stickiness it needs for you to be able to shape it. They can be used over and over again with just a quick wash in warm soapy water needed to clean them.
How to make your own DIY Beeswax wraps
First of all, if you know me at all, you’ll know that I love a good shortcut! So you probably won’t be surprised to hear that I cheated a little bit when I made my own DIY Beeswax wraps – instead of mixing my own beeswax, pine resin and jojoba oil, I bought a small block of ready-made wax which was as much for cost as it was for convenience.
If I’d have bought the wax, resin and oil separately then I would have spent more than the £3.50 that I spent on the block I bought so I think I did well here. 😉 Also, you do get full instructions when you buy the bar that I bought which made life even easier.
The material that you use needs to be 100% cotton and luckily, I had some lovely bright squares of cotton that were about 25cm x 25cm which was just about perfect as the wax block says it’s enough to make two 3ocm x 30cm squares.
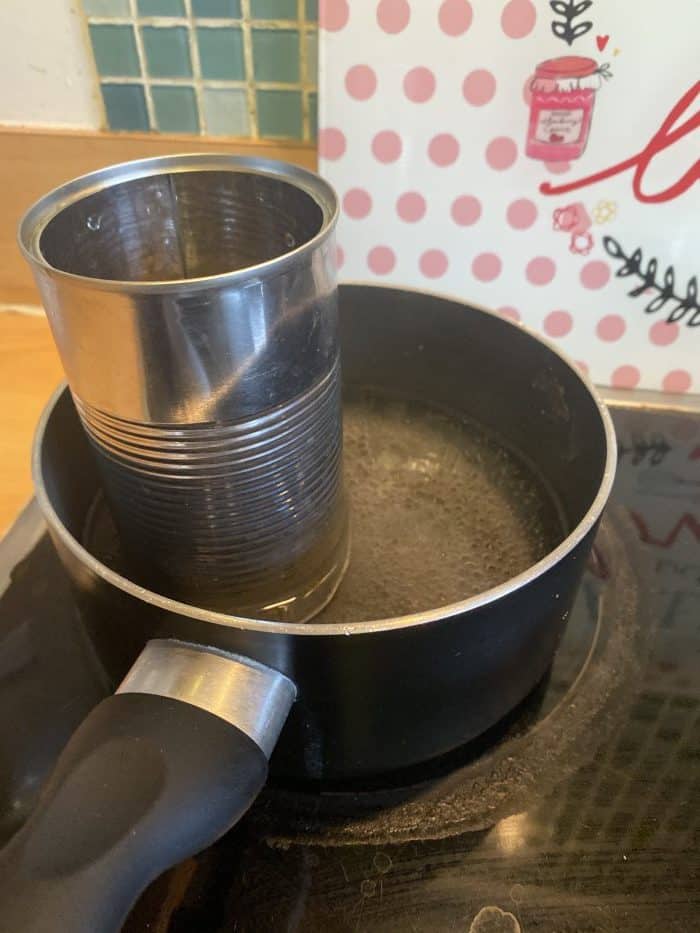
- I had a tin of soup for lunch the day I made my wraps so I cleaned that out and popped my wax block into it. I stood the tin in a pan of boiling water and let it simmer until the wax melted.
- While that was melting, I preheated the oven to 100 c and laid out one of the pieces of materiel I was using onto a piece of greaseproof paper and dug out my pastry brush.
- Once the wax was melted, I just painted it on to my materiel, making sure it was fully covered in wax.
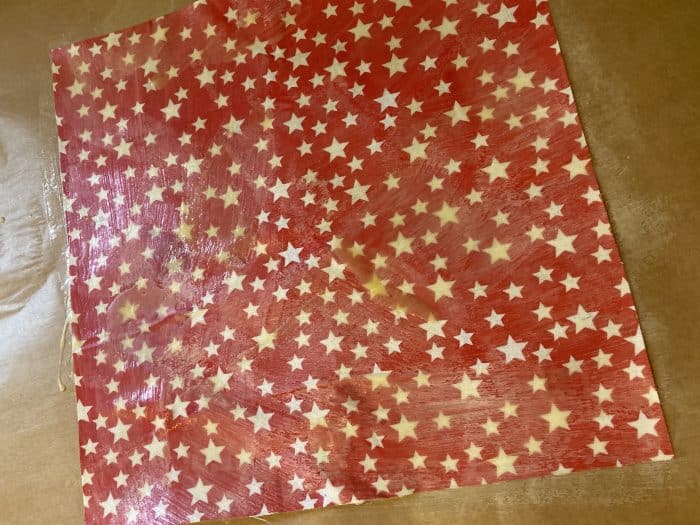
- Then I just popped the piece of fabric, still on the greaseproof paper onto a baking tray and into the oven for 5 minutes.
- While that was in the oven, I painted the second piece of material with the wax which was easier said than done as my wax started to solidify. I ended up having to pop my tin back in the water for a few minutes to remelt it and even then, it wasn’t long before it started to harden up again. Just look at the difference…
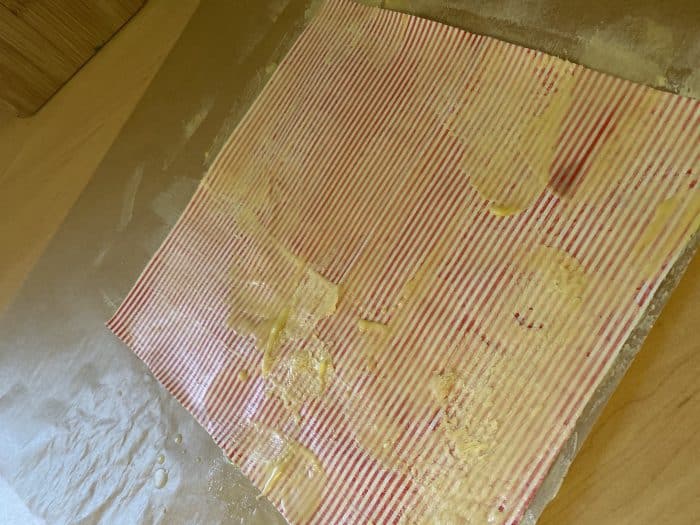
- This one then went in the oven 5 minutes too and then I left them both to cool completely.
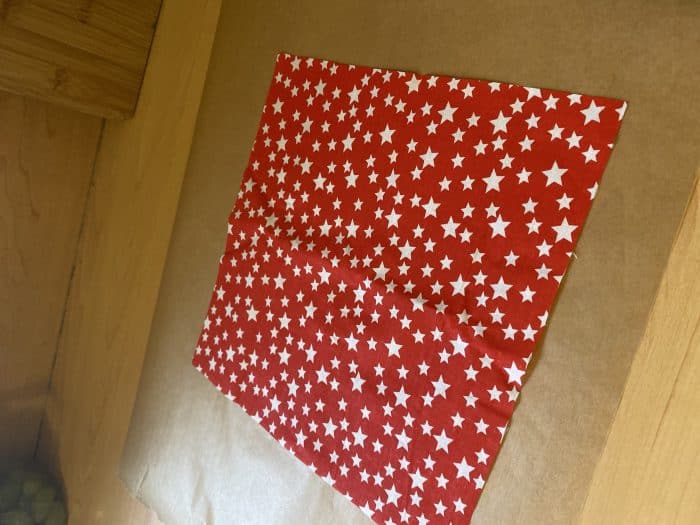
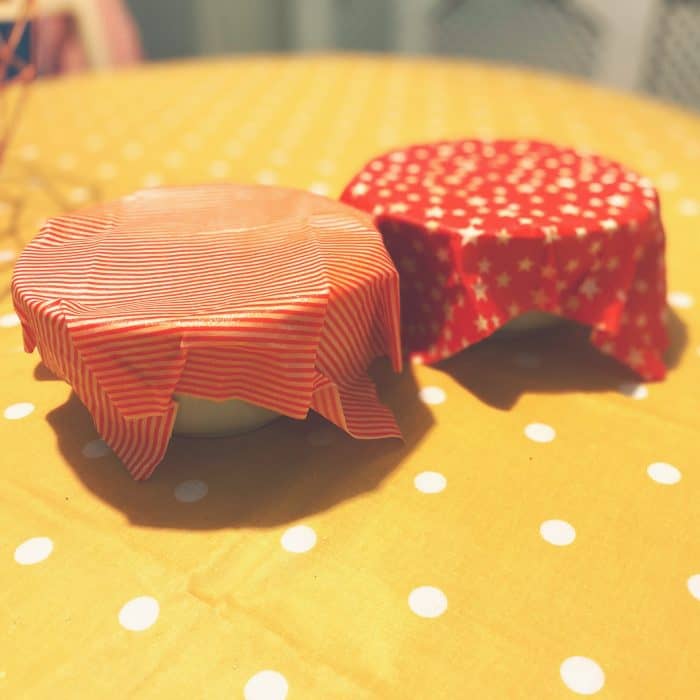
Once your little DIY beeswax wraps are cool, you can use them to wrap or cover your food instead of the usual cling film or foil that you might use. They can be washed with soap in warm (not hot) water and reused many, many times as long as you take care of them and don’t use them in the microwave or dishwasher.
You can even give them as gifts!
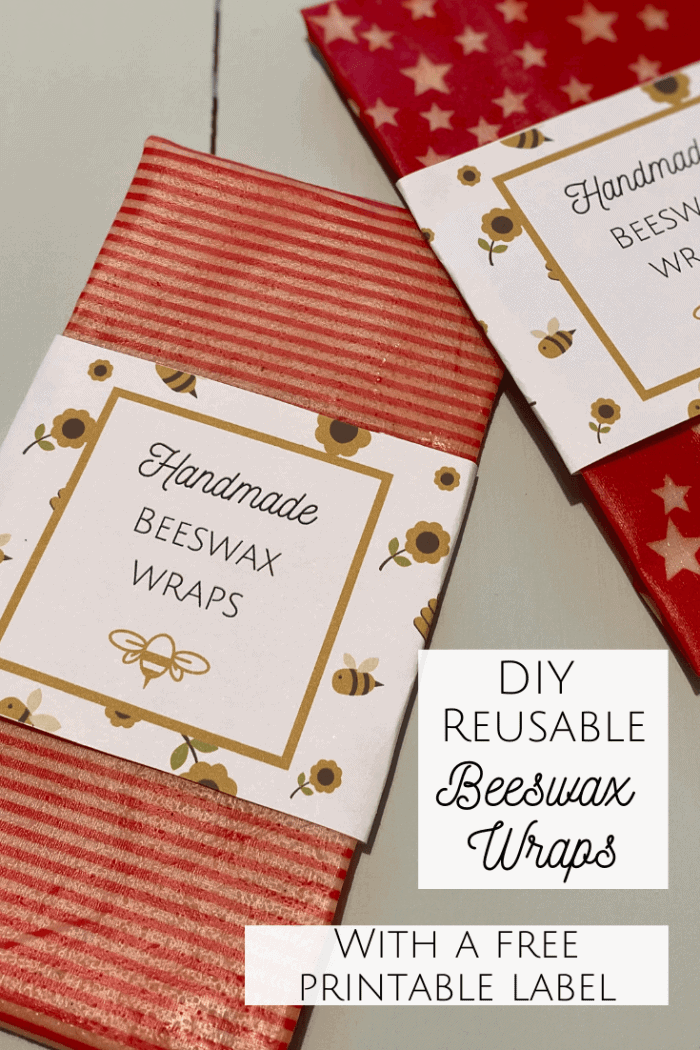
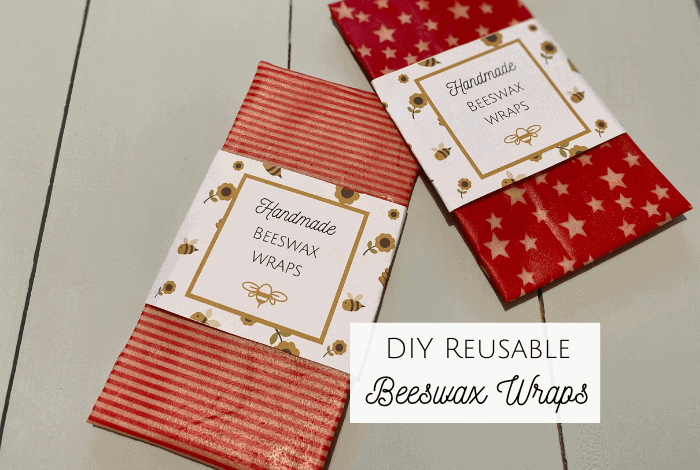
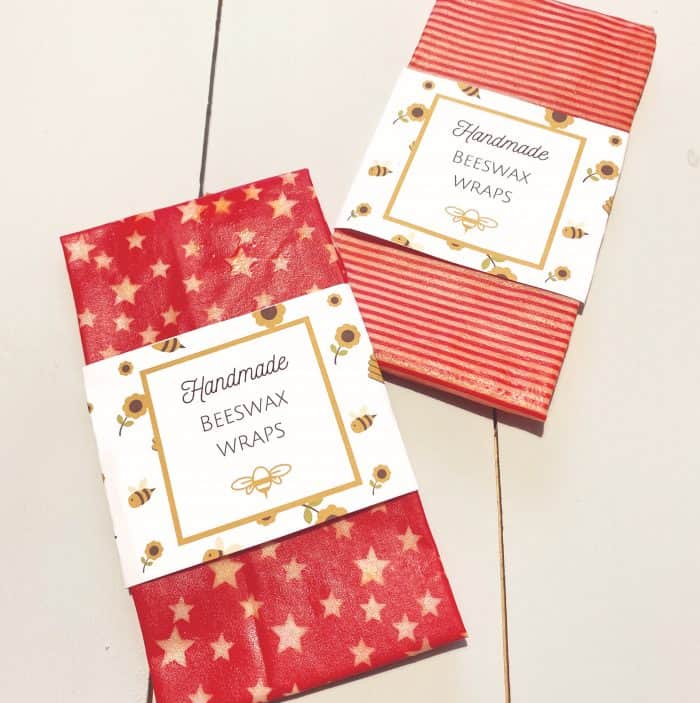
You could even make some as a homemade gift for someone in your life who you know will appreciate them. I made a little label that you can wrap around them if you’re going to give them as a gift…
How cute is that? I couldn’t stop grinning when I was waiting for these to print out as I was so proud of myself for making it as things don’t normally turn out the same way as they looked when I imagined them in my head but this label really did. I made it in Canva and if you’re interested, you can print it out here or you could even personalise it by making your own. I used custom dimensions and mine was 3500 x 1000 which printed out perfectly if you ask me.
Don’t miss out on future posts like this – receive updates directly to your inbox by email by adding your email address here and hitting subscribe. You can also follow me on Twitter or BlogLovin and I’d love to see you over on my Facebook page and on Instagram. If you’re interested, you can find out more about me here. 😉
Why not pin ‘How to make DIY Beeswax Wraps {with a free printable label}’ for later?
