This is a DIY project from quite a while ago but I didn’t really share it much at the time as I did cut a few corners and I wasn’t sure how it would hold up over time. It’s still going strong and it’s one of my favourite pieces of furniture in the house so I thought the time had come to share the story of my odd little table.
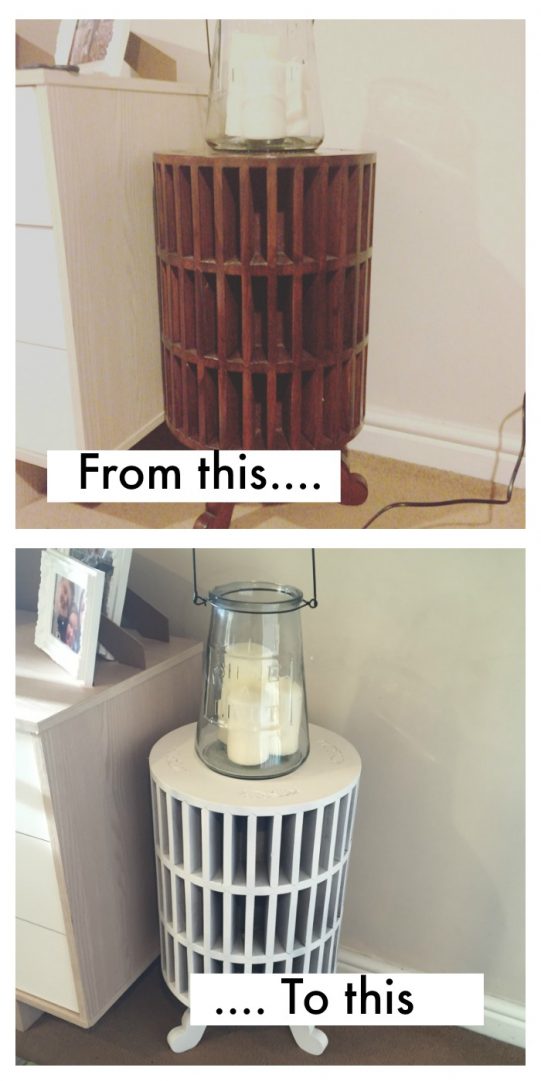
First of all, let’s have a look at the table….
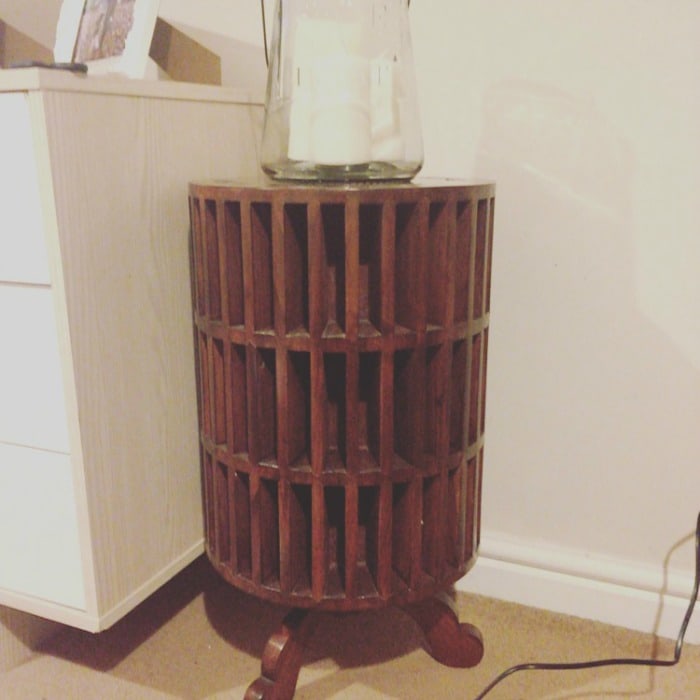
I bought it last year from our local charity shop when I popped in to drop some things off after a de-clutter. I know, I know, you’re not supposed to de-clutter and replace with more things straight away but I did fall in love with it!
It had clearly seen better days but it’s a very solid wood table that spins around and has these odd little grooves that go right round the table. There’s also some very pretty carving on the top that you can’t see from this angle.
The grooves are a bit of a conundrum as they are the wrong size for just about everything! The only thing we can think of that would fit in there are the old fashioned cassette tapes but we don’t have any to test that theory. Regardless of what they’re for, they make the table look really quirky and we love it.
We had a perfect space for it in our Living room and it holds a big candle jar but I just hated the colour as it was as it’s way darker than anything in my house.
We headed to B&Q to see what we could buy to lighten it up and I decided to take a chance on the Valspar 2 in 1 spray which is a primer and a spray paint. I can’t remember what colour we bought but it’s like an off white shade and it cost about £11 for the can. I was a bit reluctant to go with the spray paint option as I had visions of it running and looking awful but the lady behind the counter told me it was amazing so I went with that. 😉
I can’t find the photos of us spray painting this one, maybe because I wasn’t planning on sharing it at the time but I have the photos of our professional looking set up. Not.
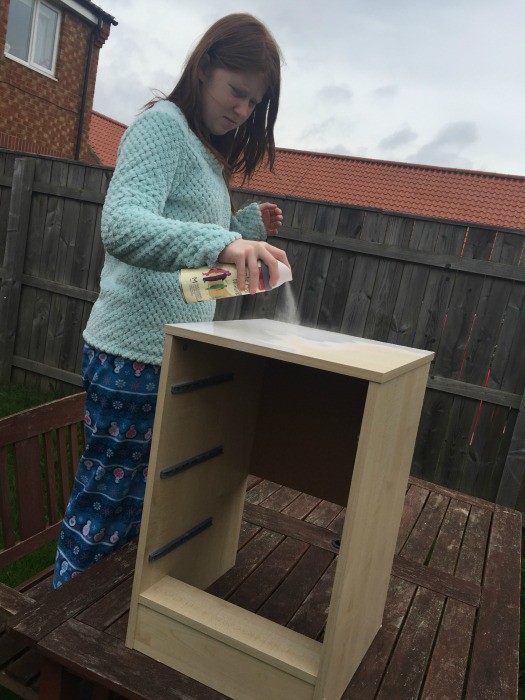
This is us spray painting the bedside cabinet that we did at the same time. We did no preparation other than a quick wipe clean and we just literally put the table on our garden table and sprayed. We sprayed very light layers and built them up until it was covered.
We didn’t even attempt full coverage in all the little grooves as I knew that would be near impossible so we just gave them a quick spray inside so they were partly coloured and the effect is brilliant. It looks exactly as I’d wanted it to, which rarely happens when I attempt something like this.
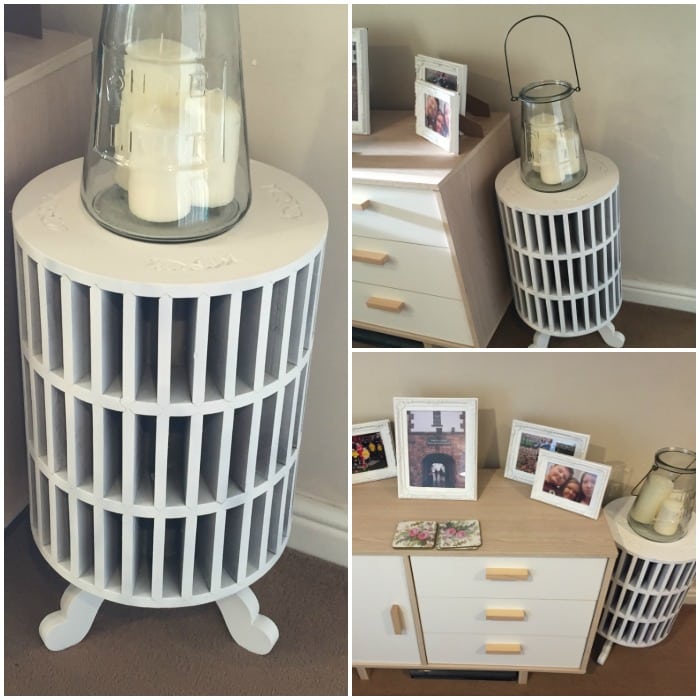
What do you think?
Don’t miss out on future posts like this – receive updates directly to your inbox by email by adding your email address here and hitting subscribe. You can also follow me on Twitter, BlogLovin or Networked Blogs and I’d love to see you over on my Facebook page and on Instagram.
Discover more from The Diary of a Frugal Family
Subscribe to get the latest posts sent to your email.

