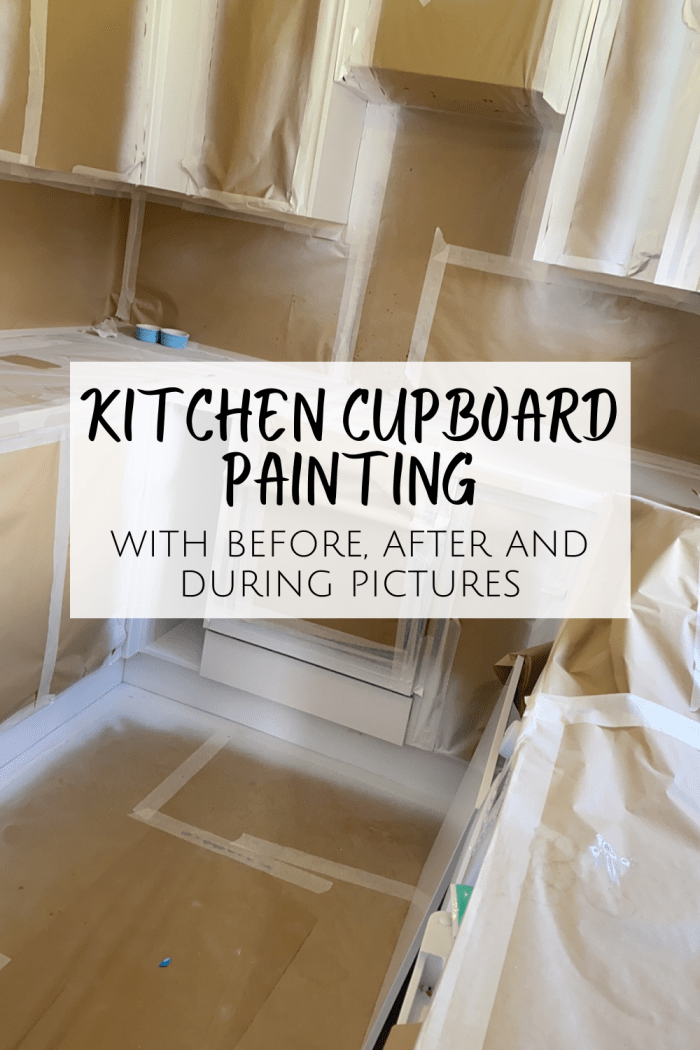
Today’s post is all about my kitchen cabinet painting adventures over the weekend!
Our house wasn’t even built when we bought it so we were lucky enough to be able to choose the layout of our kitchen and also choose from a (limited) range of doors, handles and worktops. I say limited because our budget meant that we didn’t really want to be paying extra for the premium range so we stuck to the basic range which meant that we wouldn’t need to pay any extra.
There was still enough in the basic range for me to choose something I loved though and after much deliberation (and I mean MUCH) I went for a light wood tone for both the cabinets and the worktops. I also worked with the designer on the layout of the room and aside from adding a floor to ceiling larder cupboard, which they suggested but I said no to for some reason, I think we have the best layout for the space that we have.
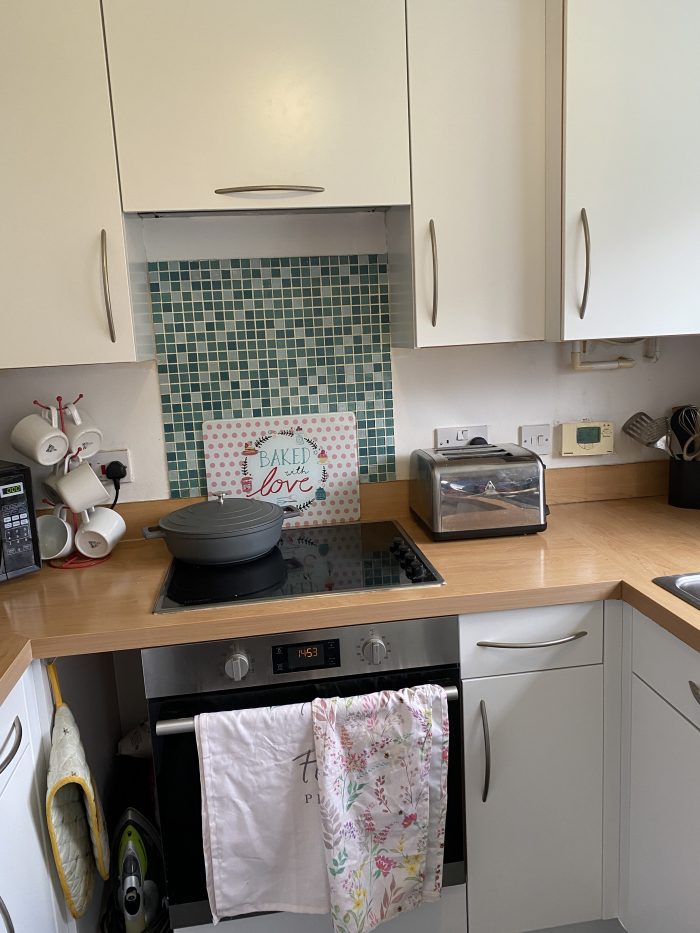
The first time I walked into the finished room, I was so pleased and absolutely loved it and continued to do so for a good few years. But for the last couple of years, I’ve been thinking about giving the room a makeover as it’s not really my style anymore and I wanted something fresh.
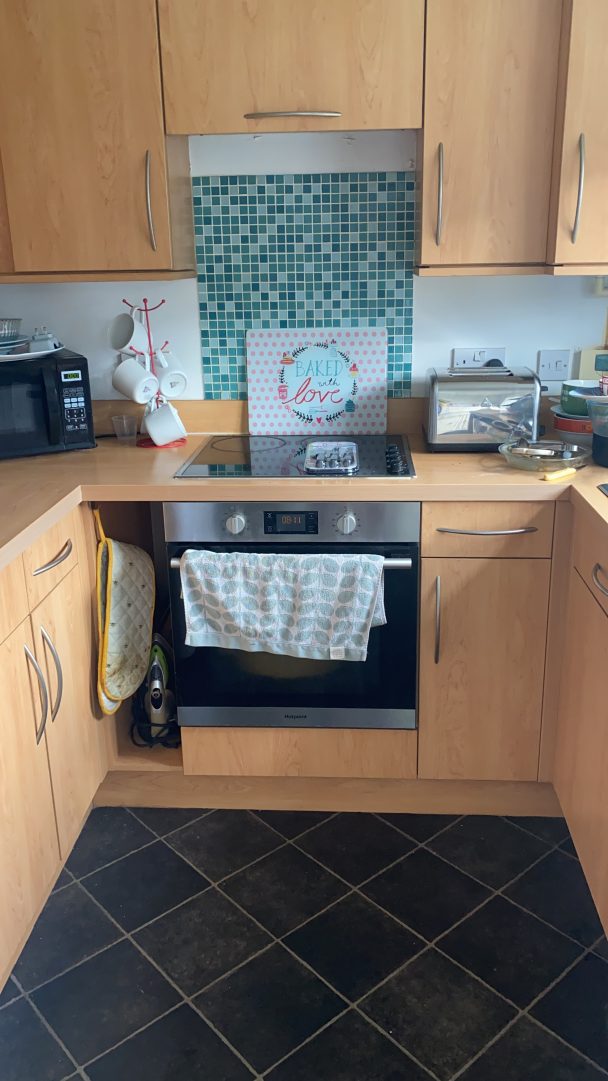
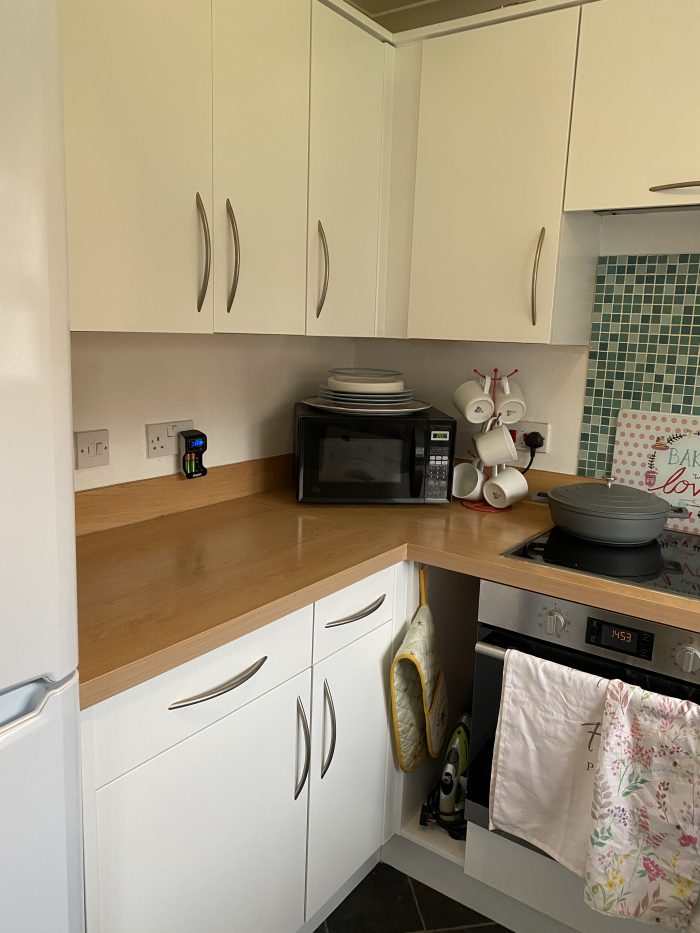
Here’s what it looked like this time last week, although please don’t judge for the mess. 😉 The photos do make it look very narrow which isn’t really the case at all.
I wanted to avoid the expense of a whole new kitchen because (a) it would have cost a fortune and (b) the kitchen is pretty well designed for the space we have so when I was looking at redesigns, the carcass of the kitchen was so similar to what I have that it would literally be ripping out cupboards to replace with the same or at least very similar. It just didn’t seem worth it for the few changes that I’d make so I ruled that out quite quickly.
Then I thought about replacing just the kitchen doors and the worktops but I have one bespoke sized door that houses the boiler which added to the price. By the time I took into account the kick panels and the end panels, the price just added up so much that I was getting close to a new kitchen (or at least it felt like it).
So, next up I looked into the possibility of doing some DIY kitchen cabinet painting which according to every video I’ve seen on YouTube is super easy. The results look amazing but I worried that I just wouldn’t do a professional job and then I’d be stuck with a kitchen that I hated.
I just didn’t dare do it myself as much as I wanted to though so I just left it as it was until I saw an advert on Facebook for a local company that specialises in kitchen cabinet painting. They had loads of before and after pictures of customer kitchens and some brilliant reviews so I did some research and they seemed to be a really professional little business with a workshop on a nearby industrial estate.
I gave them a call and found out that they basically would come and take away all my doors, cornices and kickboards to paint in their workshop and then everything else that needed painting would be painted in situ when they brought the doors back. The price they quote for the kitchen was £420 which I thought was really reasonable so I went for it.
There were literally hundreds of colours to choose from but I wanted fresh and clean so I went for a bright white which I thought would look lovely with the worktop I have in there so I wouldn’t need to change them.
They were booked up until May time which didn’t surprise me at all so I booked in but did say that I work from home when I need to so if he got any cancellations that I could be ready to go straight away if he got in touch.
Two days later, they got in touch and said they could fit me in as one of their jobs had been postponed as their customer had to self isolate so if I could be ready the next day for them to come and collect the doors then they’d be able to move me right up the queue. It helped that I’d picked basic white too as that’s one of the few colours that they keep in stock and didn’t have to order in.
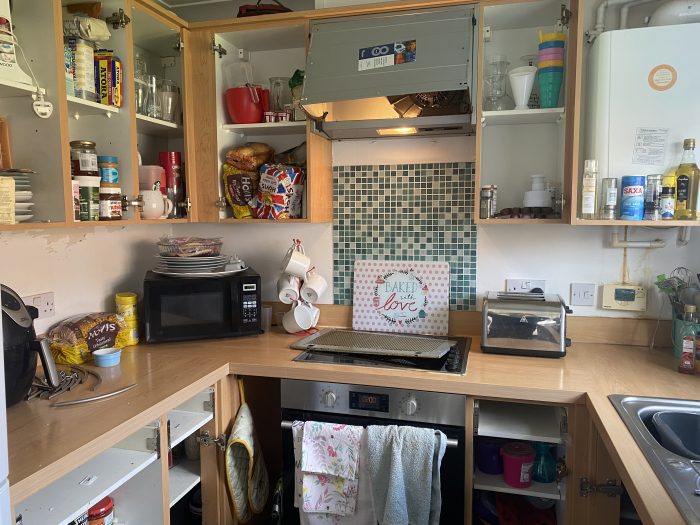
It took them literally 20 minutes to remove the doors and everything they were planning to paint in their workshop which they did without me having to empty the cupboards or do anything to prepare. And as a cheeky treat, here’s the insides of my kitchen cupboards so you can see the mess behind the doors. The sad thing is, the bottom cupboards are all ridiculously tidy as Miss Frugal has just done them all out for me – I can’t believe the one picture I took doesn’t show that bit!
So, it was Thursday afternoon when they came and took everything away and they came back early on Saturday morning to bring them back and spray the rest of the kitchen. They literally covered or wrapped everything up that wasn’t going to be painted and just got right on with it.
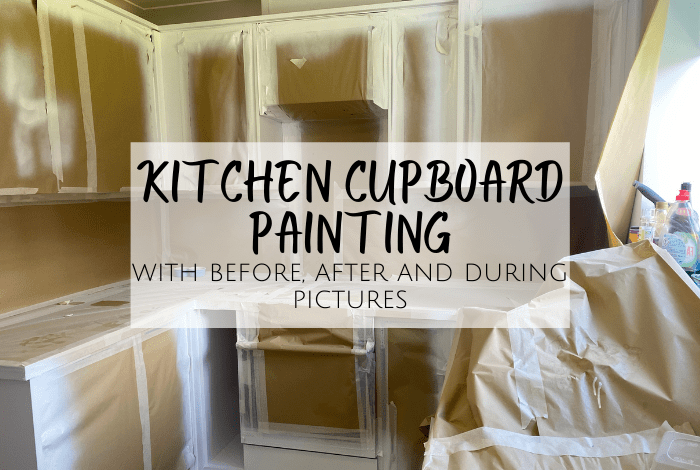
We obviously kept out of the way so my first view of the kitchen was this…
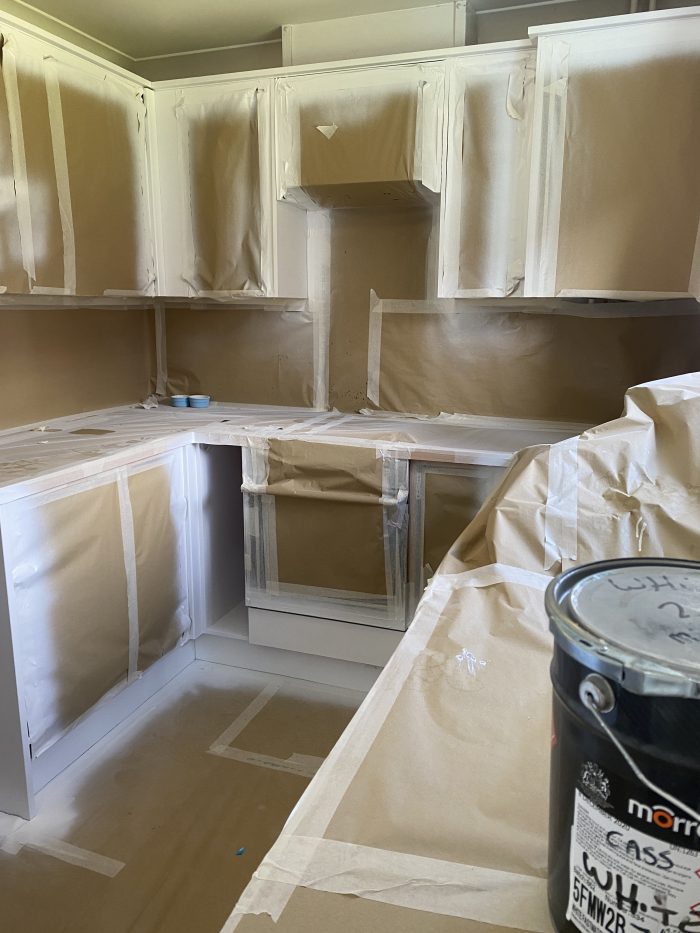
Notice the lump behind the paint tin? That’s because they arrived twenty minutes early as I was just putting the pots away so I had to get out of their way quickly. They just papered over what I hadn’t managed to put away. 😂
They did it in just over an hour and told us to leave it four hours before we started unwrapping everything which was torture as I was dying to see what it all looked like.
The only negative side to the whole experience was that they don’t fit the doors back on as a rule as they’d have to make a separate visit to do that when everything was dry and due to COVID, it’s just not something they do. They don’t actually take them off at the moment either but he said he’d do it for me as a favour as long as I kept out of the way and had a back door he could use so he wasn’t backwards and forwards through the house.
They weren’t too bad to fit back on though except for the cooker hood which caused a bit of drama and needed photographs from our neighbours so I could figure out how that actually fit on – the rest was all pretty self-explanatory and easy, even if it was a bit faffy.
I used the same handles rather than buy new because they’re quite an awkward size and I’d basically be just buying something similar anyway so the old handles got a good clean and were just screwed back on.
I can’t even tell you how pleased I am with the finished result, I just had no idea how good the results would be! It looks fresh, clean and so much better now that it’s white and the worktops just look amazing with it and if you were to ask me if I think it was worth the money then I’d say it absolutely was. Kitchen Cabinet Painting is definitely a better alternative to a new kitchen if you’re on a budget!
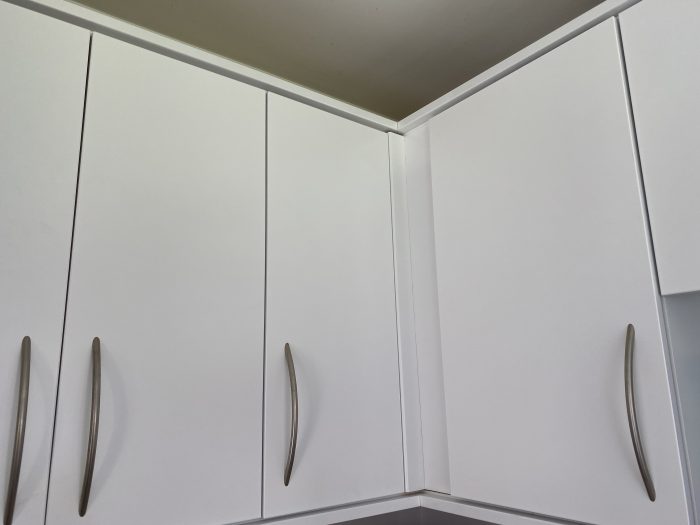
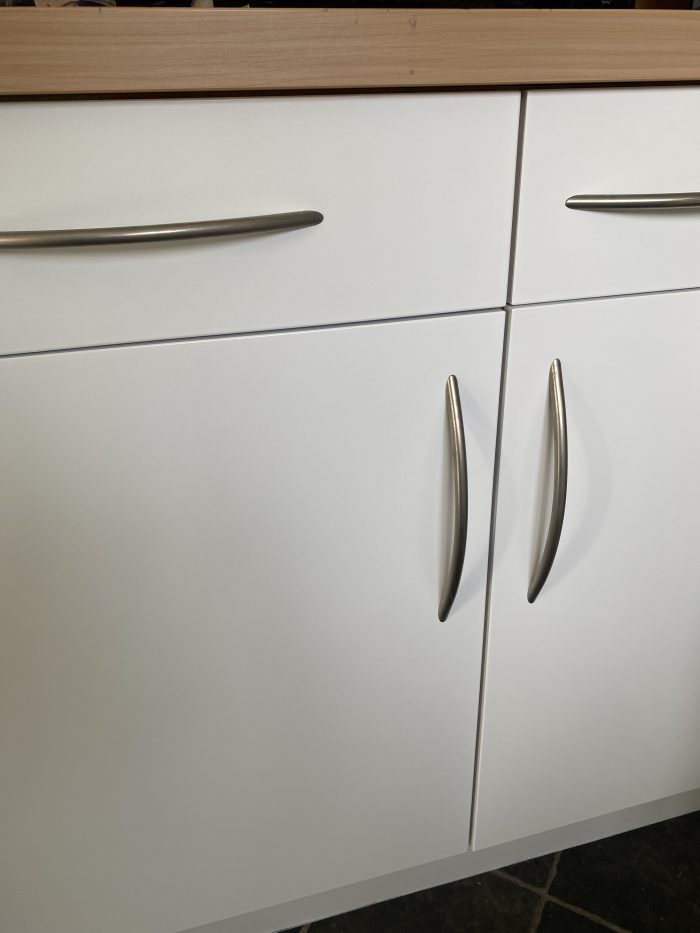
Honestly, I just love it!
I’ll share more kitchen pictures on Friday for my weekly five frugal things post which is going to be dedicated to this little kitchen makeover. 😇
Don’t miss out on future posts like this – receive updates directly to your inbox by email by adding your email address here and hitting subscribe. You can also follow me on Twitter or BlogLovin and I’d love to see you over on my Facebook page and on Instagram. If you’re interested, you can find out more about me here and while I’ve got your attention, if you’re wondering why some of my posts lately are a little bit less frugal then have a read of this post. 😉
Do your future self a favour – Pin ‘Kitchen Cabinet Painting – with before, after and during pictures!’ for later:
