When I give a present to someone, I like to spend time choosing a gift that feels thoughtful and personal. I think about what I know the person will enjoy, much like when you’re working on an important project and might seek capstone help to ensure it turns out well. And because I spend time selecting what I believe is the perfect present, I also like to make sure it looks as beautiful as possible when it’s all wrapped up and ready to give.
In the past, I would pop to the supermarket and buy a pack of wrapping paper to match the occasion along with a more often than not expensive matching bow to go with it and occasionally some ribbon if I wanted to really make it look nice! Present wrapping certainly wasn’t cheap in my pre-frugal days.
These days, I’m much better at making a present look pretty without spending almost as much on the wrapping as I did on the present!
I buy generic rolls of wrapping paper now so for not much more than I used to pay for a sheet or two of special wrapping paper that would say ‘Happy Birthday’ or ‘Congratulations’ I now get a whole roll which will do all sorts of presents and will last so much longer.
I learned how to get better at wrapping – mainly just by being less impatient than I used to be and taking my time but also by searching on YouTube for tutorials to wrap awkward shaped gifts.
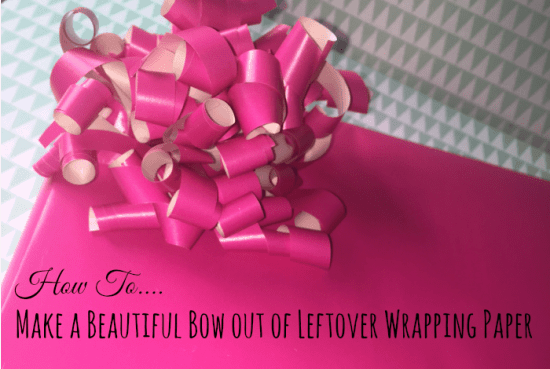
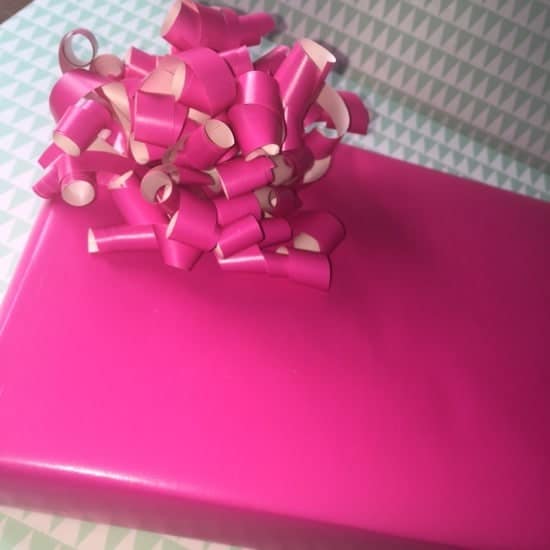
And the last thing I’ve learned about present wrapping on a budget is that you don’t need to buy an expensive matching bow because you can make one for free using your leftover wrapping paper….
It’s so easy to make and looks really pretty! Here’s what you need to do….
- Take your leftover wrapping paper and make sure it’s cut to a square or rectangular shape.
- Fold in in half lengthways.
- Fold it in half sideways.
- If you can, fold in it half sideways again.
- Cut strips into your folded paper as I’ve done in the second picture above making sure that you don’t cut them too close to the bottom fold. The look of your bow is going to depend on the length and the thickness of your strips and I don’t like to have them too thick so once I’ve done this, I have a quick look and cut any that look too fat in half again. I often find these at the end where I’ve done my sideways folds.
- Next you need to use a pair of scissors and curl the strips of paper, just as you would a length of curling ribbon. Make sure that your pattern is always on the top when you’re curling and don’t worry about any bits that you tear off in by accident. I always do this and my bows still look great. TIP: It helps to secure the bottom edge with a little sellotape here to keep it together while you’re curling.
- When all of your strips are curled, fold the bow in half again and secure to your present.
- Arrange the curly bits to look pretty and Voila, a pretty bow made from paper you were probably just going to throw out.
Don’t miss out on future posts like this – receive updates directly to your inbox by email by adding your email address to the box on the top right of this page and hitting subscribe. You can also follow me on BlogLovin or Networked Blogs and I’d love to see you over on my Facebook page
Discover more from The Diary of a Frugal Family
Subscribe to get the latest posts sent to your email.
