We’ve had an amazing year for travel this year as a family and I really wanted to print out some of our photos to showcase some of our adventures. Jen suggested a photo shelf on the back wall of my kitchen would be nice so off I popped to IKEA to pick up a couple of them and some photo frames to use on the shelf.
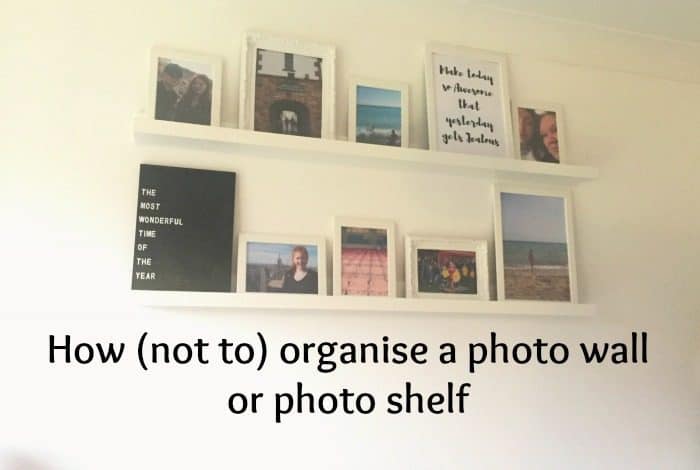
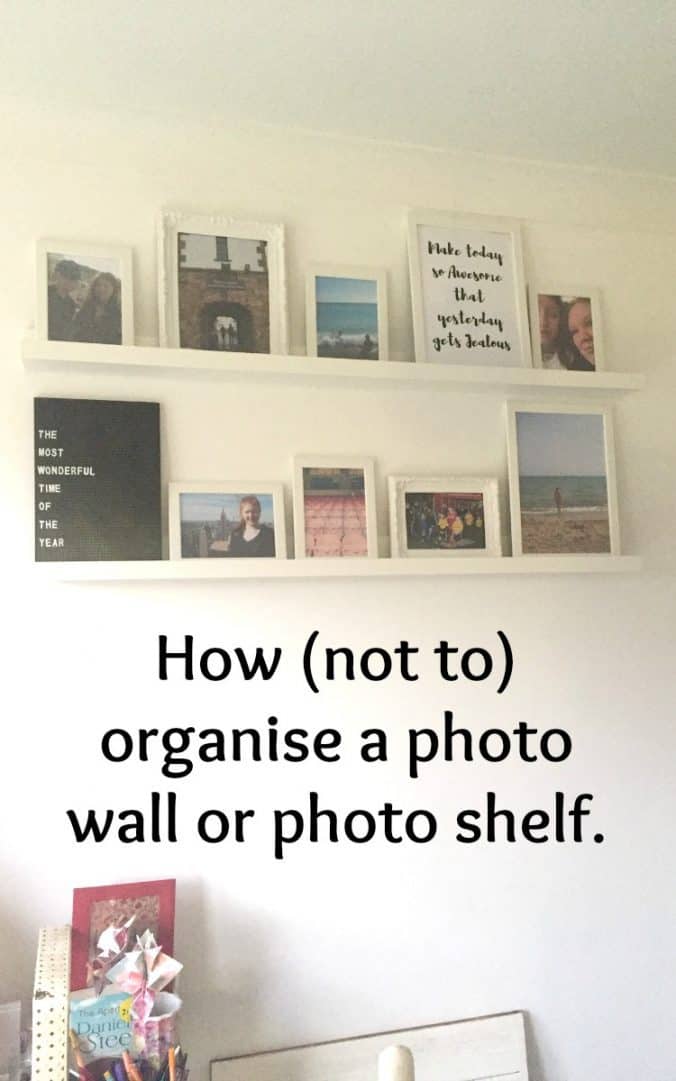
I love, love, love how it looks now but I’ll be honest, it did take me a week and a couple of attempts to get it right! I thought you might like to see the step by step process in case you want to make your own photo shelf or wall….
(Top tip – before following these instructions, double check the title of the post :-))
1) Head to IKEA, trying not to accidentally invite a teenager AND a toddler to come along for the ride which, for us, is an hour in each direction!
2) When you get to IKEA, go straight to the marketplace section where they sell the photo frames and the photo shelves that you’re after. Do not allow the kids to run wild in the kitchen showroom section opening every drawer and cupboard and marvelling at the amazing gadgets you can get!
On a serious note, we bought two of the £8.95 115cm photo ledges but if you want a photo wall rather than a photo ledge like I have, you can buy templates from IKEA where they have various different layouts that use their frames. You can then buy the frames from there as required and then it’s super-simple to put up when you get home – I can’t find them online to link to but they had four different layouts in the shop to choose from!
3) When you finally get home and realise there’s actually no screws with the photo ledges, randomly sort through all of the screws you have in the house and email a photo of them all to your workmates as a cry for help. Await helpful advice on which screws you need but get random jokes about screws and some instructions that go way over your head about butterfly something or others and questions about what sort of wall it is. Roll your eyes because you don’t really believe it can be all that difficult to put up a simple piece of wood!
4) Look blankly at the pile of screws until your husband comes home and then allow yourself to be distracted by the promise of cake rather than getting on with the job.
5) Wait five days for your husband to get around to putting up the shelf and then give up and get your neighbour to do it instead.
6) Apologise for thinking bad thoughts about your workmates because it wasn’t a super-quick job like I’d imagined.
7) Spend a lovely hour going through the photos on your laptop and choosing the best photos to print out to go in the frames.
8) Print out a good half of the photos before realising the photo paper is in the printer the wrong way around!
9) Frame the photos and spend ages faffing about with them so they look just right.
10) Shout everyone to come and see the finished results and spend the next twenty minutes listening to everyone tell you how they hate just about every one of the photos you’ve chosen.
11) Repeat steps 6-9, this time making sure that you get authorisation from everyone involved to confirm that they like the photos you’ve chosen!
I do love it and for something that cost so little, it’s mae a huge different to my kitchen I think!
PS – If you like the print then you can download it for free if you have a look at last week’s five frugal things post.
Don’t miss out on future posts like this – receive updates directly to your inbox by email by adding your email address here and hitting subscribe. You can also follow me on Twitter, BlogLovin or Networked Blogs and I’d love to see you over on my Facebook page and on Instagram


 Logging you in...
 Loading IntenseDebate Comments...
Robert · 362 weeks ago