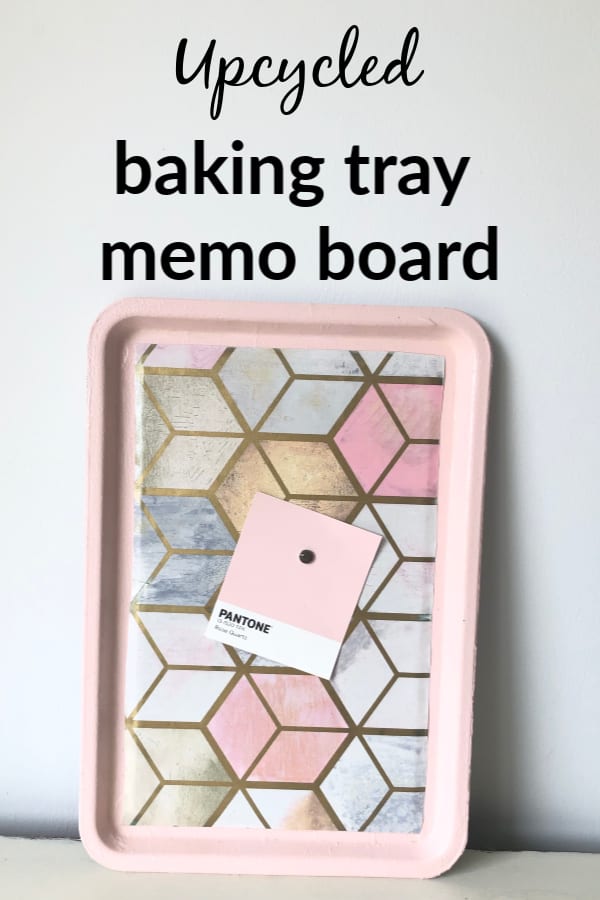
This magnetic baking tray memo board is my new favourite thing! I made it in about five minutes (if you don’t count the time for the paint and varnish to dry) and it looks so cute on my kitchen shelf.
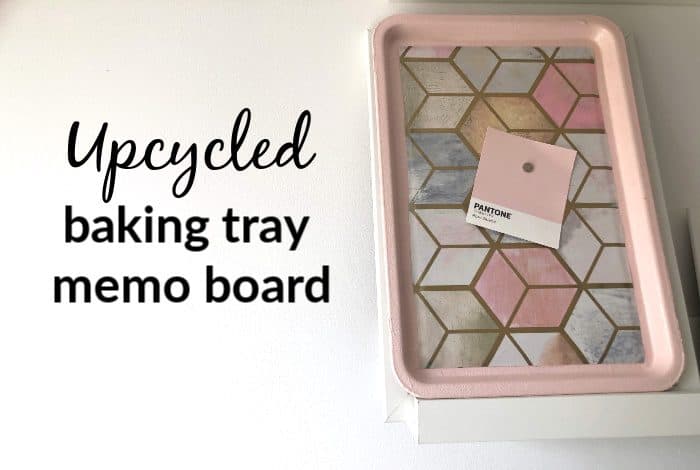
It’s one of the few crafty things that I’ve ever made that looks in reality like it did in my head which is a huge win for me!
I treated myself to a couple of new baking trays recently and rather than get rid of my old baking trays, I wanted to see if there was anything else I could do with them.
Aside from using them as a makeshift one-man sledge in the snow, I had no ideas at all – until I got inspiration from the oddest source.
Mr Frugal, who usually has the vision and imagination of a crocodile (seriously, he can’t even play the cloud game) took one look at them and casually said ‘why don’t you paint one up and make it into a little magnetic memo board’.
What an amazing idea and if I’m honest, it’s one that I could have sat there all day and still not thought of thanks to the fact that I had no clue that a baking tray was even magnetic!
So, out came my collection of tester pot paints that I accumulated last year when I went through a bit of a ‘paint everything in the house that can be painted’ kind of phase. I knew at least a couple of them had said they were suitable for interior metal as well as wood so I thought I’d have a bit of a choice.
It wasn’t to be though (note to self: make sure lids are on tester pots properly to avoid them drying out) and I ended up taking a trip to the shop to buy one. I spent way longer than Mr Frugal was happy with just stood staring at the rows of tester pots trying to decide which colour to go for but in the end, I settled for a pretty pink colour that I was confidently assured, by the man who helped me in B&Q, would do just the trick.
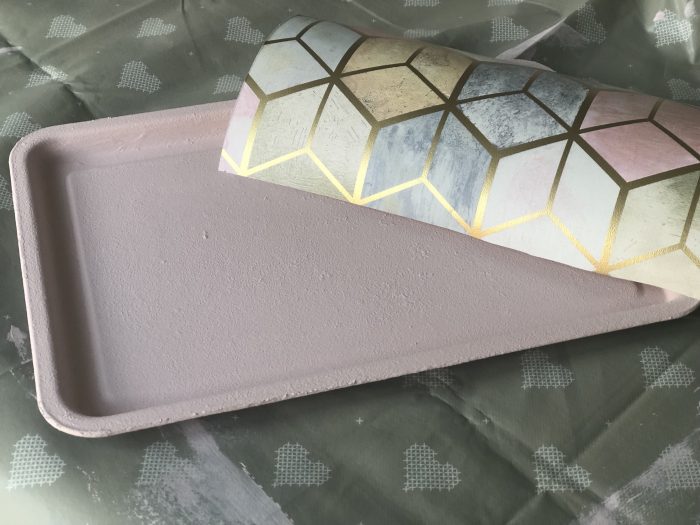
I also stopped off in the wallpaper section (making Mr Frugal’s day even better as you can imagine) and spent longer than you’d expect to try to find a wallpaper that matched the pink paint.
I wanted the wallpaper just to add a layer in the middle of the baking tray where it wasn’t as smooth as it once was and although I do love the one we got I would have rather found a similar one with a smaller pattern if you see what I mean.
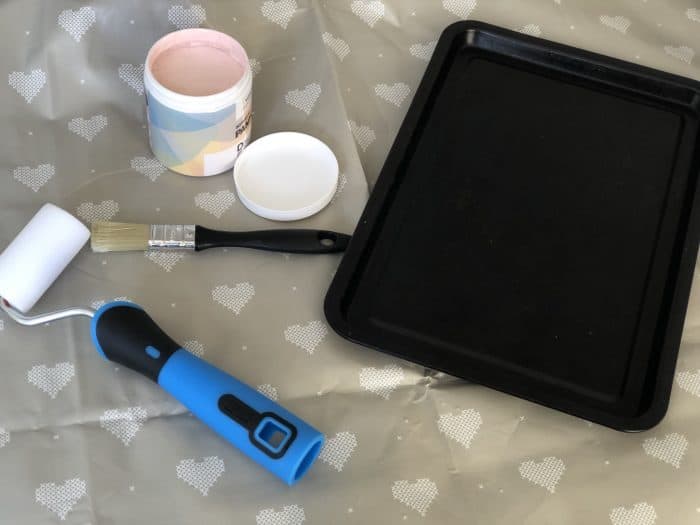
Anyway, I got home with my little tester pot of paint and a free sample of the wallpaper I’d picked and immediately got to work painting. I didn’t use a primer or anything as I didn’t want to spend much money in case it didn’t work so I just used my £2 tester pot and built the colour up over about three layers.
I left each layer to dry for an hour or so and by the third layer the coverage was brilliant and it looked ready to move on to the next stage.
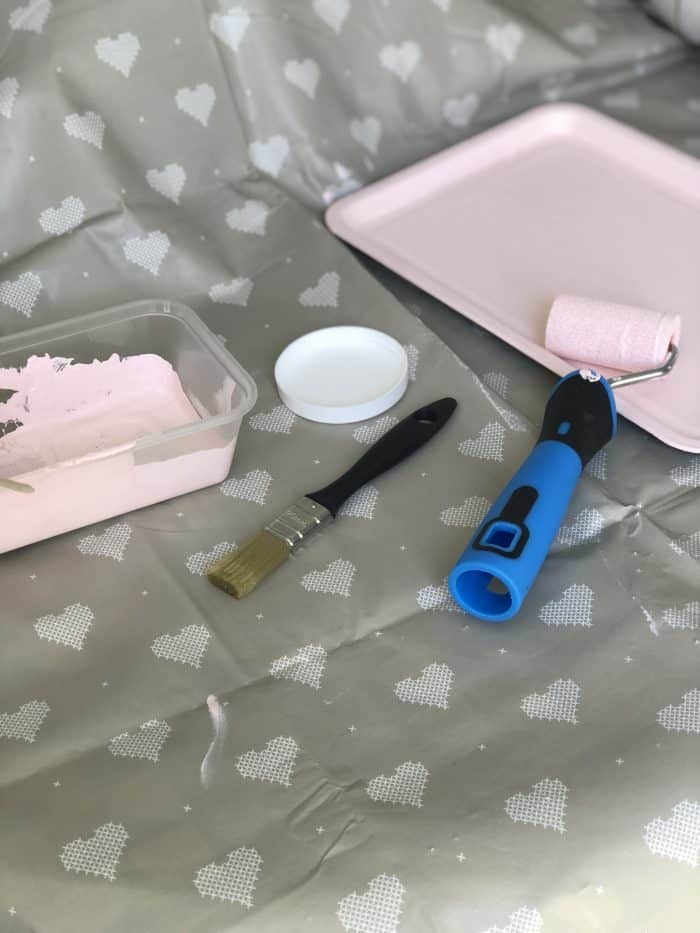
I cut our little wallpaper sample to the size I was after and glued it down where I wanted it and I then finished it off with a couple of coats of varnish that I had in already.
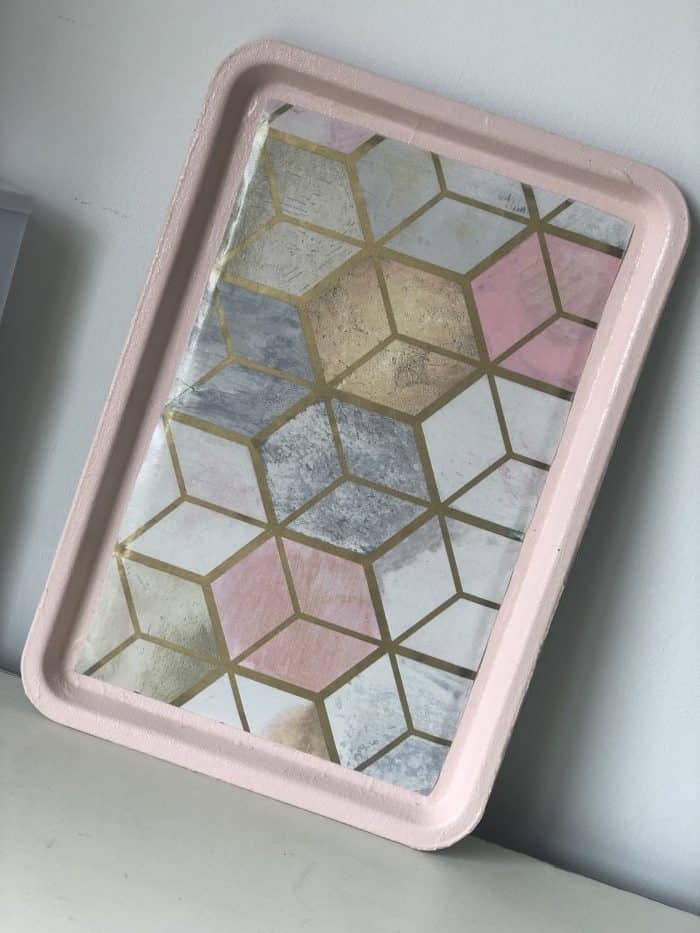
I really love the way it turned out but now I need some matching magnets I think as I feel like the ones I used don’t really work – watch this space! 😉
Don’t miss out on future posts like this – receive updates directly to your inbox by email by adding your email address here and hitting subscribe. You can also follow me on Twitter, BlogLovin or Networked Blogs and I’d love to see you over on my Facebook page and on Instagram. You can find out more about me here.
Pin my Upcycled magnetic baking tray memo board DIY for later:
