Miss Frugal has always been a nail biter and no matter what we’ve tried, she just couldn’t seem to kick the habit.
But then we booked New York and she asked if she could have her nails done properly with gel polish if she could grow them to a reasonable length. I agreed half because I thought we’d tried everything else to try and help her stop biting them and half because I really didn’t think she would manage seeing as she’s tried so many times before.
Turns out that having amazing nails in time for New York was a better motivator than anything else we’ve tried in the past as she now has gorgeous mid-length nails.
She’s rightfully pleased with herself and I can tell how much she loves having pretty nails rather than the stubby ones she used to have. I’m obviously going to hold up my part of the bargain *if* she still wants her nails done professionally but I have said if we spend half as much on nail varnish than we would on the manicure then we’s be saving money and she’s have some new nail varnishes to keep.so she’s considering my offer at the moment.
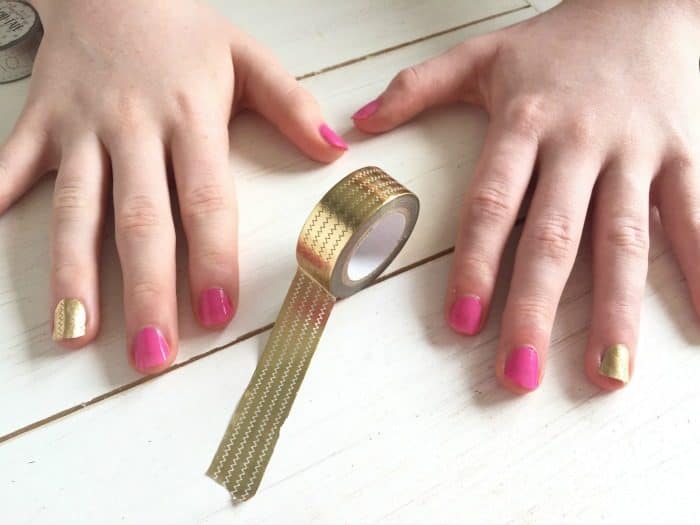
In the meantime, we’re having lots of fun doing her nails at home with the nail polishes that we do have. Yesterday she wandered downstairs while I was making something with washi tape (to be revealed on Thursday) and we somehow ended up using the washi tape to do a bit of a washi tape manicure.
It was really easy to do and looked brilliant so I thought I’d share it with you today….

We started her washi tape manicure with a bright pink Barry M polish on all of her nails – we did all nails even though we were planning to put some washi tape on some of her nails as we didn’t know how long the washi tape would stay on for and we didn’t want 8 nails painted and two plain if they fall off while we were out and about.
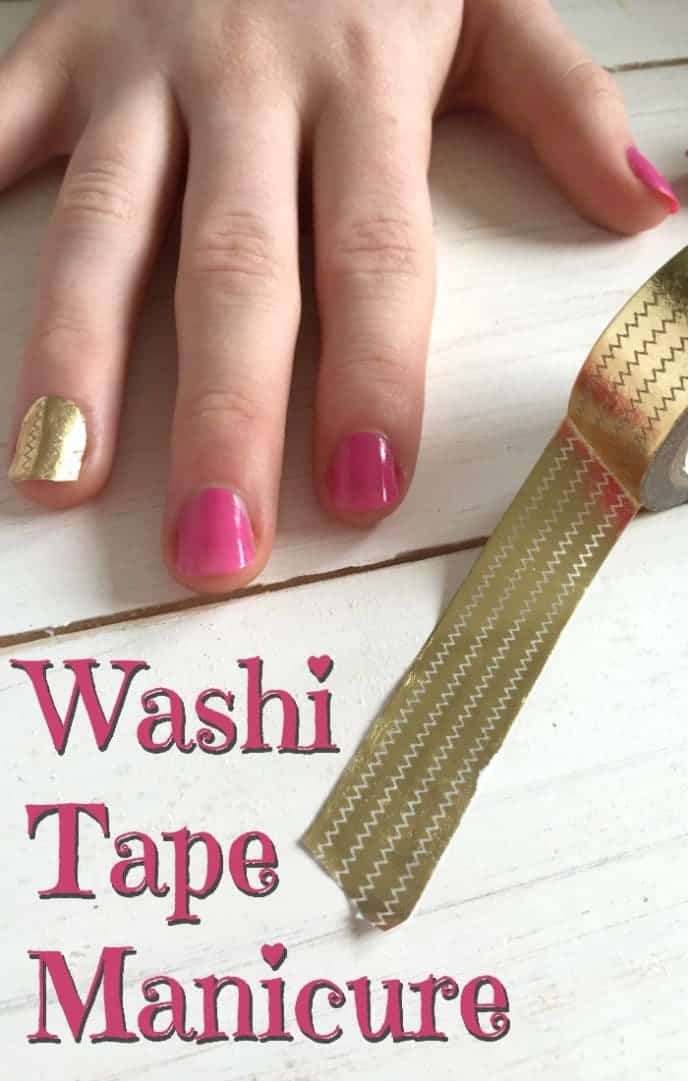
Once the pink nail polish was totally dry I cut out some washi tape in the shape of her nail – the width was easy to cut the washi tape down to an the bottom was just a rough curve that I did by eye.
Once the bottom of the washi tape was cut and the tape was cut to the right width we just stuck it on and used a pair of nail scissors to shape the top.
Finally we gave all of her washi tape manicure a quick coat with a top coat.
We used a shiny gold colour for a bit of bling but there are so many pretty washi tape designs out there that you could do anything you wanted!
Don’t miss out on future posts like this – receive updates directly to your inbox by email by adding your email address here and hitting subscribe. You can also follow me on Twitter, BlogLovin or Networked Blogs and I’d love to see you over on my Facebook page and on Instagram.


